| IAP Software ™ |  |
| IAP Software ™ | |
CMT Notifications
The CMT Notifications form allows one to provide external and internal lists of organizations / agencies notified in the event of an incident. For help using general form functions (e.g. Create/Open Version, Save, etc.) and accessing preloaded versions, see the General Form Functions page.
Contents
Add External and Internal Notifications
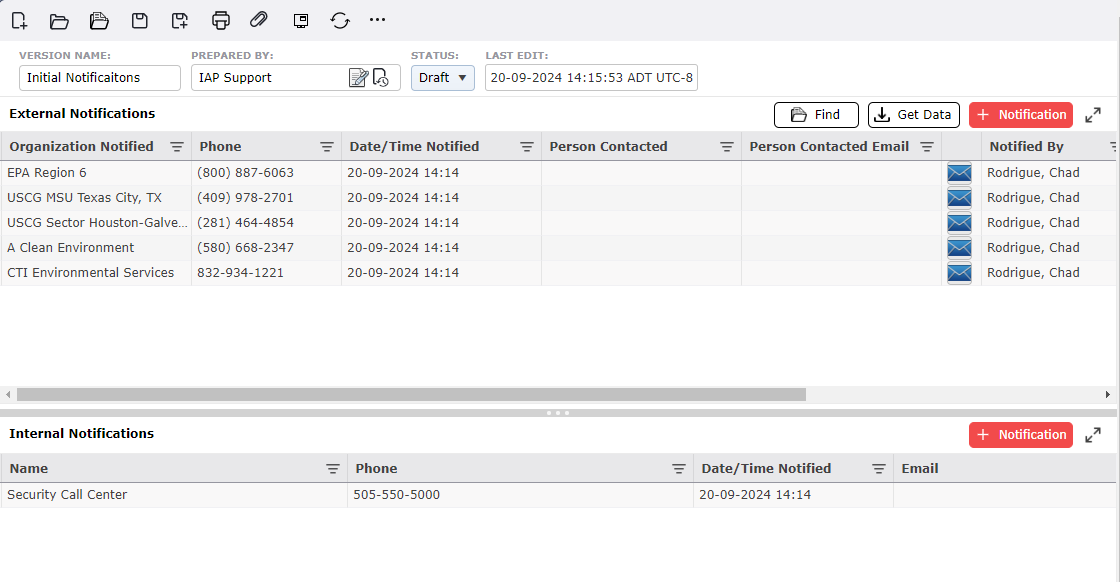
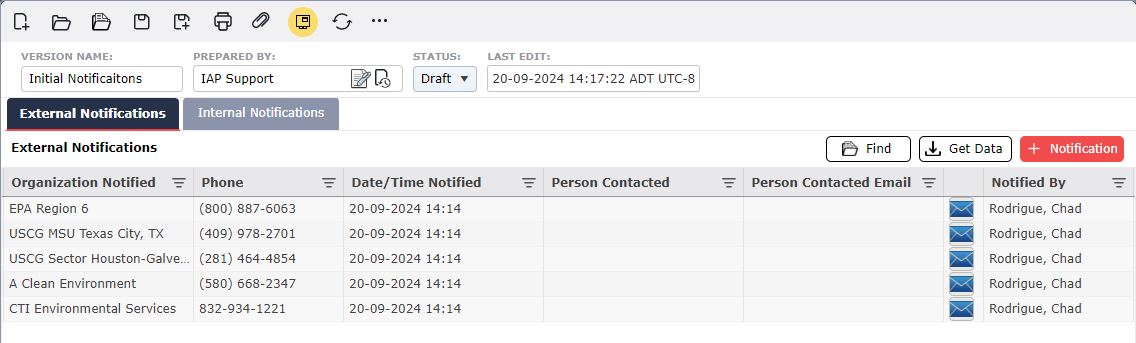
By default, the CMT Notifications will open in a Classic view, separating the different sections on one page. The form can also be displayed in Tabbed view, separating the different sections into individual tabs. To switch between the views, click the Display Mode button  .
.
Users may add a notification by clicking the Add button  in the desired notification box (external or internal). Free type to update the notification information fields. Then click the Save button
  .
.
To delete a notification hover over the desired row for a moment and the Delete button  will appear, then click on the Delete button
  to remove the item. If you remain hovering over the row without clicking the delete button, it will disappear after a couple of second.
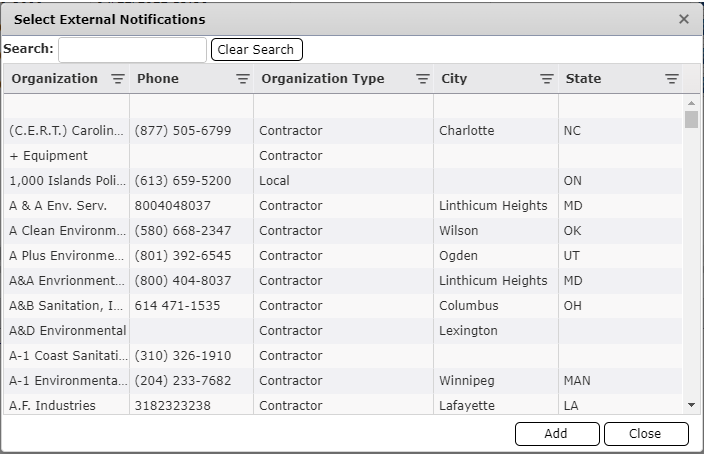
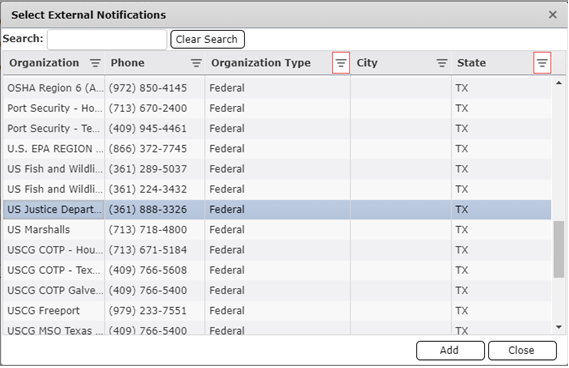
Users can filter notifications and quickly locate organizations / agencies to add into the form.
Click the Find button  , then click the header of either the Organization or Organization Type and type that name into the Search box.
NOTE. In the Notification Status form, the Find button  is only available under the “External Notifications” section.
Select the line item to add into the form and click the Add button  .
.
Users can pull information from different versions and add into the form.
1. Click the Get Data button. 
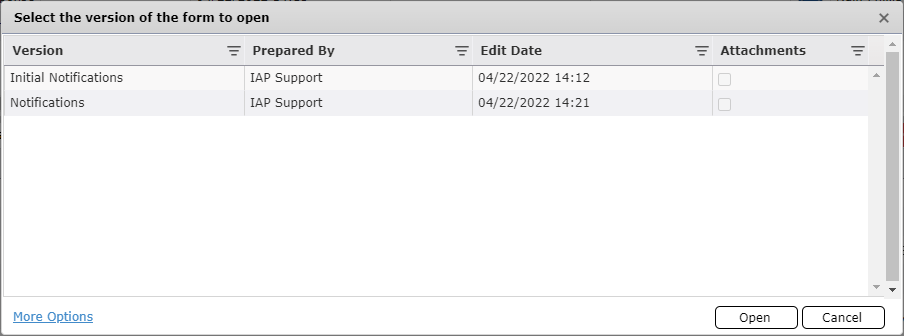
2. Select the version needed and Click Open  .
.
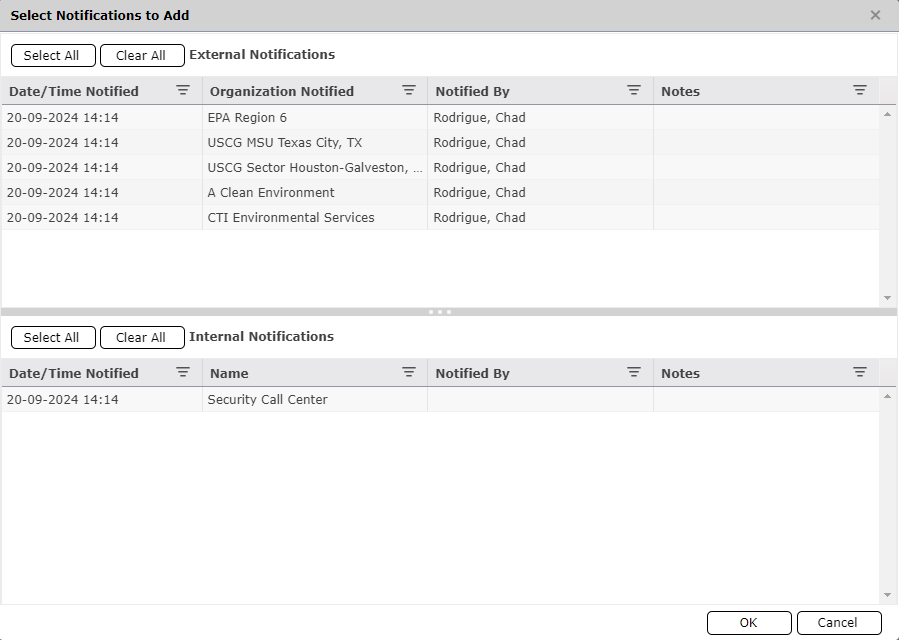
Click on the Notification needed and click OK  .
.
© 2024, TRG The Response Group LLC., All rights are reserved.
No part of this web site, and the information which it contains, may be reproduced, stored in a retrieval system or transmitted in any form or by any means, electronic, mechanical, photocopying, recording or otherwise, without prior written permission of TRG.