| IAP Software ™ |  |
| IAP Software ™ | |
ICS 201-2 – Summary of Current Actions
The ICS 201-2 – Summary of Current Actions provides a summary of the current incident objectives, as well as a timeline of the initial incident response, and planned actions. It consists of three sections: Objectives, Current, and Planned Actions. For help using general form functions (e.g. Create/Open Version, Save, etc.) and accessing preloaded versions, see the General Form Functions page.
Contents
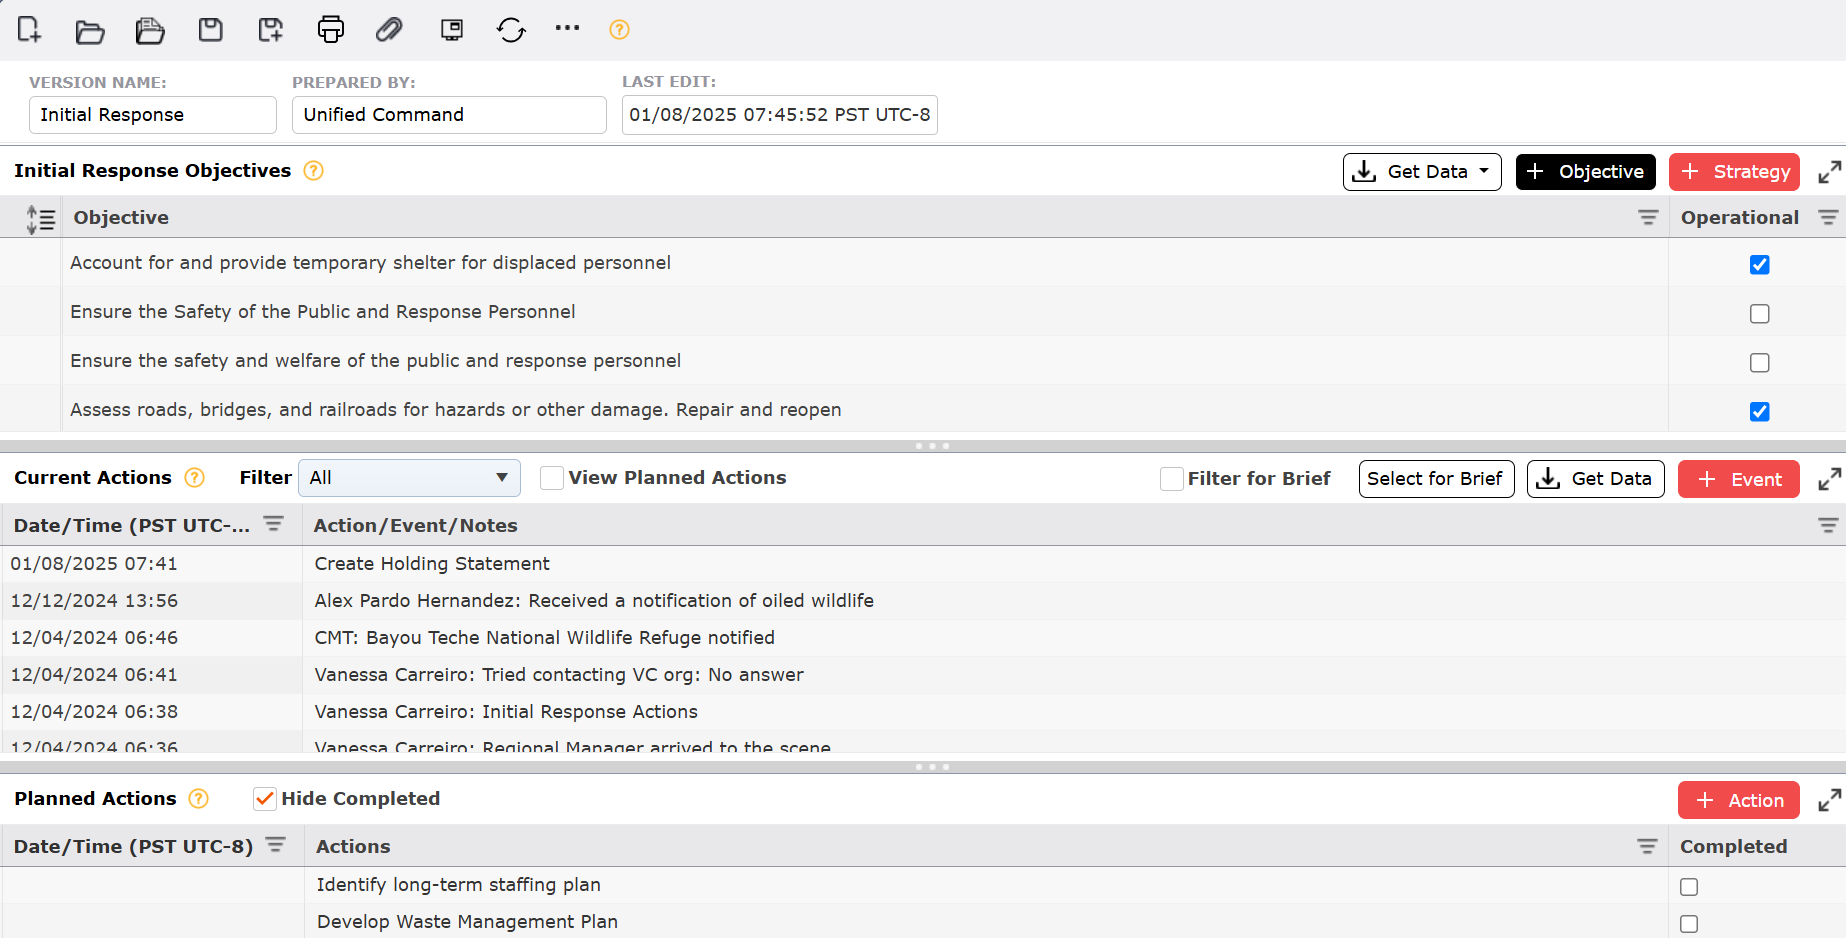
By default, the ICS 201-2 will open in a Classic view, separating the different sections on one page. The form can also be displayed in Tabbed view, separating the different sections into individual tabs. To switch between the views, click the Display Mode button  .
.
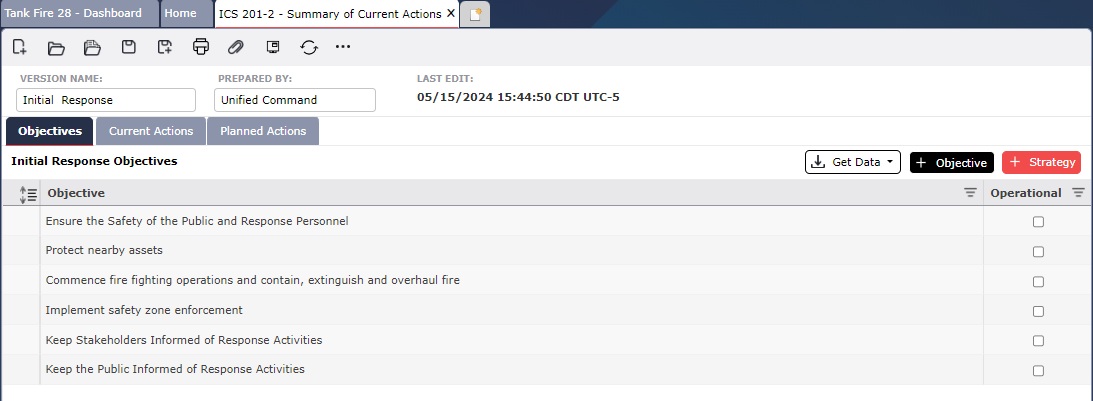

This section lists the initial Objectives and Strategies of an incident. An Incident Commander (or Unified Command) prioritizes Objectives in order of the respective priority model (e.g. PEAR or LIPS).
To add an Objective, click the Add Objective button  to the right of Objective. Type or select an objective by using the Get Data menu
  to the far right, and selecting either the From Preloads button
  , or From Form button
  .
.
To add a Strategy for an Objective, select the Objective.
Next click the Add Strategy button  .
.
Then type the desired Strategy.
To remove an item, hover over the desired item for a moment and the Delete button  will appear, then click on the Delete button
  to remove the item. If you remain hovering over the item, the delete button will disappear after a couple of seconds.
NOTE: Deleting an Objective will delete all corresponding Strategies.
Other features within the Initial Response Objectives section:
To expand an Objective, click  . To collapse an Objective, click
  .
.
Use the Expand All/Collapse All buttons  to quickly see all objectives and strategies.
To rearrange Objectives (i.e., prioritize Objectives in order of importance), click and hold the Objective to drag and drop above or below its previous location.
Objectives can be entered on other forms and versions of the 201-2. To pull objectives from these available locations:
Click the Get Data button  . Then select From Form, the Select Source dialog box will appear.
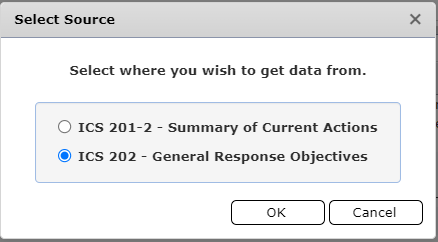
Select the source from which to get Objectives, then Click OK. The Versions of the selected form will appear, select the preferred version, and click OK.
The Select Objectives dialog box will appear.
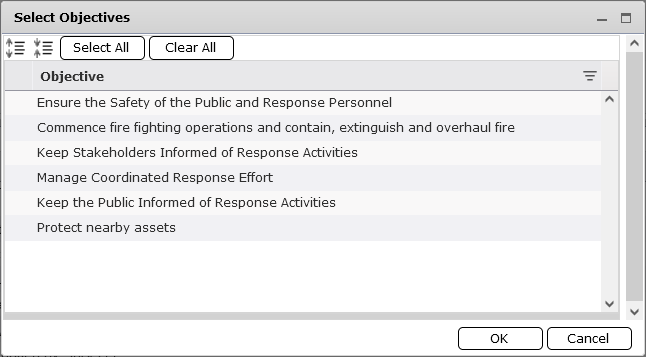
Select the desired Overall and Strategic objectives and click OK. The selected objectives will populate on the form.
To highlight all objectives and strategies click the Select All button  , to unselect the highlighted items click the Clear All button
  .
.
This section provides common preloaded objectives to facilitate response planning.
Click the Get Data button  , followed by the From Preloads button
  . The Select Preloaded Objectives dialog box will appear with Overall Objectives and corresponding Strategic Objectives.
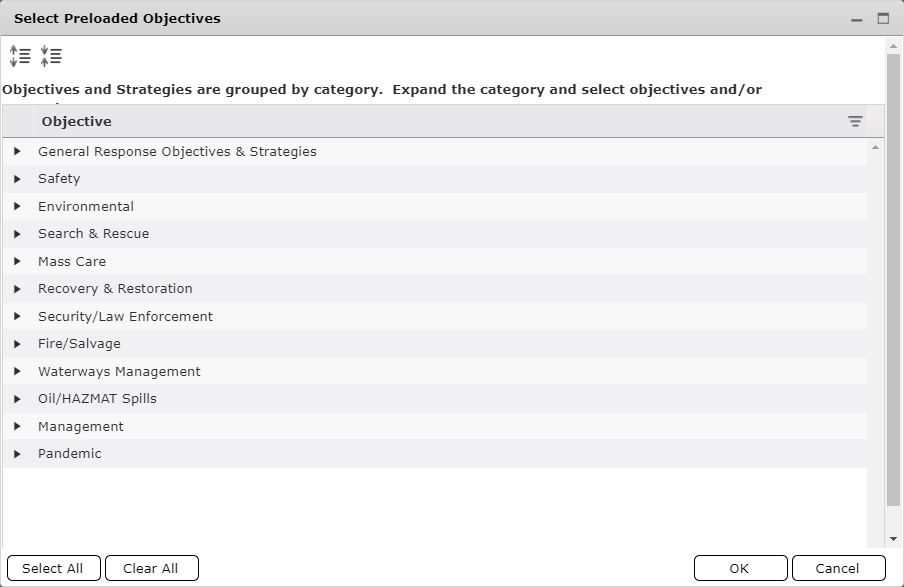
Select Objectives individually or use the Select All button  . Selected Objectives will highlight in blue. If necessary, use the Clear All button
  to unselect all Objectives.
Click OK to copy selected Objectives. The selected Objectives will appear on the form.
NOTE: With administrative privileges these objectives can be customized.

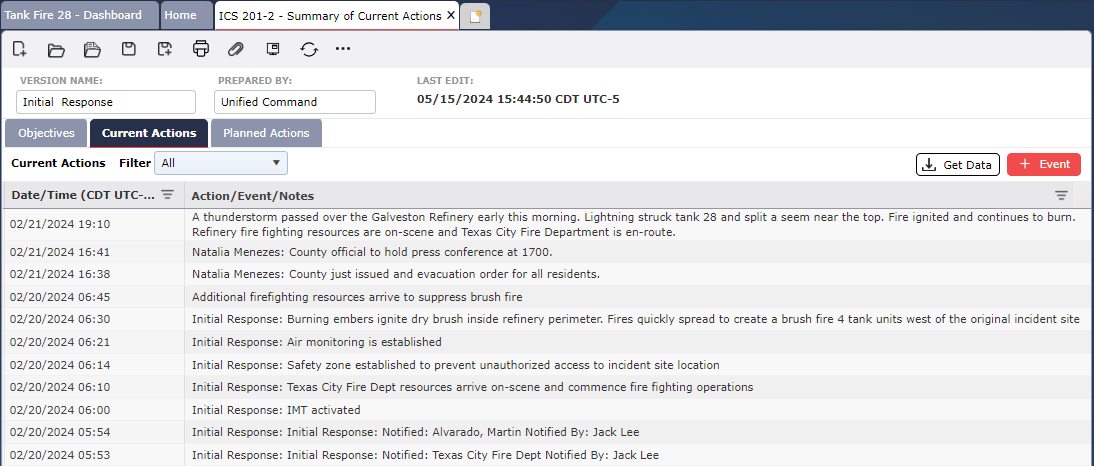
This section is used to record all significant actions, events, or notes in a timeline. The section has two columns: Date/Time of the events, and Action/Event/Notes.
NOTE: If more than one version of this form is created the Current Actions section will be identical on every version, and this information will also be mirrored on the Incident Event Log form. Only the objectives will be version specific.
To add a new event, click the Add button  .
.
Modify the event’s date and time, as appropriate. To change the Date/Time use the Calendar Control buttons  or type in the Date/Time field. To learn more, see the Calendar Control page.
Type to add a description of the Action/Event/Note to be documented.
Action/Event/Notes can be entered from other forms, and other versions of the 201-2. To pull events from these available locations:
Click the Get Data button  . The Select the version of the form to get data from dialog box will appear.
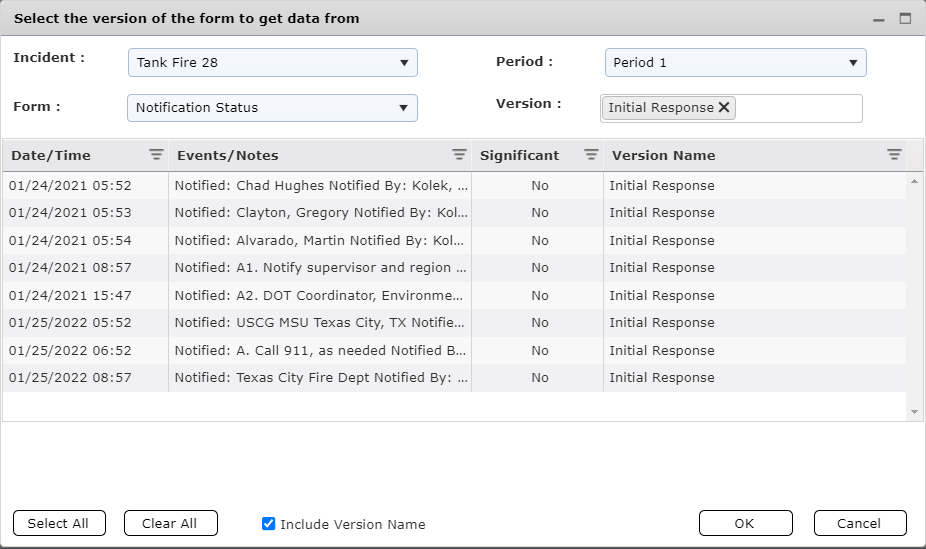
Select the Form and Version from which to get data.
NOTE: Users can also select a different Incident or Operational Period from which to pull data from.
NOTE: Multiple versions of the same form can be selected at the same time.
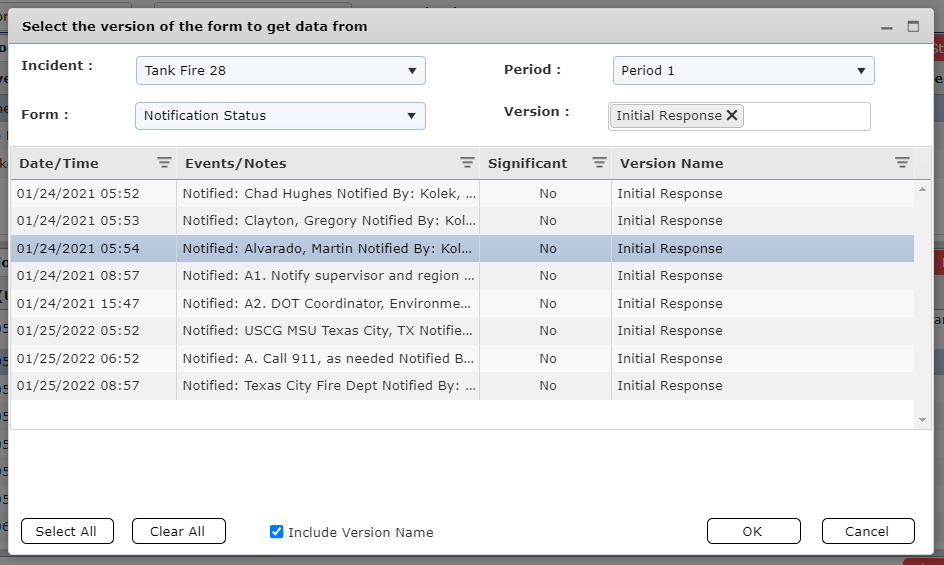
Select the desired Events/Notes and click OK. The selected Events/Notes will populate on the form.
Key action/events can be selected to show separately as a brief report in meetings, as an easier way to summarize recent events or address specific actions. To choose which messages to brief, follow these steps:
Click the Select for Brief button  ;
;
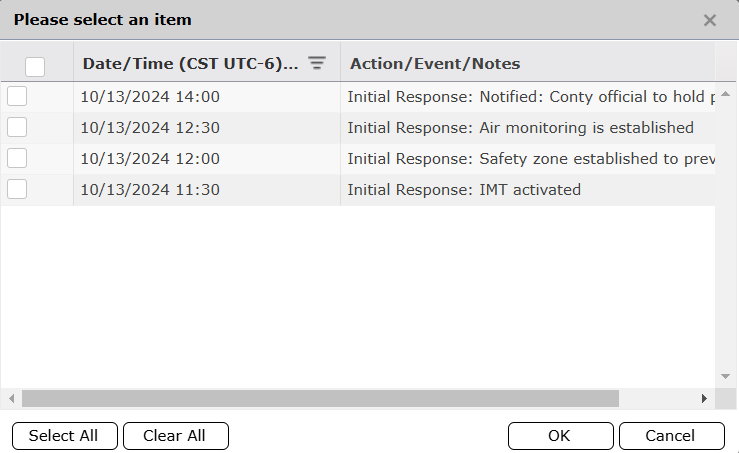
A new box will appear with all actions listed in the ICS 201-2. Select Actions individually by clicking the check box  or use the Select All button
  . Selected Actions will highlight in blue. If necessary, use the Clear All button
  to unselect all Actions.
Click OK to copy selected Actions. The Current Actions will start showing only the filtered actions and the Filter for Brief box will be checked  .
.
To display all actions again, uncheck the Filter for Brief box.
Adding planned actions to the ICS 201-2 doesn’t automatically include them into the incident’s timeline, but that can be done by checking the View Planned Actions box  . All Planned Actions will be explicitly displayed as such.

To hide Planned Actions from the timeline, uncheck the View Planned Actions box.
To find more about Planned Actions, read the section below.
This section records actions that are planned for the near future but have not yet taken place.
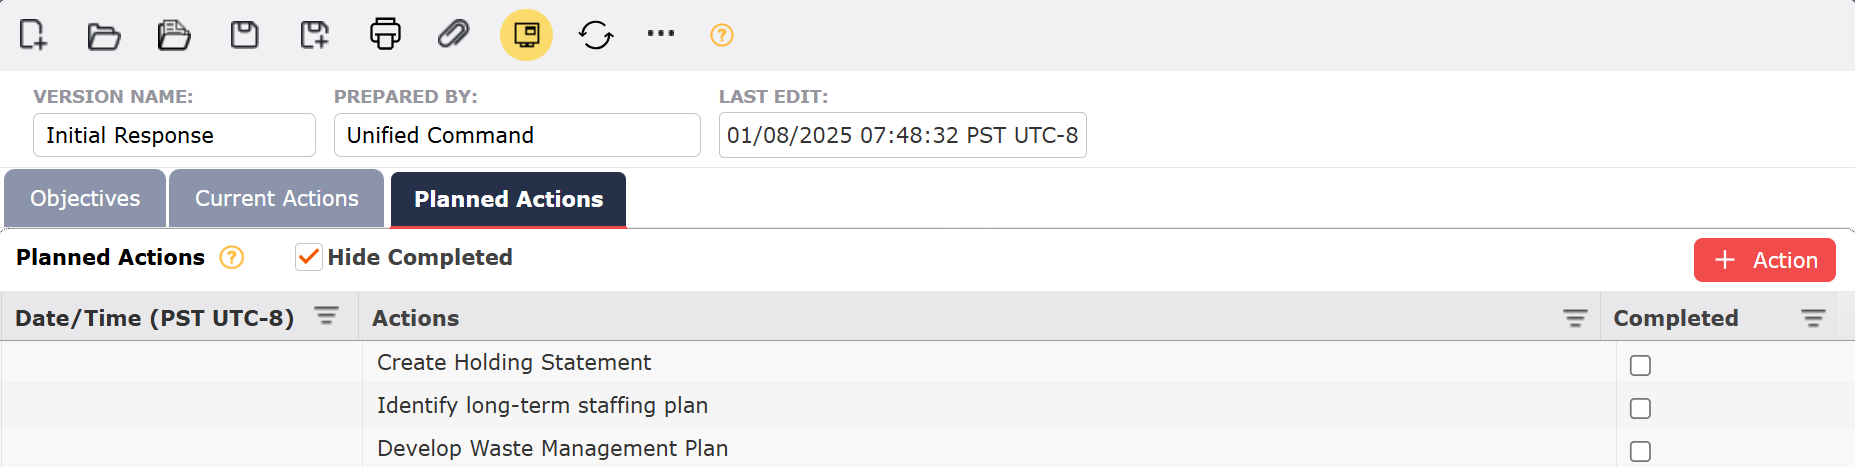
To add a new action, click the Add button  .
.
Type to add a description of the Planned Action to be documented.
Click the box  in the Completed column for each item to mark the Action as completed.
The Completed Planned Action window will appear. The date and time field will be populated with the current date and time.
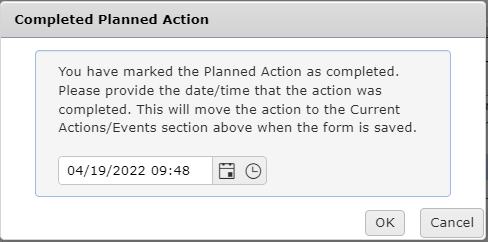
To modify the event’s date and time use the Calendar Control button  or type in the Date/Time field. To learn more, see the Calendar Control page. Click OK.
Click the Save button at the top of the form. Any actions marked as complete will then be moved to the Current Actions section.
© 2024, TRG The Response Group LLC., All rights are reserved.
No part of this web site, and the information which it contains, may be reproduced, stored in a retrieval system or transmitted in any form or by any means, electronic, mechanical, photocopying, recording or otherwise, without prior written permission of TRG.