| IAP Software ™ |  |
| IAP Software ™ | |
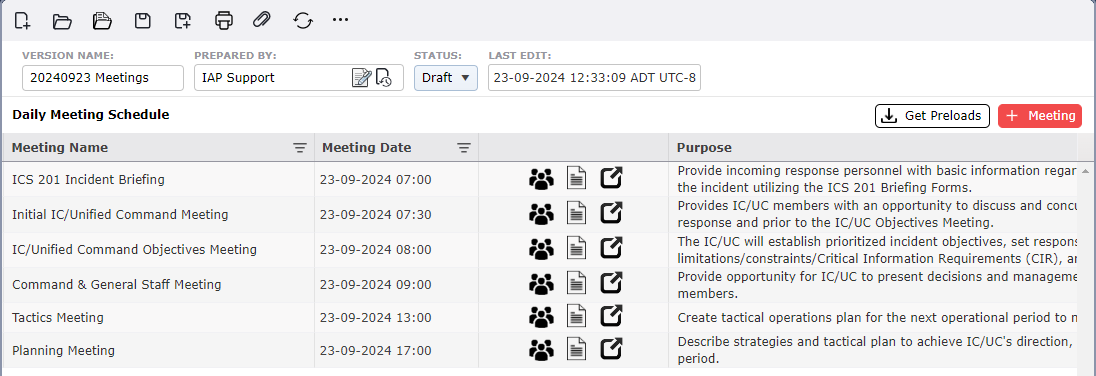
ICS 230 – Daily Meeting Schedule
The Daily Meeting Schedule is used to record daily scheduled meetings. This form should be included in the Situation Display. For help using general form functions (e.g. Create/Open Version, Save, etc.) and accessing preloaded versions, see the General Form Functions page.
Contents
Open the ICS 231 Meeting Summary Form
To add a new meeting click on the Add button . A new Meeting line item will appear. Free type or select the meeting name from the drop-down choices provided by clicking on the Drop-down Arrow
  .
.
NOTE: Meetings can also be added to the Daily Meeting Schedule from the Planning P. To learn more, see the Planning P page.
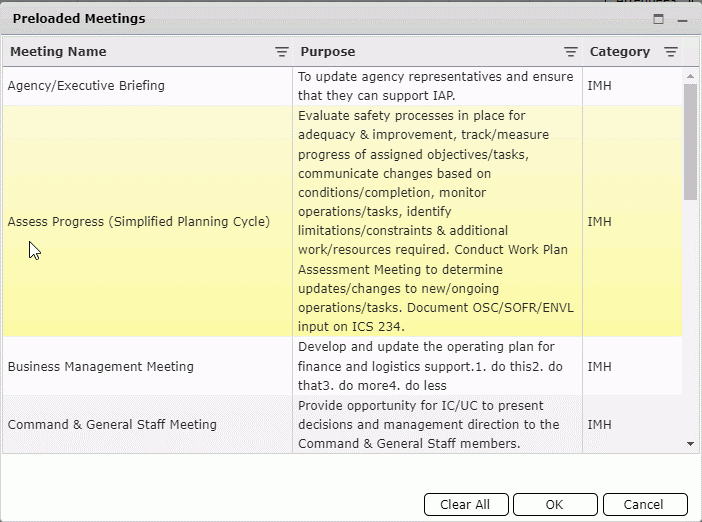
Information for meetings that are commonly held can be preloaded. To add a meeting using preloaded information:
Click the Get Preloads button  and select meetings from the provided list.
Select meetings by clicking on the desired meeting line item(s) in the list.
Click the Clear All button  to deselect all meetings.
Click OK when all desired meetings have been selected. The selected meetings will be added to the meeting schedule.
Use the Calendar Control button  to assign the meeting date and time or free type in the Date/Time field. To learn more, see the Calendar Control page.
Free type the purpose of the meeting.
Free type the meeting location.

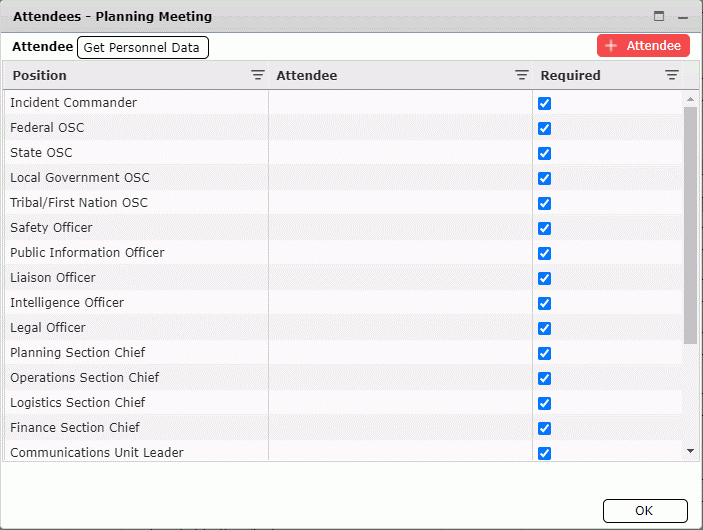
To view the required attendees for each meeting, click on the Attendees button  . A list of positions and assigned personnel will now be viewable.
Click the Add button .
.
Free type or select the Position from the drop-down choices provided by clicking on the Drop-down Arrow  .
.
Free type or select the assigned individual’s name from the drop-down choices provided by clicking on the Drop-down Arrow  .
.
 .
.
 button. Click OK to bring in all selected personnel.
 to bring the additional personnel into the meeting. Click No
  to bring in only the original list of attendees.
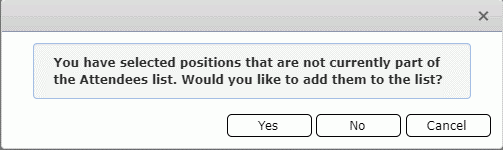
Some meeting attendees may be considered optional. Use the Check Box  in the Required column to designate whether attendance at a meeting is required or optional.
Clicking the Open button  will open the ICS 231 Meeting Summary form for the selected meeting in a new tab. For more information on this form, see the ICS-231 Meeting Summary page.
Clicking the Meeting Organizer button  will open the Meeting Organizer for the selected meeting in a new tab. For more information on this form, see the Meeting Organizer page.
© 2024, TRG The Response Group LLC., All rights are reserved.
No part of this web site, and the information which it contains, may be reproduced, stored in a retrieval system or transmitted in any form or by any means, electronic, mechanical, photocopying, recording or otherwise, without prior written permission of TRG.