| IAP Software ™ |  |
| IAP Software ™ | |
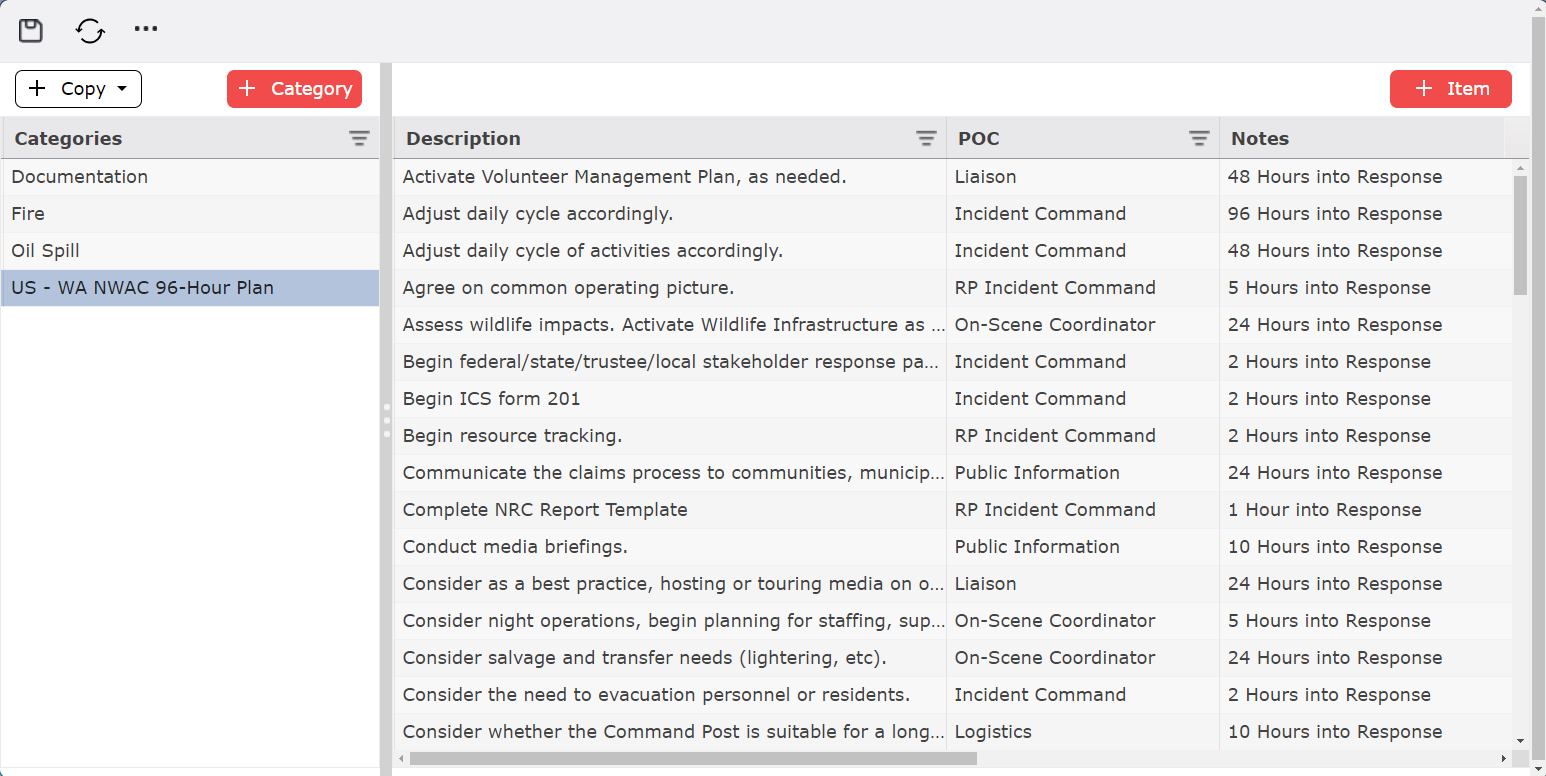
Action Item Maintenance
Action Item Maintenance creates and updates preloaded actions to add assignments to the ICS 233 – Open Action Tracker.
Contents
To begin creating a new Action Item Category click the Add button  . That option will add a blank line in the Categories column, prefilled with “New Category”. From here you can manually add your category name.
An existing Category can be duplicated and then updated as necessary.
Select the Category Name to be copied.
Click the Copy button  and then select the Current Item option
The category will be copied, and a new Category Name will appear with “(1)“at the end of the original category name.
Click the new Category and free type to change the name.
The Get Preloads option will allow you to add a set of actions preloaded into the software. These actions can’t be edited until you pull them to one incident.
Click the Copy button  and then select the Get Preload option
A new pop-up will show you the preloaded Categories to select one or several by clicking in the box at the left of the category or using the Select All option  located in the top left corner of the pop-up:
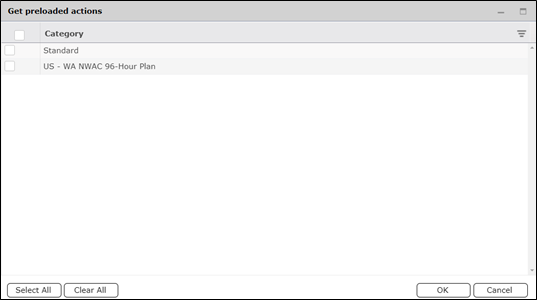
Click OK to import the selections you have made.
This section is used to build the individual items within each category.
Select the Category Name to which items will be added.
Click the Add button  to add a new item. If you have previously selected an item, the new item will be added below; if not, it will be added at the top of the list.
Free type to enter the item Description.
Use the dropdown list to indicate the item's Point of Contact (POC).
Free type to enter the item’s Notes.
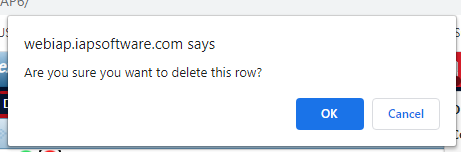
To delete an Action item, hover over the desired item for a moment, and the delete button will appear, then click the Delete button  to remove the item. If you remain hovering over the item, the delete button will disappear after a few seconds.
Click the Save button  to save all changes.
NOTE: To delete a Category, you must first delete all items inside.
© 2024, TRG The Response Group LLC., All rights are reserved.
No part of this web site, and the information which it contains, may be reproduced, stored in a retrieval system or transmitted in any form or by any means, electronic, mechanical, photocopying, recording or otherwise, without prior written permission of TRG.