| IAP Software ™ |  |
| IAP Software ™ | |
Printing
Printing forms and documents is done differently in each browser but is accessed in all browsers by generating a PDF via the use of the Print Icon, through the Print Menu, viewing Blank Forms, and through various other means. For help on using general form functions (e.g. Create/Open Version, Save, etc.) and accessing preloaded versions, see the General Form Functions page.
Contents
Zoom In/Out, Fit To Page, Fit to Width
Zoom In/Out, Rotate Page, Fit to Width
Clicking on the Print Icon or utilizing one of the print wizards will open a new browser window. The user should make sure that pop-ups are enabled for iapsoftware.com to enable this functionality, otherwise the pop-up may not appear. To enable pop-ups for each browser, utilize the following steps:
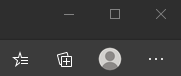
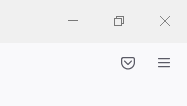
Click More Options  in the top right of the window.
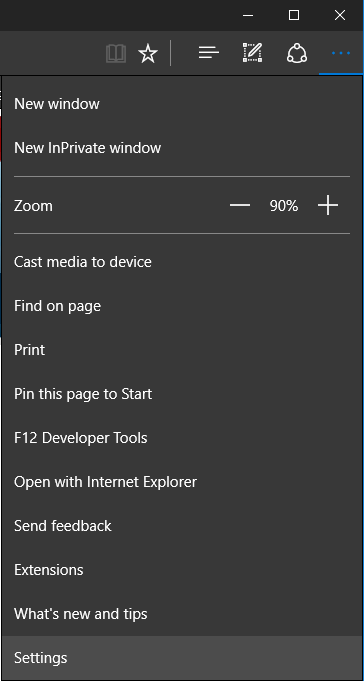
Click Settings at the bottom of the list.
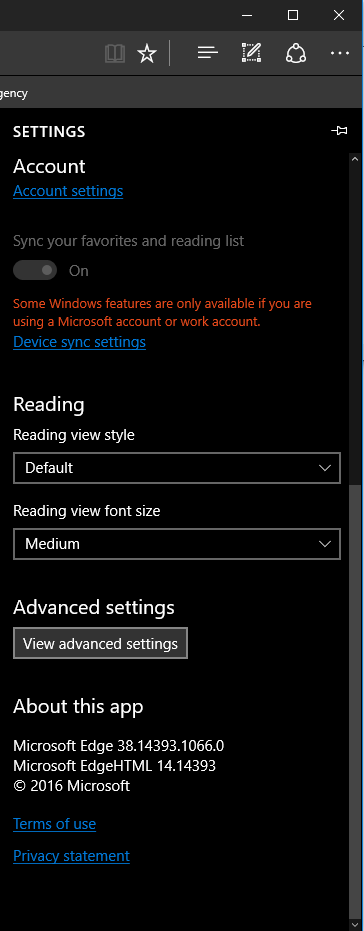
Scroll down and click View Advanced Settings.
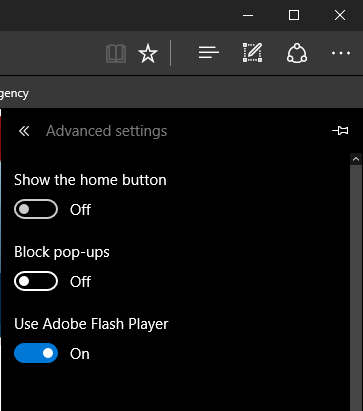
Toggle Block pop-ups to off.
NOTE: When printing to a Zebra printer from Edge, the user needs to have Edge Version 41.16299.15.0 or later.
Click More Options  in the top right of the window.
Click Settings at the bottom of the list.
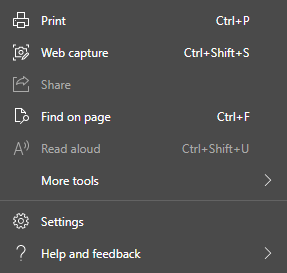
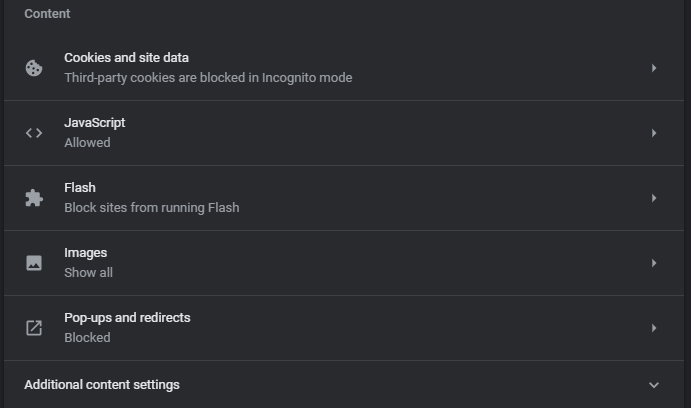
On the left-hand side, select Cookies and site permissions.
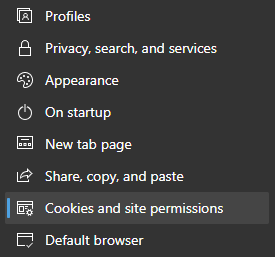
Scroll down and click on the Pop-ups and redirects.
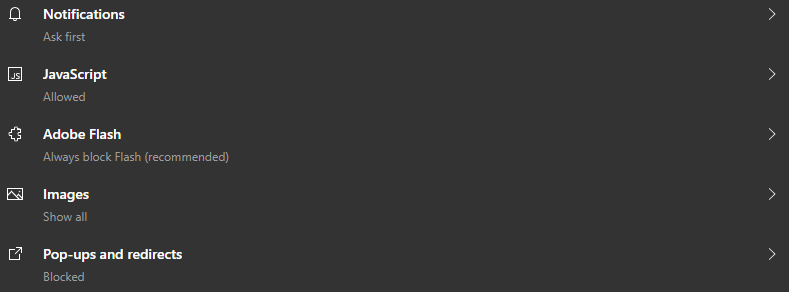
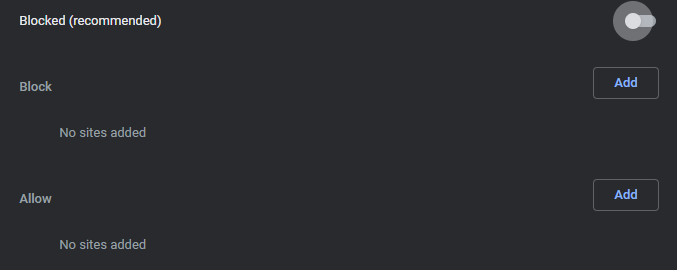
If the toggle at the top is blue and says Blocked (recommended), go to the Allow section and click Add.
If the toggle at the top is grey, no changes are needed.
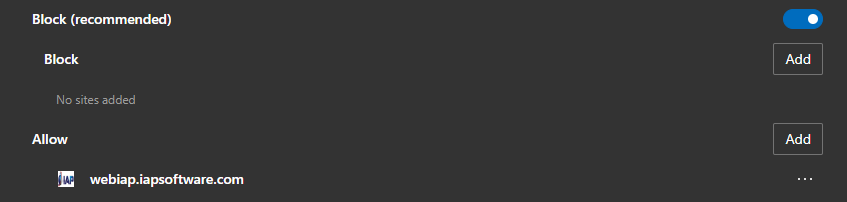
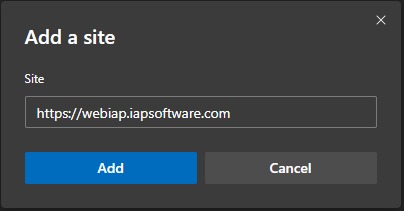
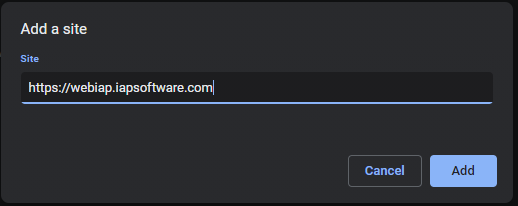
Type in https://webiap.iapsoftware.com and then click Add.
Close the tab.
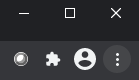
Click Customize and Control Google Chrome  in the top right corner of the window.
Click Settings towards the bottom of the list.

In the Privacy and Security section, click Site Settings.
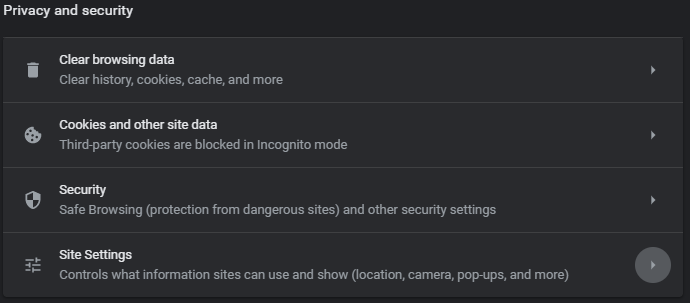
Click Pop-ups and redirects.
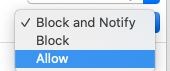
If the toggle at the top is grey and says Blocked (recommended), go to the Allow section and click Add.
If the toggle at the top is blue and says Allowed, no changes are needed.
Type in https://webiap.iapsoftware.com and then click Add.
Close the tab.
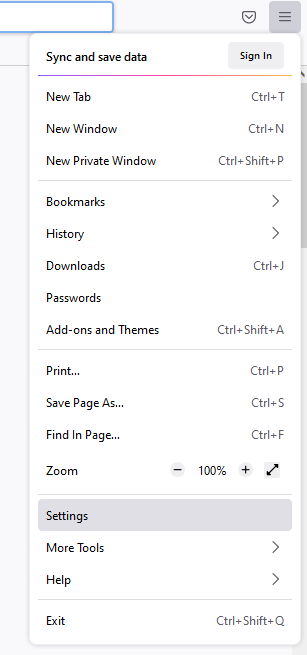
Click the Open Menu icon  in the top right corner of the window.
Click Settings.
Type “Pop” in the search bar.

Under the Pop-ups section, if Block pop-up windows is checked, click Exceptions.
If Block pop-up windows is not checked, no changes are needed.

Under Address of website, type https://webiap.iapsoftware.com and click Allow.
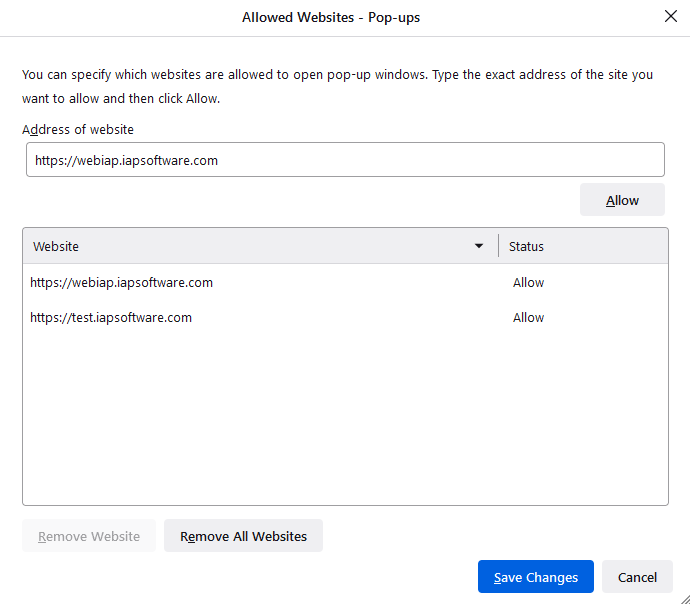
Click Save Changes.
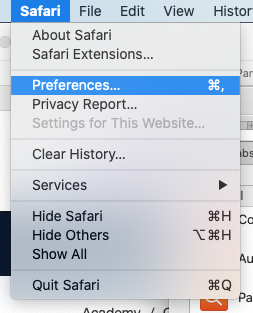
Click on Safari on the upper left-hand side of the screen to open the menu. Click Preferences.
Within the Preferences window click the Websites tab  .
.
On the left under General scroll down to click on Pop-up Windows on the list.
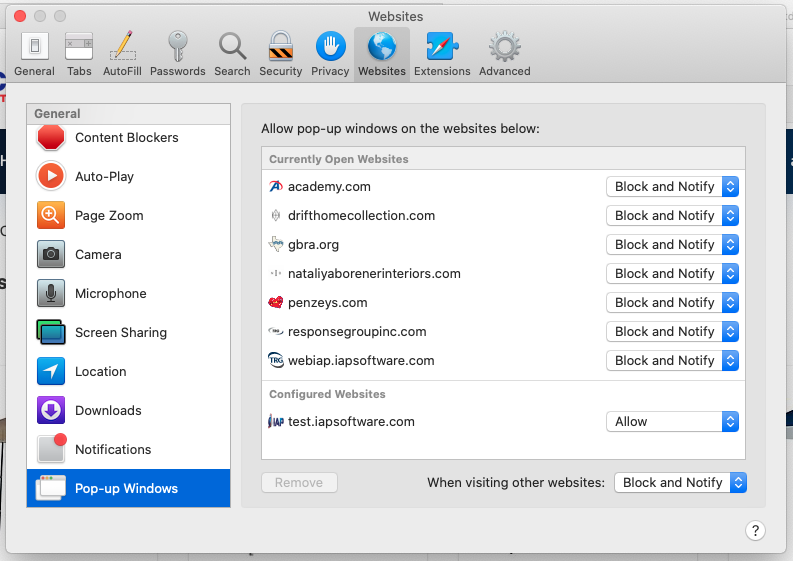
Within the list of available websites find www.webiap.iapsoftware.com. Use the drop-down to choose Allow.
Close the window to save the changes.
When the new browser tab opens in Microsoft Edge, there is a toolbar at the top right of the window.
These buttons will zoom the display of the form in and out or fit the page to the window.
The Zoom Out icon  will reduce the size of the document to a minimum of 25%.
The Zoom In icon  will increase the size of the document to a maximum of 500%.
The Fit to Page icon 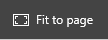 will fit one page to the current size of the window.
Clicking the Print icon  brings up the print preview page. There are several options to choose from to set up the print.
Orientation – Drop-down allows the user to select to print in Portrait or Landscape.
Copies – Option to select how many copies of the document to print.
Pages – Option to select which pages to print.
Selecting All will print the entire document.
Selecting Current Page will only print the page selected.
Selecting Page Range will create a field below it. Input a page range by using a hyphen between the pages. (e.g. 1-3).
More Settings
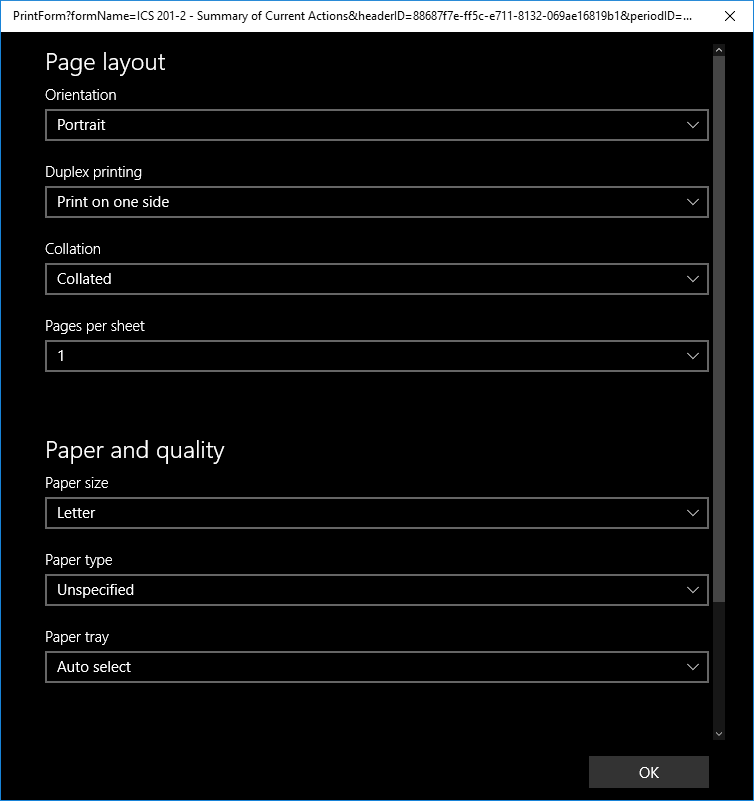
Orientation – Drop-down allows the user to select to print in Portrait or Landscape.
Duplex Printing – Option to determine whether the document prints on one or both sides of the paper.
Print on One Side.
Print on Two Sides (flip on long edge).
Print on Two Sides (flip on short edge).
Collation – Option to have multiple page print either print as a full packet before moving onto the next (Collated) or to print all copies of the first page before moving to the second (Uncollated).
Pages per Sheet – Option to print multiple pages per one sheet of paper. User can select 1, 2, 4, 9, and 16 pages per sheet of paper.
Paper and Quality – Option to determine the size and grain of the paper to be printed on and the tray where the paper will be fed from.
Paper Size - This drop-down allows the user to select paper sizes that differ from Letter (default), which is standard 8.5’’ x 11’’ printer paper. If the printer uses a different size paper, this option allows the preview to reflect how the print will look on that paper size.
Paper Type – Option to select different paper grains. Not all printers can support different grains of paper. Refer to the printer’s user manual.
Paper Tray – Option to select which tray of the printer the paper will be pulled from.
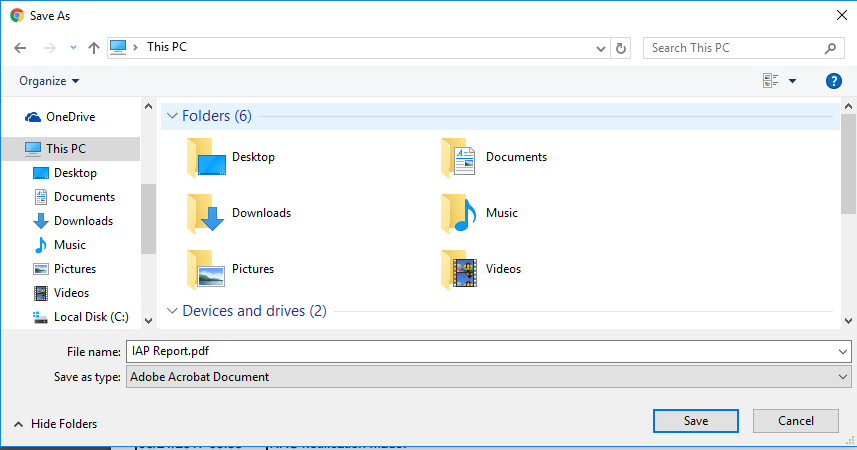
Clicking the Save icon  brings up the Save As window.

Navigate to the folder where the document can be saved.
Give the document a name by typing into the File Name field.
Click Save  .
.
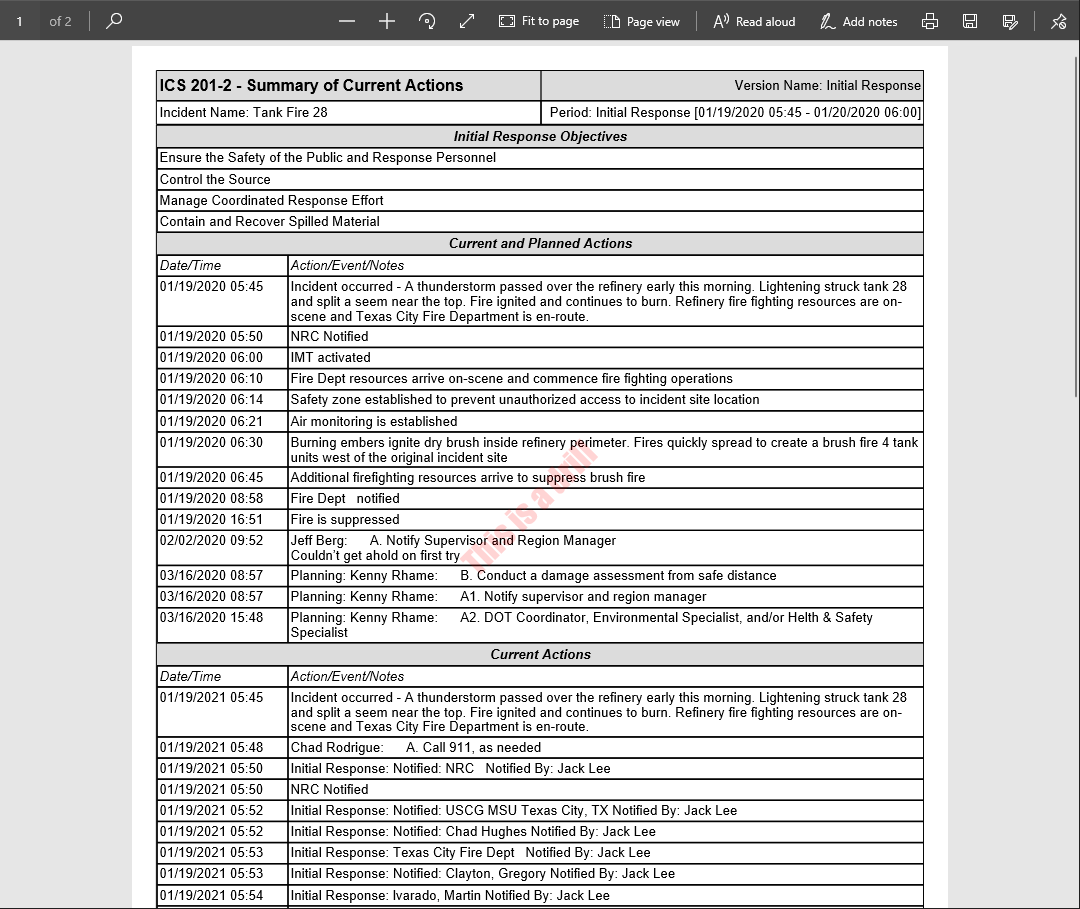
When the new browser tab opens in Microsoft Edge, there is a toolbar at the top right of the window.
These buttons will zoom the display of the form in and out or fit the page to the window
The Zoom Out icon  will reduce the size of the document to a minimum of 25%.
The Zoom In icon  will increase the size of the document to a maximum of 500%.
The Rotate Page icon  will rotate the document 90 degrees clockwise.
The Fit to Width icon  will fit the sides of the document to fill the window.
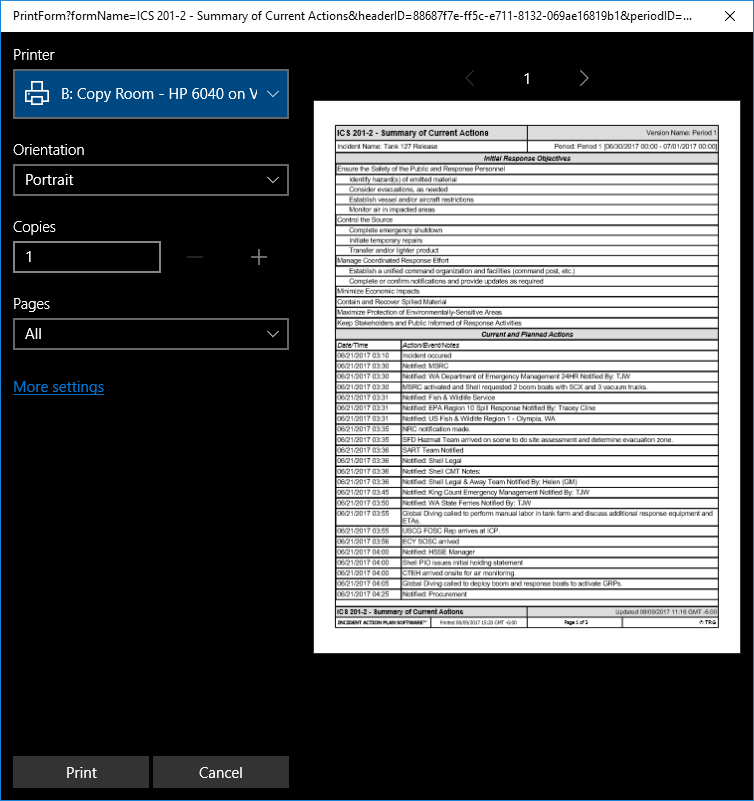
Clicking the Print icon  brings up the print preview page. There are several options to choose from to set up the print.
Printer – Option to select the printer.
Copies – Option to select how many copies of the document to print.
Pages – Option to select which pages to print.
Selecting All will print the entire document.
Selecting Page Range will create a field below it. Input a page range by using a hyphen between the pages. (e.g. 1-3).
More Settings

Paper Size - This drop-down allows the user to select paper sizes that differ from Letter (default), which is standard 8.5’’ x 11’’ printer paper. If the printer uses a different size paper, this option allows the preview to reflect how the print will look on that paper size.
Scale (%) – Option to determine how much of the paper will be printed on.
Fit to printable area – Option to print on the full paper.
Percentage Field – Use the field to enter the percentage of the paper to print on.
Pages per Sheet – Option to print multiple pages per one sheet of paper. User can select 1, 2, 4, 9, and 16 pages per sheet of paper.
Clicking the Save icon  brings up the Save As window

Navigate to the folder where the document can be saved.
Give the document a name by typing into the File Name field.
Click Save  .
.
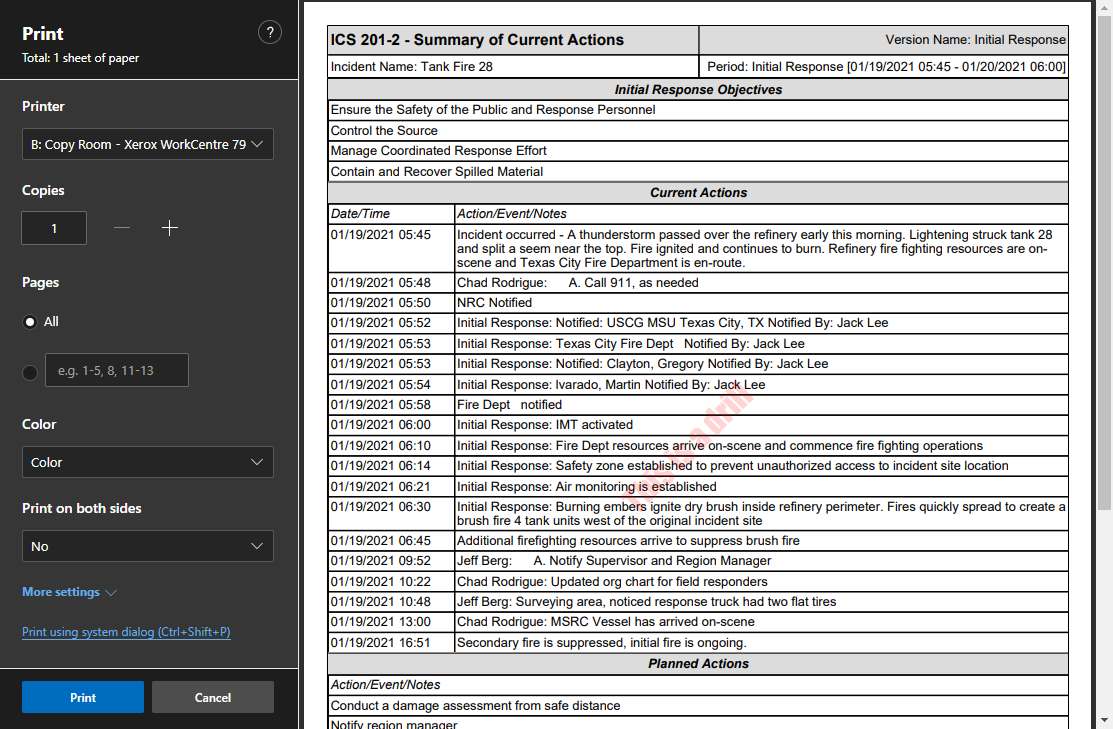
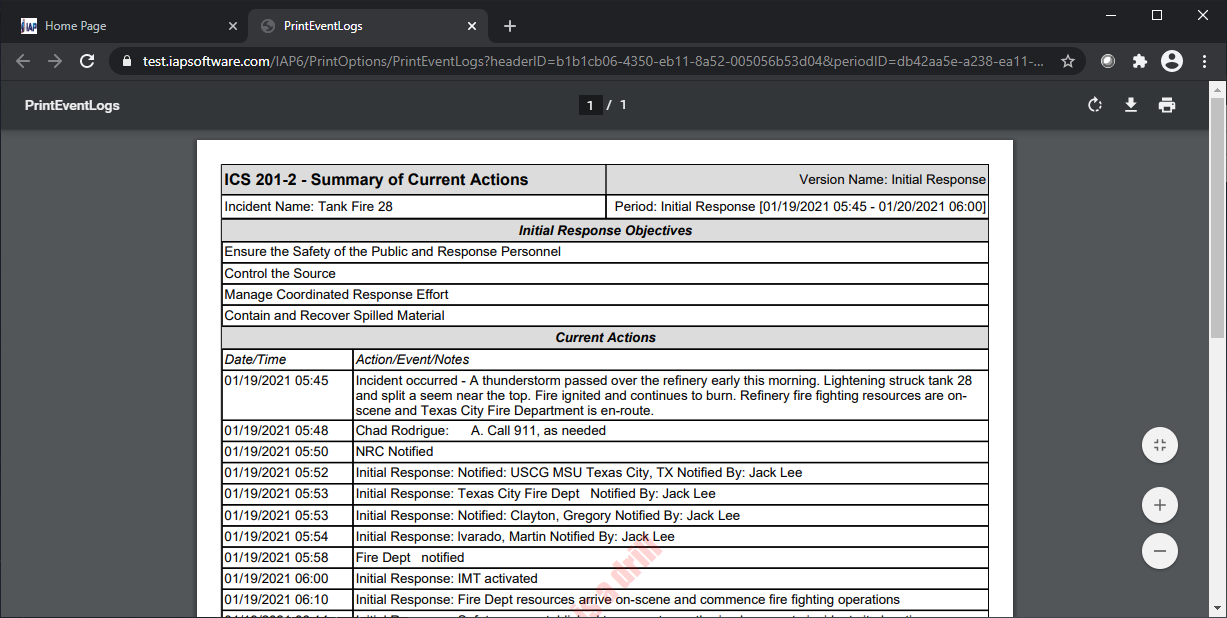
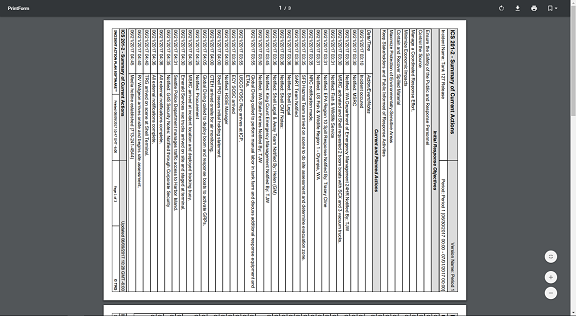
When the new browser tab opens in Chrome, there are two sets of icons. In the top right are icons for Rotate Clockwise, Downloading, Printing, and Bookmarks. In the bottom right are icons for Fit to Page and Zoom In and Out. The numbers at the top of the screen tell the page number currently displayed and the total number of pages.
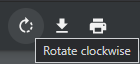
Clicking on the Rotate Clockwise 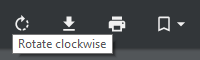 icon will rotate every page of the document 90 degrees clockwise. Each click of the icon will continue to rotate the document until it is back to its original position.
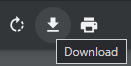
Clicking the Download  icon brings up the Save As window.
Navigate to the folder where the document can be saved.
Give the document a name by typing into the File Name field.
Click Save  .
.
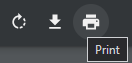
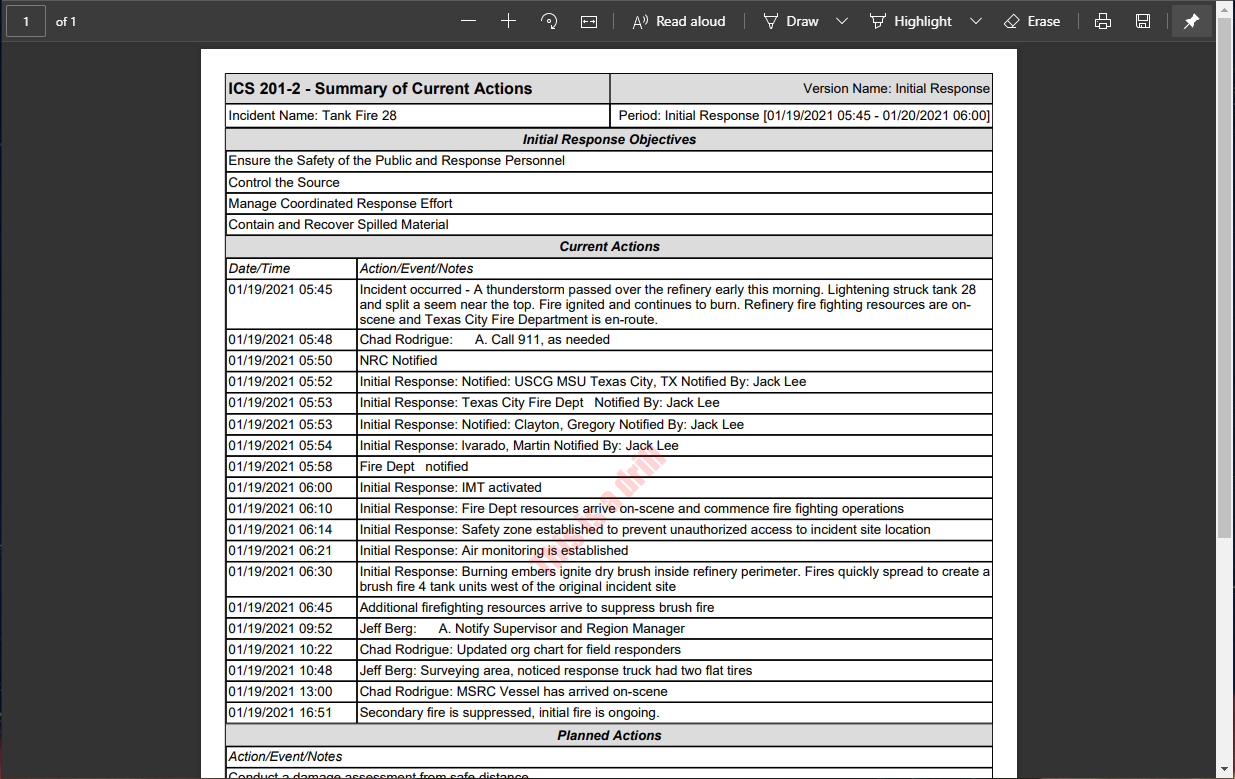
Clicking the Print icon 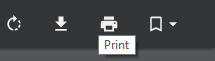 brings up the print preview page. There are several options to choose from to set up the print.
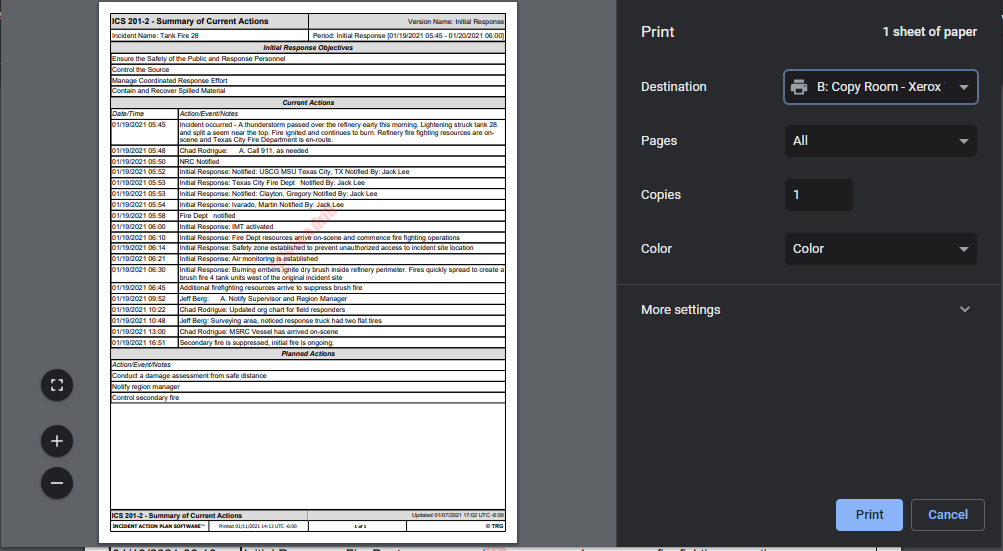
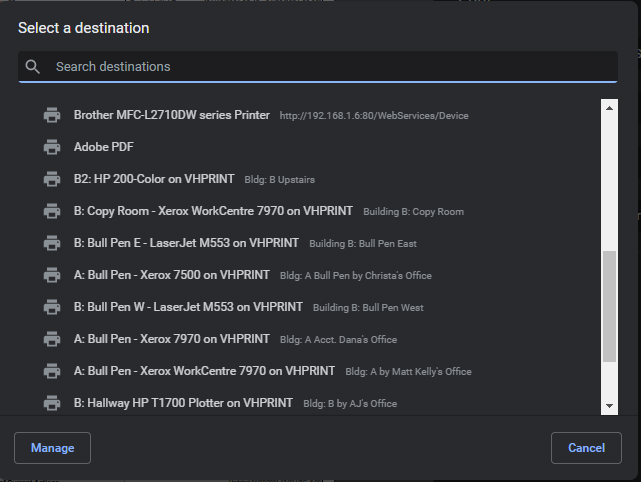
Destination
Use this option to change what printer the file prints to.
Clicking See More brings up a window to select a printer.
Select a printer and the window will automatically close and return to the Print Preview window.
Pages
Selecting All will print the entire document.
Selecting the second option will allow the user to designate which pages to print.
Independent pages can be selected by typing in the page number followed by a comma (e.g. “5,” will print just page five).
Ranges of pages can be selected by typing the first page, a hyphen, and then the last page followed by a comma (e.g. 7-23,” will print all pages from seven to twenty-three).
Copies
Users can designate how many copies of the document they wish to print.
Color
The drop-down allows the user to select whether to print in color or black and white.
Options
Users can designate some additional features for the print to adhere to.
Fit to page automatically sizes the document to fit the entire document to the width of the page.
Two-sided causes the document to print on both sides of the paper.
NOTE: Not all printers will do this automatically. Some do not recognize the feature at all, while others will stop a print until the user physically places in a sheet of paper that was previously printed on. Check with the printer’s user manual to see if the feature is available.
More settings – Clicking More settings will bring up three additional settings for advanced use.
Paper Size – This drop down allows the user to select paper sizes that differ from Letter (default), which is standard 8.5’’ x 11’’ printer paper. If the printer uses a different size paper, this option allows the preview to reflect how the print will look on that paper size.
Pages per sheet – This option allows the user to print more than one page onto a single sheet of paper.
Scale – This option manually scales the document to the page. Selecting this will automatically uncheck Fit to Page.
Two-sided – This option allows the user to print on both sides of a page automatically.
NOTE: Not all printers have the ability to print on both sides of a page. Consult the User Manual of the destination printer whether it is capable of printing on both sides.
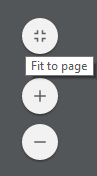
Clicking on this icon will resize the display of the form to fit one page vertically on the screen.
Clicking it again will resize the display of the form to fit one page horizontally on the screen.
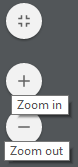
These two buttons will zoom the display of the form in and out.
The maximum zoom in is 500%.
The minimum zoom out is 25%.
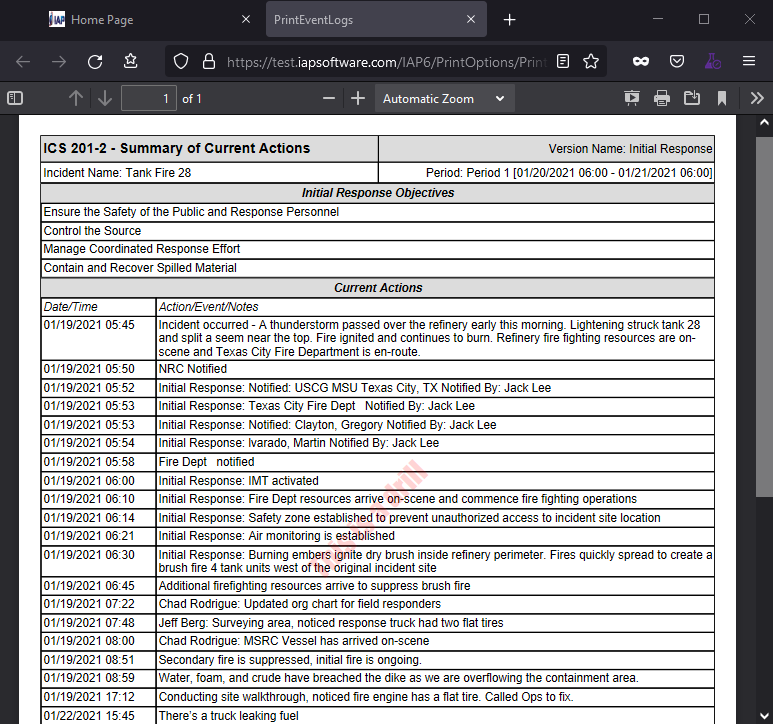
When the new browser tab opens in Firefox, there is a toolbar across the top. The left has navigation tools, the middle has zoom tools, and the right has presentation, printing, and saving tools. 

Clicking the Toggle Sidebar icon  will show an area with each page of the document. This is used to quickly navigate the document by clicking on pages. Users can view the pages in Thumbnail
  or Document Outline
  view.
view.
NOTE: Document Outline view will only show multiple pages when printing from the Print Menu or the IAP Wizard.
The Page Up  and Page Down
  will scroll up and down a complete page regardless of zoom level. The field to the right
  show the current page and total pages.

The Zoom Out  and Zoom In
  icons will zoom the display of the form in and out.
The maximum zoom in is 1000% when using the CTRL+Shift and mouse scroll bar
The minimum zoom out is 10% when using the CTRL+Shift and mouse scroll bar
Clicking on the Set Zoom Drop-down  will bring up a variety of automatic sizes to view the document (defaults to Automatic Zoom)
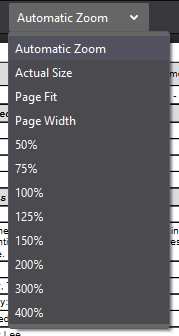
Selecting any option or clicking anywhere outside the drop-down will collapse the drop-down.
Clicking the Presentation Mode icon  will maximize the view of the form to fill the entire screen. To go back to the browser form, press Escape.
Clicking the Print icon  brings up the Print Setup window.
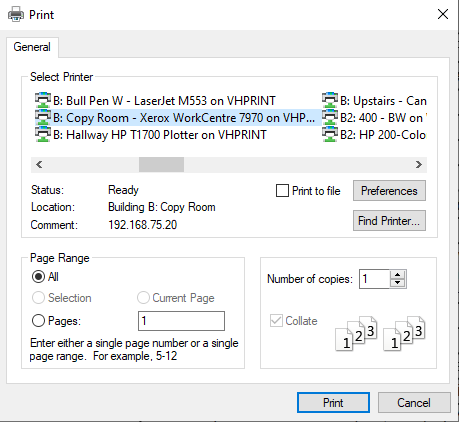
Select Printer – A list of all available printers. to select the desired printer.
Preferences – These settings are specific to each printer. Check the printer user manual for any changes that may need to be made.
Page Range - This option determines which pages are printed.
Selecting All will print the entire document.
Selecting Pages will allow the user to designate which pages to print. The from field is the first page and the to field is the last page to print.
Number of Copies - Users can designate how many copies of the document they wish to print.
Clicking the Download icon  brings up a window.
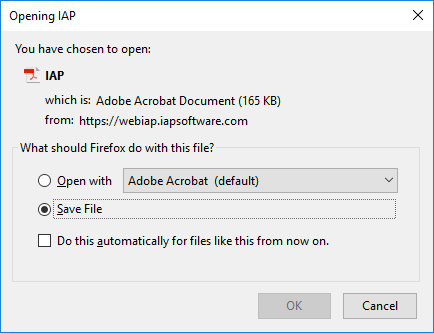
Checking Open with allows the user to select from a drop-down a list of programs on their computer that can open PDFs. Once selected, clicking OK  will open the document in that program.
Checking Save File and clicking OK  brings up the Save As window

Navigate to the folder where the document can be saved.
Give the document a name by typing into the File Name field.
Click Save  .
.
Checking Do this automatically for files like this from now on will automatically do the action you have selected for all future PDFs without bringing up the initial window.
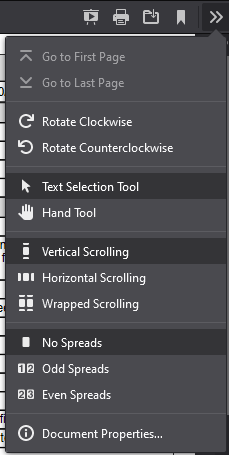
Go to First/Last Page – Clicking these options will instantly jump to the first or last page of the document.
Rotate Clockwise/Counterclockwise – Clicking these options will rotate the document 90 degrees clockwise or counterclockwise. Additional clicks will continue to rotate the document until it is back at the original orientation.
Enable Hand Tool – This tool allows the user to click on the document and drag. If the document currently is zoomed in so that the sides are off the screen, the user can drag horizontally.
Document Properties – Clicking this option will bring up information about the document including the default.
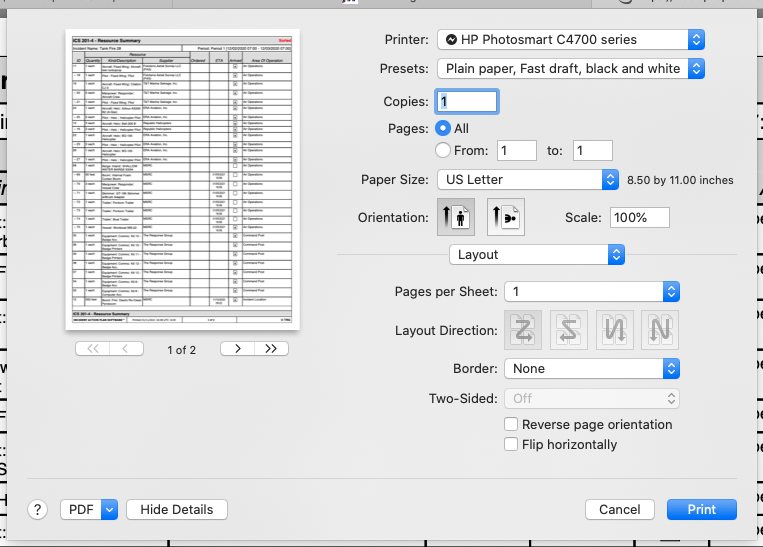
Click File to open the menu then select Print.
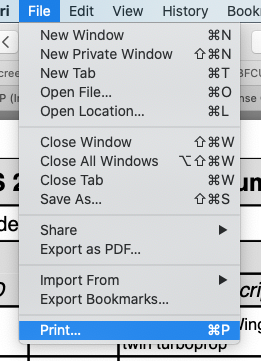
Use the options on the print menu to setup the job and send to the printer.
Click File to open the menu then select Export as PDF.
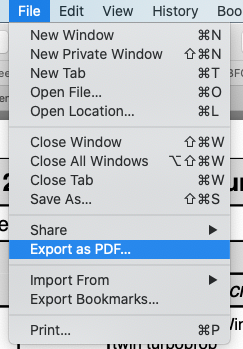
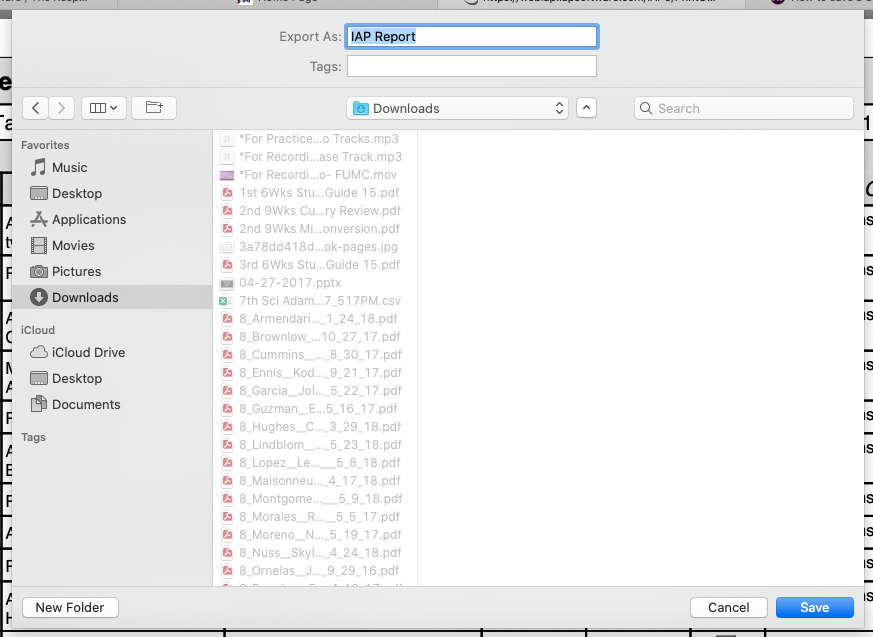
Use the options provided to select the file name and the location where the file will be saved.
Hover over the bottom middle area of the screen to show the viewing options.
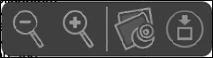
Click on the zoom out icon  to zoom out.
Click on the zoom in icon  to zoom in.
Click on the Preview button  to open the pdf in a new window.
© 2024, TRG The Response Group LLC., All rights are reserved.
No part of this web site, and the information which it contains, may be reproduced, stored in a retrieval system or transmitted in any form or by any means, electronic, mechanical, photocopying, recording or otherwise, without prior written permission of TRG.