| IAP Software ™ |  |
| IAP Software ™ | |
General Form Functions
Many standard functions exist across all forms within the IAP Software™. These common functions, such as add/delete, drag/drop, minimize/maximize are elements used within the development of a form. These user-friendly and standardized buttons make filling out forms easy.
Contents
Open a Version From the Current Period and Incident
Open a Version From a Different Period
Open a Version From a Different Incident
Open a Preload or Template Version
Open a Version from a Template
Reset Default Grid Widths and Orders
Drag/Drop to Sort by Column Options
Maximize/Minimize Form Section
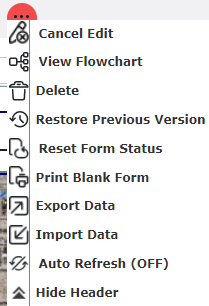
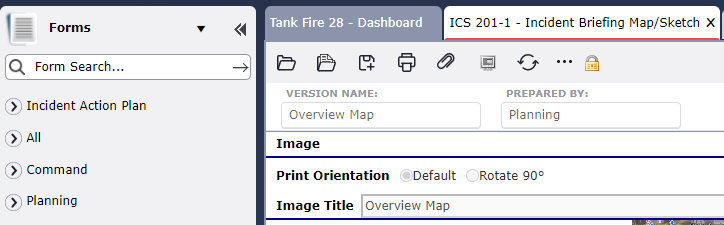
The Button Toolbar is designed to help users quickly find the commands they need to perform basic operations, such as saving, printing, and accessing preloads. Some lesser used items are only available via an extended menu, as shown in the image below.

To create a new version of the form, click the New button  . A blank version of the form will appear on the screen for the user to fill out.
There are several different ways to open a different version of a form. The different options are explained below:
NOTE: Activating Preloads is discussed in the Open a Preload or Template Version section. Create New is discussed in the Create a New Version of This Form section.
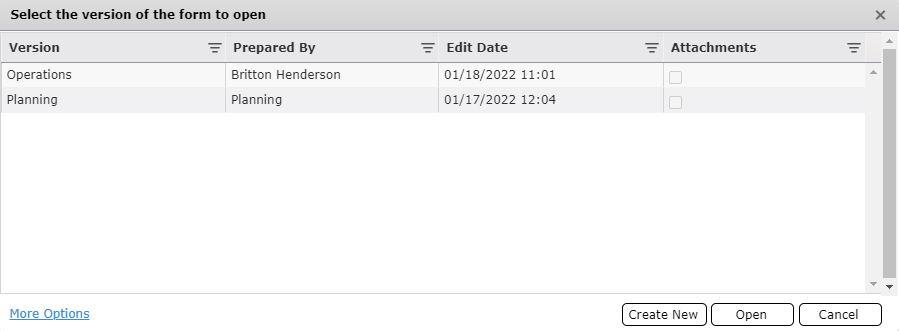
Click the Open button  . The Select the version of the form to open dialog box will appear.

You can filter the versions by clicking the Filter icon  .
.
Select the version of the form to be opened from the provided list.
Click Open.
Click the Open button  . The Select the version of the form to open dialog box will appear.

Click More Options  at the bottom right of the screen and check the box for Show All Incidents
  .
.
Click the period drop-down,  at the bottom of the Select the version of the form to open popup window to change the Period for the forms from which to select. The list of available form version choices will update based on the selected period.
You can filter the versions by clicking the Filter icon  .
.
Select the version of the form to be opened.
Click Open.

NOTE: The selected version will open in a locked environment, as indicated by the Lock icon  , if it is from a different period.
To save a locked version to the current period, the user will need to select the Save As button  , which will open a Save As pop-up.
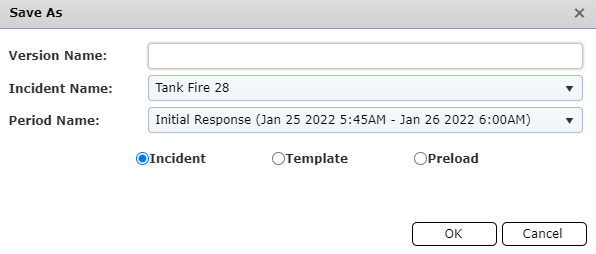
The user will then need to type in a Version Name and fill out the other fields. In order to save this version to the current incident and period, the user will choose the Incident Name and Period Name from the available drop-down and then press OK.
Click the Open button  . The Select the version of the form to open dialog box will appear.

Click More Options  at the bottom right of the screen.
Click the Checkbox next to Show All Incidents  to show all available form versions from other incidents. The list of available form version choices will update.
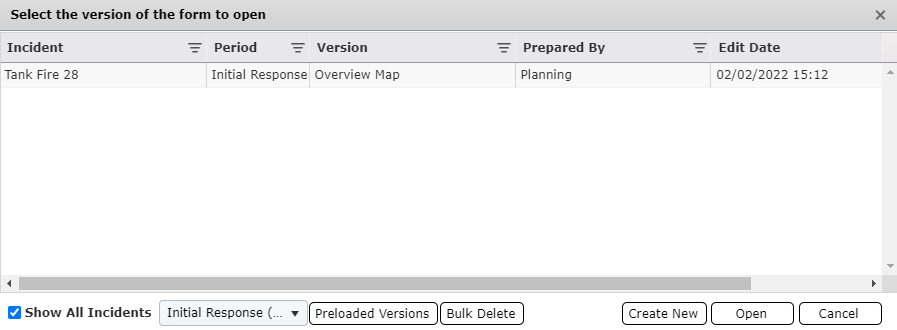
You can filter the versions by clicking the Filter icon  .
.
Select the version of the form to be opened.
Click Open.
NOTE: The selected version will open in a locked environment, as indicated by the Lock icon  , if it is from a different period.
To save a locked version to the current period, the user will need to select the Save As button  , which will open a Save As pop-up.

NOTE: The Save As pop-up will have the radio button option initially set to Template. Template versions are described in the Save as a New Version section below.
The user will then need to type in a Version Name and fill out the other fields. In order to save this version to the current incident and period, the user will choose the Incident Name and Period Name from the available drop-down and then press OK.
Click the Open button  . The Select the version of the form to open dialog box will appear.

Click More Option  at the bottom right of the screen.
Click the Preloaded Versions button  . The selection of forms will change to preloaded versions available.
NOTE: The user can also open a preloaded version by selecting the Open a Preload button  while in an opened version, which will open the Select the Preload to open dialog box. This option is discussed in more depth below, in the Open a Preload or Template Version section.
You can filter the preloaded versions by clicking the Filter icon  .
.
Select the preloaded form version from the list of available choices.
Click Open.
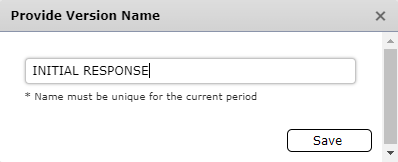
A Provide Version Name dialog box will open. The user must provide a version name which is not already existing in the incident and current period.

They will then click Save to store this version in the current Version. The preloaded version of the form will then open.

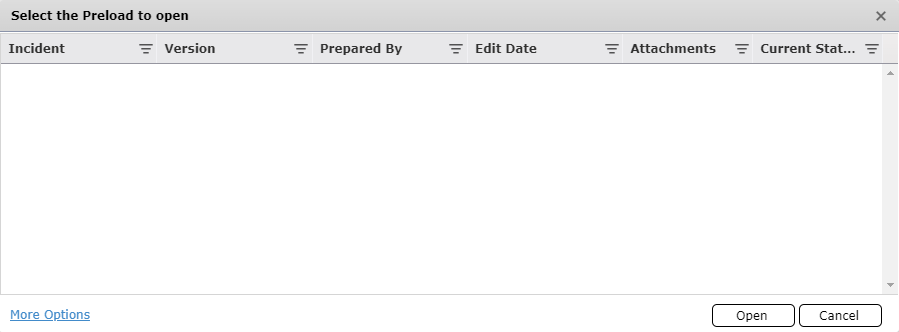
While already in a form version, the user can select the Open a Preload button  . The Select the Preload to open dialog box will appear.
You can filter the preloaded versions by clicking the Filter icon  .
.
Select the template version of the form from the list of available choices.
Click Open. The Provide Version Name dialog box will appear.
Rename the preloaded version as desired and click Save. The preloaded form will open.
While already in a form version, the user can select the Open a Preload button  . The Select the Preload to open dialog box will appear.
Click More Option  at the bottom right of the screen.
Use the Drop-down menu  at the bottom of the selection window to select an incident to choose a templated version from.
NOTE: The drop-down will be defaulted to show the **Preloads** option.
You can filter the form versions by clicking the Filter icon  .
.
Select the version of the form from the list of available choices.
Click Open. The Version Name dialog box will appear.

Rename the templated version as desired and click Save. The template form will open.
To save all changes made to a form, click the Save button  .
.
NOTE: If multiple users are in the same version of a form at the same time, there are safeguards in place to help ensure no information is lost when saving. Users will receive a warning message notifying them of the possibility of potentially overwriting data.

Click the Save As button  . The Save As dialog box will appear.
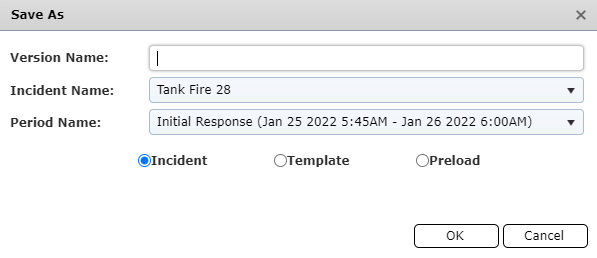
Type the desired name for the version of the form to be saved.
Use the Radio buttons  to designate if the version of the form is to be saved as an Incident version, a version within a Template, or a Preloaded version.
Incident will create a new version of the form within the selected period and incident.
Template will add a version of the form to the existing template incident chosen.
Preload will save a version of the form which can then be accessed as a preload from any incident.
If the Incident or Template option is selected use the Drop-down menus  to select the incident/template and period in which to save the form.
Click OK.
Click the Print button  .
.
If there are unsaved changes to the form, the Save Changes dialog box will appear. Click OK to save the changes and continue printing.

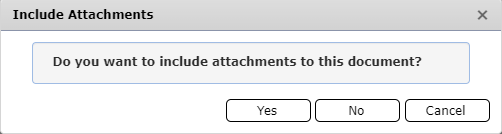
If there are attachments to the form, the user can choose to print attachments along with the form.
NOTE: Some forms offer different print layout options depending on content.
A new web browser tab with a PDF version of the form will appear which can be viewed, saved/downloaded, or printed.
NOTE: Each web browser will have different options for viewing and printing the generated pdf.
For in-depth instructions on how to print using each browser, see the Print By Browser page.
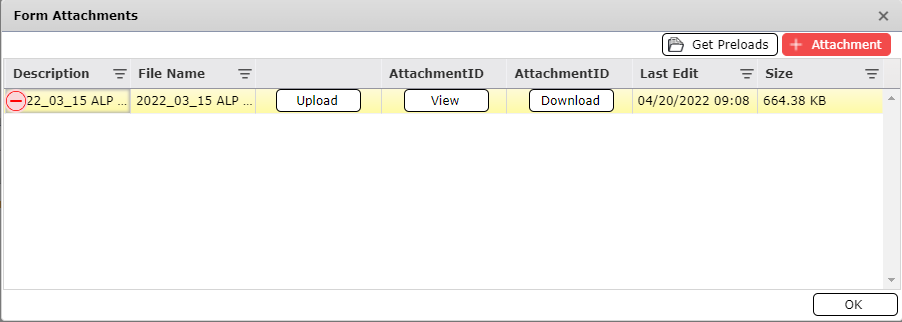
Click the Attach button  . The Form Attachments dialog box will appear.
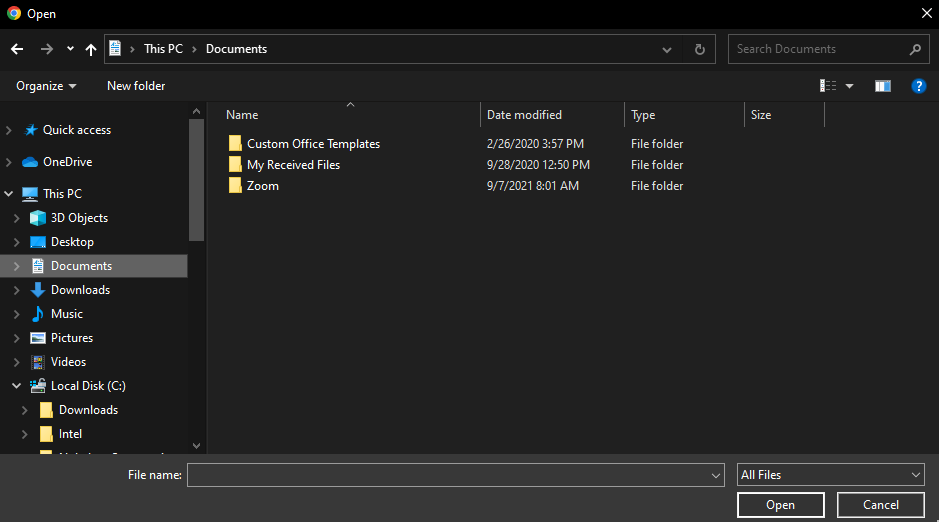
Click the Add button  . The Open dialog box will appear.

Navigate to the file which is to be attached.
Click the Open button  . The file will then appear in the Form Attachments list.

NOTE: To upload an edited or different version of what is attached to the form click the Upload button  . To view the Attachment, click the View button
  . To Download an attachment and save to another location click the Download button
  .
.
Click OK. A red box will appear over the Attach icon  within the button tool bar indicating the form has attachments present.
Within the Form Attachments window click the Get Preloads button  to attach items that have been specifically preloaded for that form.
Click the preloaded item(s) of interest (multi-select by clicking on each file or click Select All  /Clear All
  ) and then click OK.
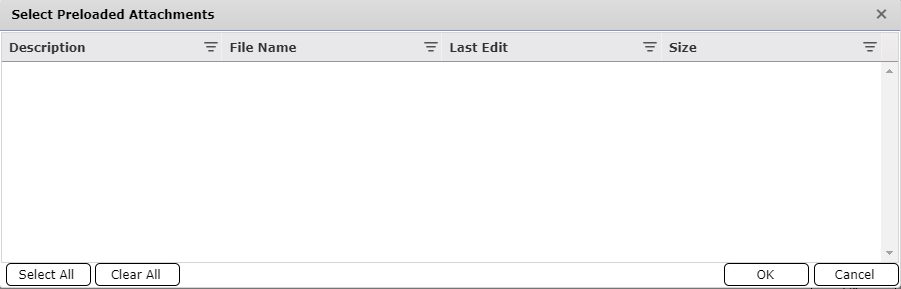
NOTE: The items that appear in the Select Preloaded Attachments window are specifically preloaded for the current form that is open. For example, preloaded attachments found within the ICS 208 will not be the same as the preloaded attachments for the ICS 206.
Switch to Display Mode  will show you, sometimes, the form with a tabbed view distribution or just a magnified look of the content. Switch to Details Mode
  it will change the form back to the original view.
To discard all changes made since the document was last saved click Cancel Edit  . The Cancel Edit confirmation dialog box will appear. Click OK to discard changes.
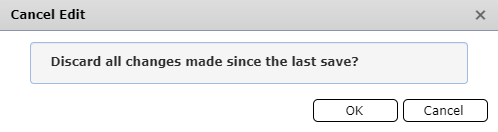
NOTE: Cancelling an edit will cause the form to refresh automatically.
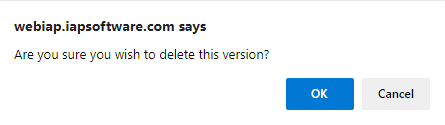
The version of the form which the user has open can be deleted by clicking the Delete option  . The Confirm Delete popup will appear. Click OK to delete the current form.
The Restore Previous Version allows users to return the form to a previously saved version or bring back deleted versions.
NOTE: Not all forms have the option to Restore Previous Version.
Click Restore Previous Version  . The Select the version of the form to restore dialog box will appear.
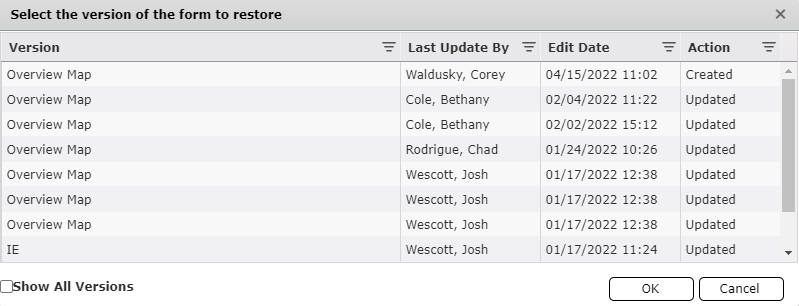
Select the version to be restored and click OK. The Version Name dialog box will appear.
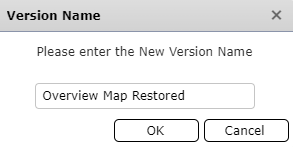
Rename the restored version as desired and click OK. The restored form will open.
The Print Blank Form option allows you to print a blank document of the current form. Click the Print Blank Form  option and a blank PDF version of the form will open in a new browser tab.
Some forms have the option to Export Data in a JSON format to be used as a data backup which can be uploaded later to restore the form.
Click the Export Data  option. The file will be downloaded to your computer.
Name the data backup file and select the save location from the download popup or the downloads section of your computer. Click the Save button  .
.
NOTE: The file will be saved in a JSON format, not XML. Each file download will be different depending on the browser being used.
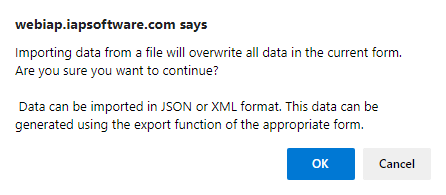
Data which has been exported as a backup can be restored using the Import Data function.
NOTE: This feature is only available on forms with the export/import JSON feature.
Click the Import Data option  and navigate to the exported JSON file previously saved as a backup. Click the Open button
  to select the data file to import.
The Import data dialog box will appear. Select the file to import and press OK.
The form will populate with the restored data. Name the version and save the form.
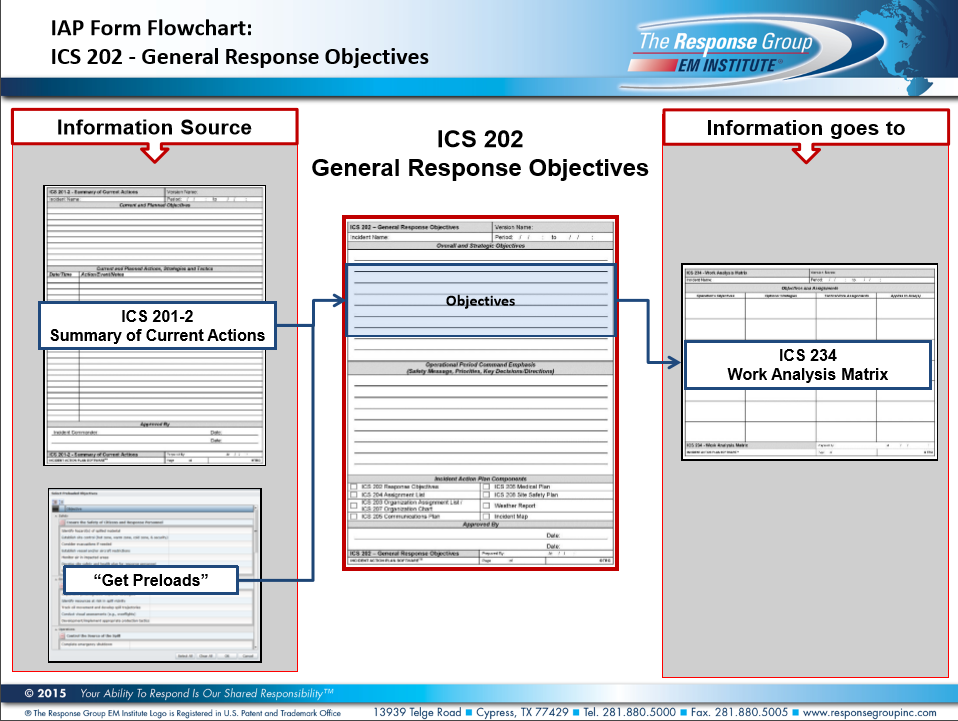
The View Flowchart option illustrates how forms are connected by data throughout the software. To view the flowchart for a form, click the View Flowchart option  . The flowchart will open in a new browser tab.
Refresh  will reload the form and show the latest data within the current version of the form.
The page will refresh on a set interval automatically when the Auto Refresh  function is selected. This provides users constant visibility of the most recent updates.
NOTE: When Auto Refresh is selected, the form is locked from editing. This is indicated with a Lock icon  .
.
NOTE: The interval for automatically refreshing the form can be adjusted via an application option by an administrator.
The Hide Header option  will hide the header information bar of the given form, allowing for more of the screen to be shown.
The Reset Default Grid Widths and Orders option  will reset all columns and sections of the form to the default order and size.
A version name is comparable to a file name in a word document. A consistent naming convention should be adhered to for document control and is very helpful when locating form versions in the IAP Software™.

Click in the Version Name field and type the desired form name, then click Save.
NOTE: If a form is saved without specifying a version name, the date and time from your computer will save as the version name.
Many forms are broken into different sections. Each section has different form functions available.
Use the expand/collapse buttons 
 to view all or hide sub-levels of information on a form.
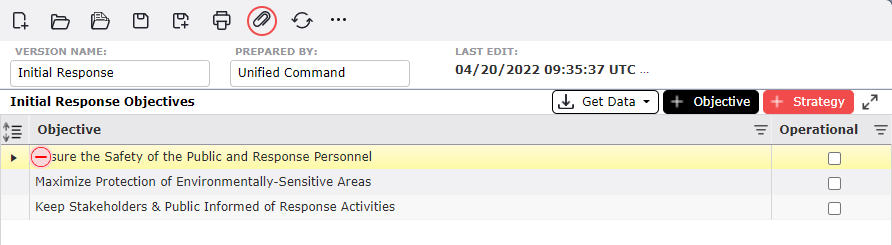
Below is the collapsed view of high-level overall objectives.

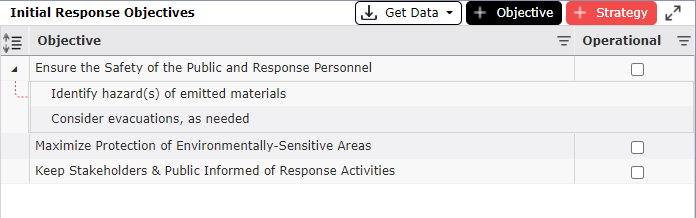
Below is the expanded view of overall objectives with sub-level strategic objectives.
The add/delete buttons are used when the user wants to add/delete item(s) on the form.


Select the Add button  to add an item. Then, enter the information or choose from the drop-down.
Hover over the item you wish to remove and click the Delete button  . Next, confirm the option to delete by clicking OK.
NOTE: After a slight delay, the delete button will appear. After another slight delay once the delete button shows, it will disappear.
On selected forms the rows can be rearranged by the drag and drop function.
Select the field to rearrange, drag it above/below where it should be and release the click to drop it in the desired location. Notice that as it is moving a four-point arrow  appears and the selected line is highlighted yellow showing where it will be placed.
NOTE: In Resource forms, such as All Resources or 201-4, users can drag and drop rows onto other rows to group them as parent/children. For more information, please see the All Resources and/or 201-4 pages.
On selected forms the columns can be rearranged by the drag and drop function.

Select the column header to rearrange, drag it right/left to place before or after a different column and then release the click to drop it in the desired location. Notice there are arrows  pointing to a new destination when hovering over other columns while the column is still selected.
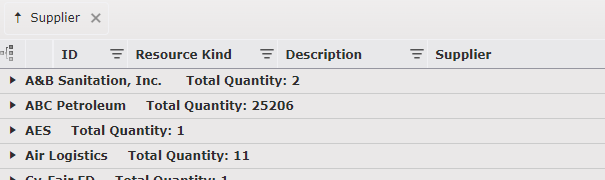
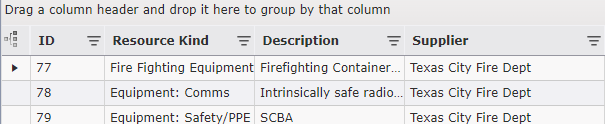
On selected forms, column headers can be dragged and dropped to sort the items in the grid by the attributes in the column. This option is made known to be available by the Drag a column header and drop it here to group by that column grey section.

Select a column header to sort the grid by.
Keep selection of that column, then drag and drop it in the Drag a column header and drop it here by that column grey section.

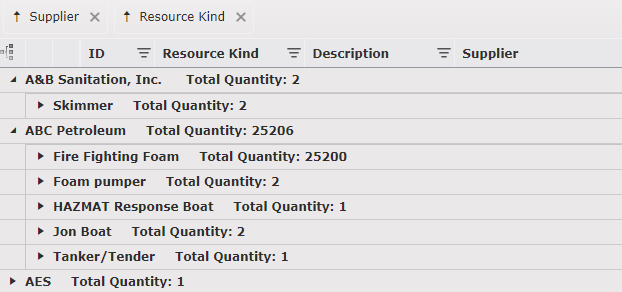
Once the column is released in the grey section, users can see the view change in the grid.
NOTE: The sorted view will also be reflected in the printed pdf version.
Users can sort the grid by more than one column option at once by repeating steps 1 through 3 above with a different column.
To remove the sorted options, press the Close button  .
.
On many forms the fields can be modified in a text edit dialog box. Double click on the field and a text edit dialog box will appear. Here the user can free type text, increase the font size, and do a quick spell check. When the text edits are complete, click OK to continue.
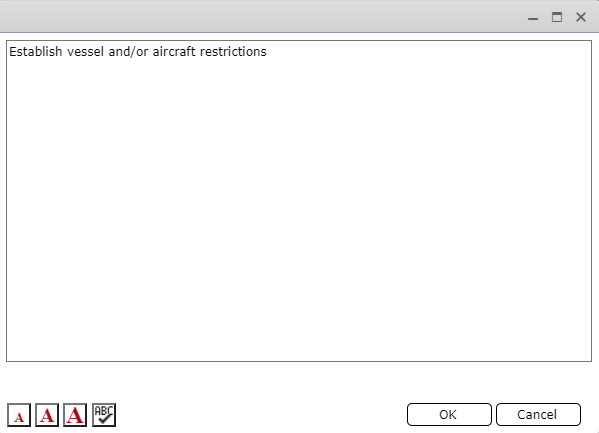
NOTE: The text does not have to be highlighted to increase the size or complete a spell check.
Each section of a form can be expanded or hidden by clicking on the Maximize and Minimize buttons, respectively.

Click on the Maximize button  to expand the view of that section of the form. This will expand the view of that section for the whole screen.
Once in the maximized view, click the Restore button  to set it back to normal.
Another way to expand/hide sections on a form is by moving the solid blue divider line:
Hover over the grey divider line in the section you want to expand. A double-sided arrow will appear. Click and drag down to expand the view within that section or up to reduce the view.
NOTE: The Maximize and Minimize features are helpful when working on certain sections of a form or if displaying a particular section of a form in a meeting or on a situation status display.
On forms with a tabular layout the data can be sorted or filtered per column.
Clicking on a column header sorts as ascending  , descending
  , or unsorted
  .
.
Most column headers feature a Filter button  to further narrow a search for items. Select this button to apply a filter.
NOTE: A white Filter button  indicates there is already a filter applied to a column.
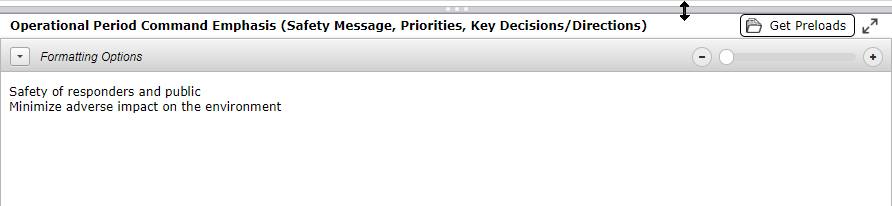
The formatting toolbar is a visual editor like those found in word processing programs, which allows text formatting functionality. This feature is common throughout many forms within the IAP Software™. For more details on text formatting see the Formatting Toolbar page.

To use the different formatting options, click on the expand arrow  at the top section of the form. Highlight the text and click on the desired formatting option to modify text using the functions provided. To hide the formatting options, click the collapse arrow
  .
.
NOTE: When finished formatting, be sure to click Save  to ensure the edits are updated on the form.
Cut, copy, undo and redo are available from the text box.

NOTE: Options to paste include paste  , paste as text
  and paste from Word
  .
.
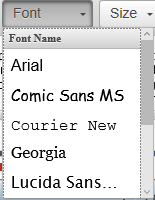
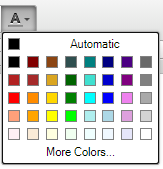
Control the size, style, and color of the font.
Control the appearance of individual paragraphs (e.g. alignment, bulleting, numbered list, and indentation controls).

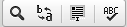
Find and Replace select words. Check the spelling of all text within the text box.
Zoom in to get a close-up view or zoom out to see the text box at a reduced size using the sliding scale, located in the lower right corner of the form.
NOTE: The Zoom to whole page button  is not available for all form sections.
© 2024, TRG The Response Group LLC., All rights are reserved.
No part of this web site, and the information which it contains, may be reproduced, stored in a retrieval system or transmitted in any form or by any means, electronic, mechanical, photocopying, recording or otherwise, without prior written permission of TRG.