| IAP Software ™ |  |
| IAP Software ™ | |
Information Manager
Incident Manager is the central location designed to review and distribute incident-related information that can be generated using the ICS 213 General Message, Significant Events from Log forms (ICS 214a, ICS 214, Incident Event Log), Messaging, and Field Observations.
Contents
Configure Information Manager Settings
Incident and Application Options
Manage Significant Information
There are several settings which must be configured for the Information Manager process.
Both Incident Specific Options and Application Options screens have settings to control the following features of Information Management: Use Process and Use Sensitive Data Opt. Application Options controls these features for the database overall and new incidents created. Incident Options will update these settings for the current incident selected. For more information see either the Incident Specific Options or Application Options page.

Information Manager manages both Significant and Other data. The two types of data are managed in separate tabs. All information is displayed by default but can be narrowed down further.

To utilize the search and filter options at the top to narrow the list of items displayed.
Free type in the Search field  and press the enter button to search the list.
Use the dropdown list filters 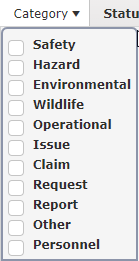 to select specific criteria to be displayed. The Clear Filters button can be used to clear all filters that have been applied.
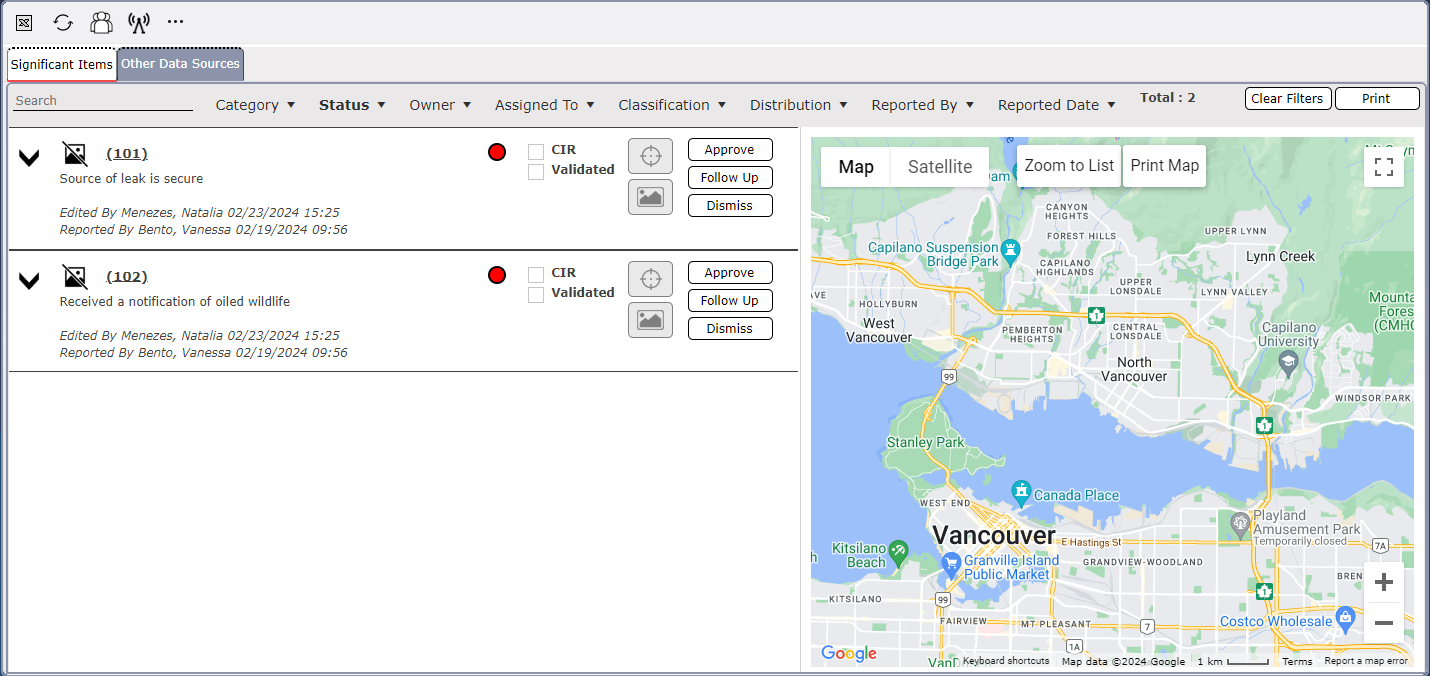
The information manager screen automatically opens to show the Significant Items tab. A summary of each item will be displayed with management options on the right-hand side.
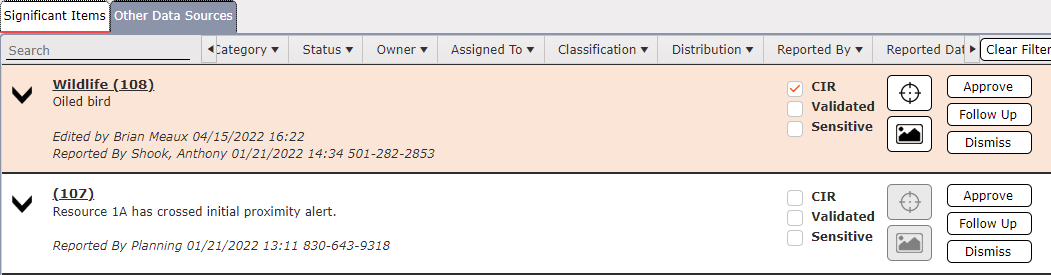
The classification section is used to indicate important message attributes. Users can utilize the checkboxes to indicate if a classification applies to the significant event item.

Use the Edit Location button  to select a location associated with the item.
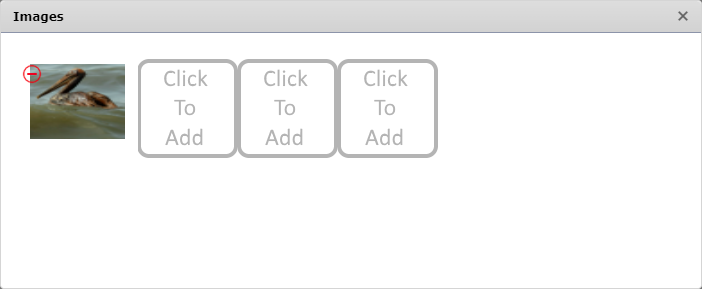
Up to four pictures relevant to the significant can be captured and added to the item. To add and image, click the Add button  . Navigate to the file location and click to select the desired image, then click the Open button. The selected image will be included in the Significant Event.
Use the Action buttons  to Approve, Require Follow Up or Dismiss the item.
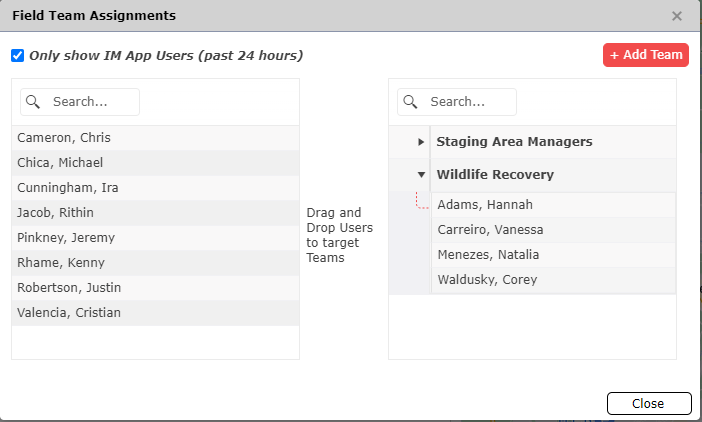
Use the Teams button  to create new teams and target field assignments and messages to specific personnel. Users can add Teams clicking the Add Team button
  and by drag and dropping personnel within each Team created.
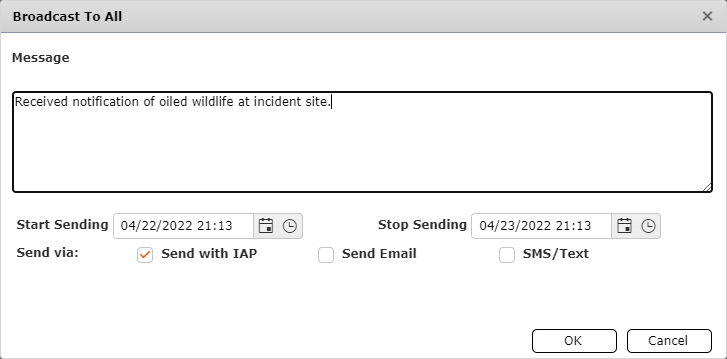
Use the Broadcast To All button  to send the message Description to all responders to the current incident.
Use the Print button  to print the form in a .pdf file.
Click the Other Data Sources tab to view information that has not been designated as significant. A summary of each item will be displayed with management options.
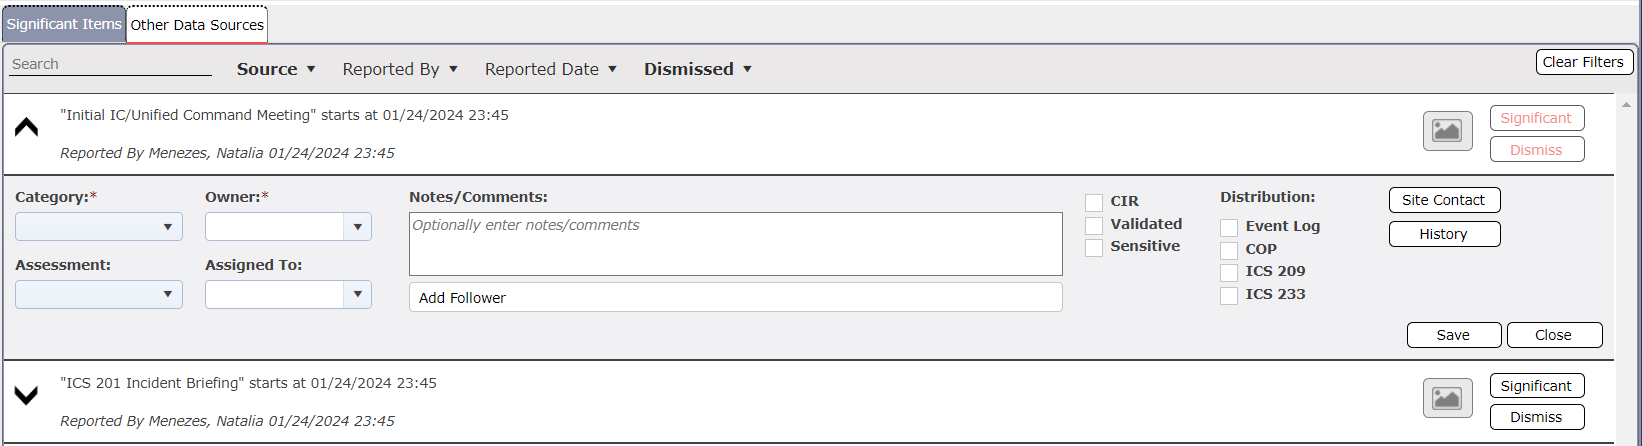
Use the dropdown menus to select the Category, Assessment, Owner, and Assigned To.
Free type to add Notes/Comments
The classification section is used to indicate important message attributes. Users can utilize the checkboxes to indicate if a classification applies to the event item.

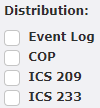
Users can utilize the checkboxes to indicate how a notification of an item will be conducted.
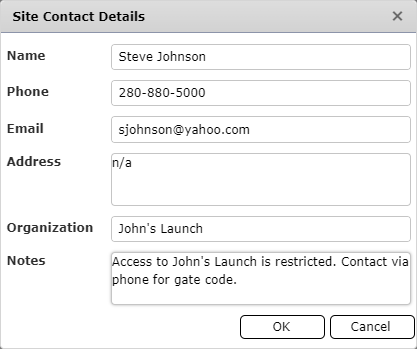
In some cases, there may be a need to document is a person who is listed as the Site Contact. Click the Site Contact button  to view and update the contact information fields. Free type to enter contact information.
Click the History button  to show activity history for the item.
Use the Save button  to save all changes or the Close button
  to minimize the item.
Use the Dismiss button  to dismiss the item. There is a section to enter notes about the dismissal before clicking the Save button
  .
.
© 2024, TRG The Response Group LLC., All rights are reserved.
No part of this web site, and the information which it contains, may be reproduced, stored in a retrieval system or transmitted in any form or by any means, electronic, mechanical, photocopying, recording or otherwise, without prior written permission of TRG.