| IAP Software ™ |  |
| IAP Software ™ | |
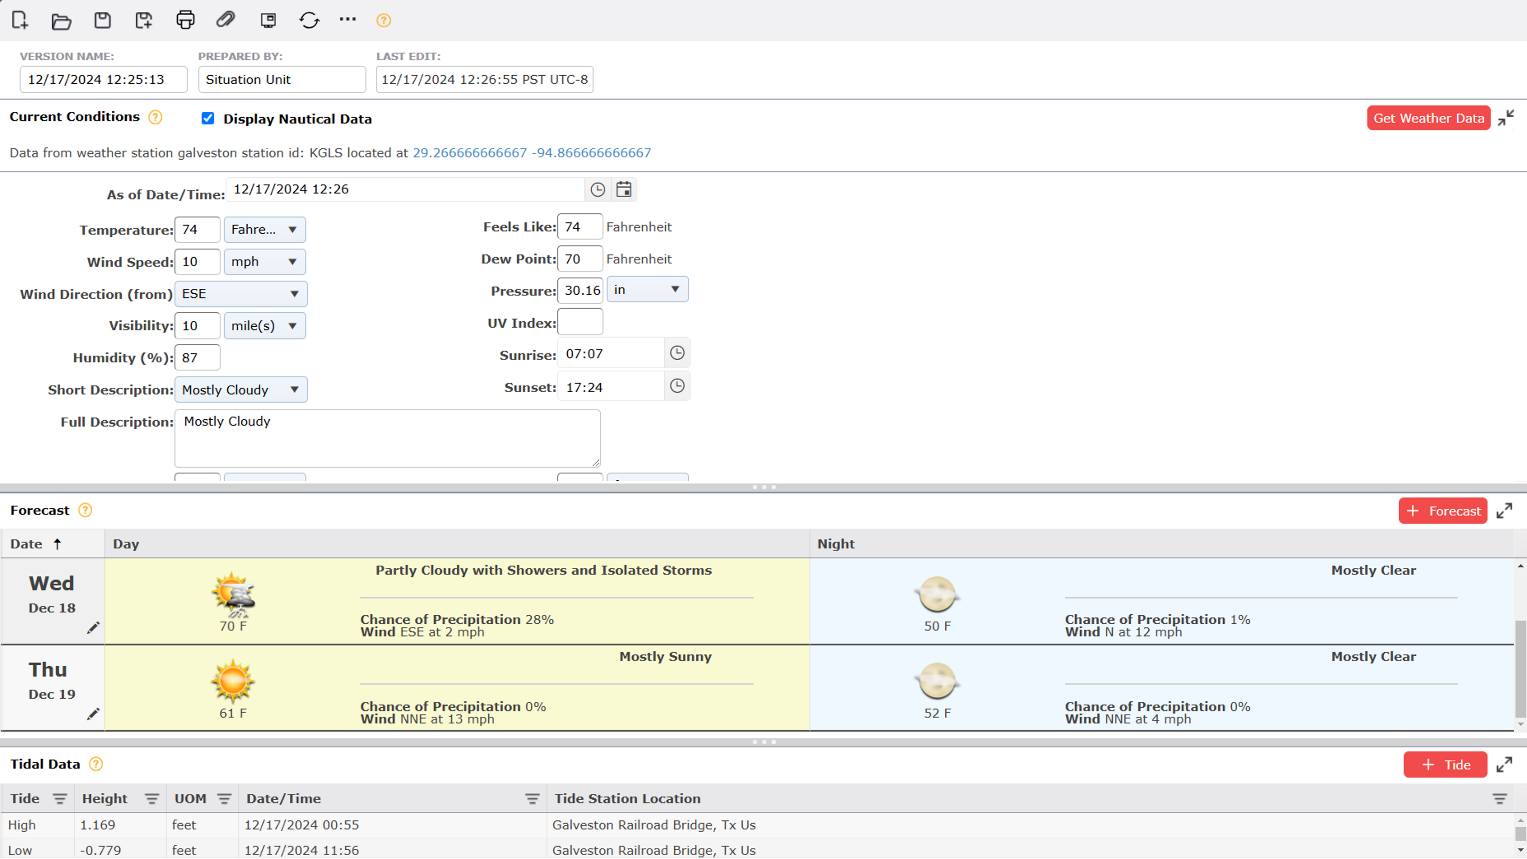
Weather Report
The Weather Report allows users to document the current and forecasted weather during the current and next operational period. For help on using general form functions (e.g. Create/Open Version, Save, etc.) and accessing preloaded versions, see the General Form Functions page.
Contents
A user can auto complete the Weather Report by clicking the Get Weather Data button  located at the top left of the Weather Report.
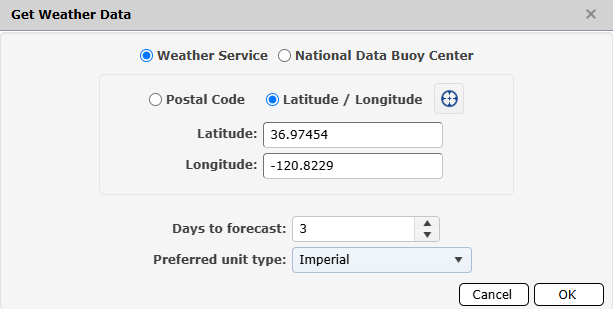
Select the weather service to get weather data from by selecting the desired radio button options listed  .
.
Users can either choose the Postal Code radio button 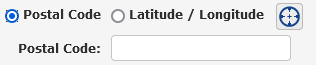 and manually enter in the postal code, or the Latitude / Longitude radio button
 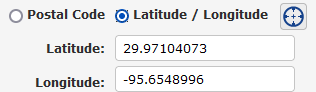 and manually enter in coordinates.
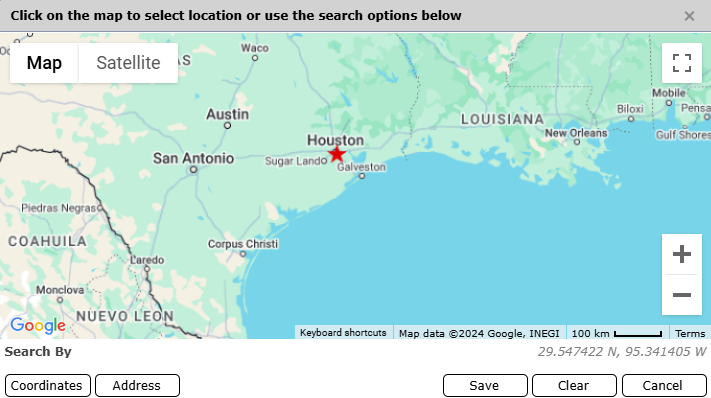
Users also have the option to instead select the Edit Location button  to find the area via map view. For more information, please reference the Edit Location page.
Specify the number of Days to forecast by either manually entering in a number or using the arrows  to increase or decrease the default option of 2.
Select the unit type in the Preferred unit type, (Imperial or Metric), drop-down.
Click OK  .
.
A user can enter present weather conditions manually by completing all the fields in the first section of the form or use the Get Weather Data function outlined above. Users can also choose to show nautical data in present conditions by checking the box in the form header next to Display Nautical Data  .
.
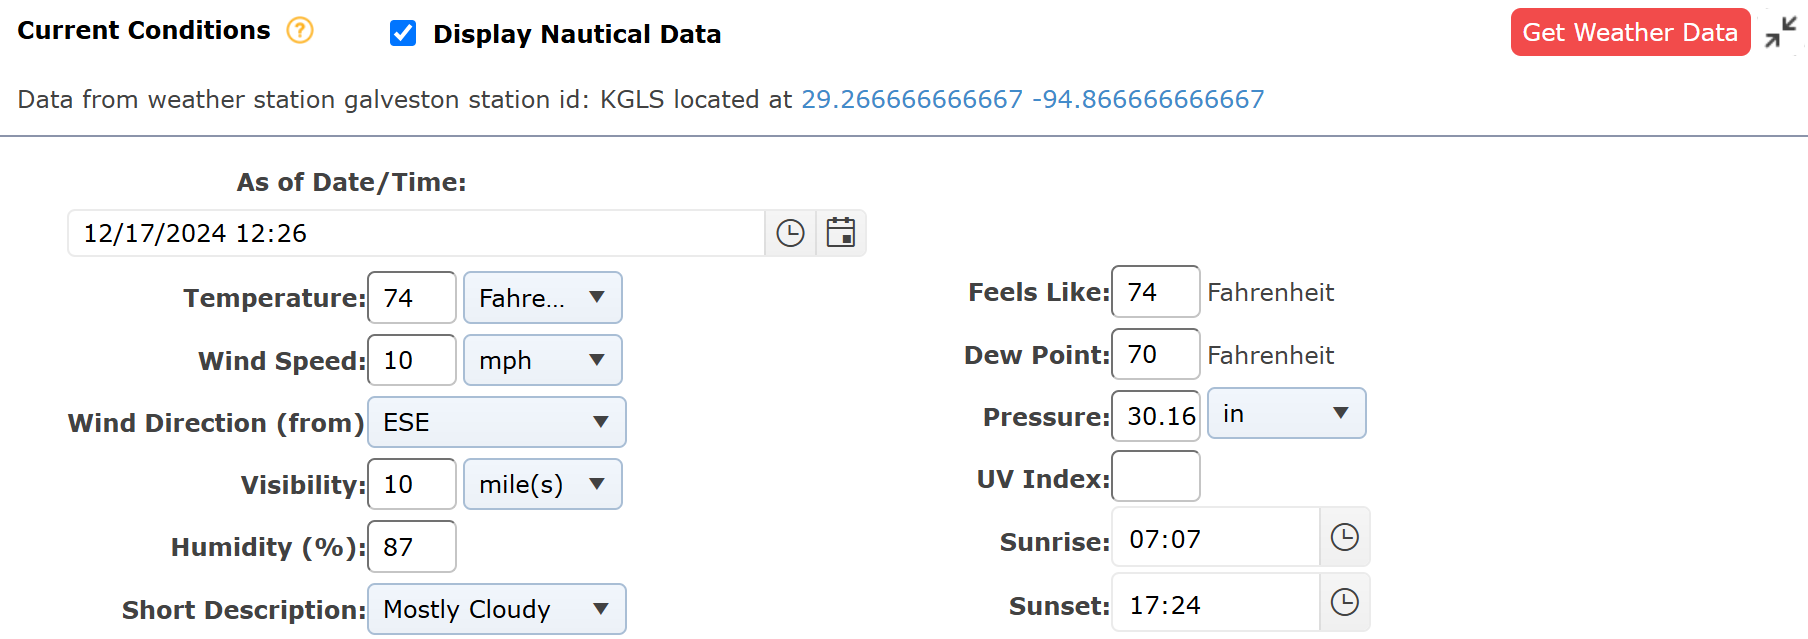
NOTE: Nautical data is referring to the Tidal Data section. If this box is unchecked, then the tidal data will not be displayed. Some areas do not have available tidal data regardless of the box being checked or not.
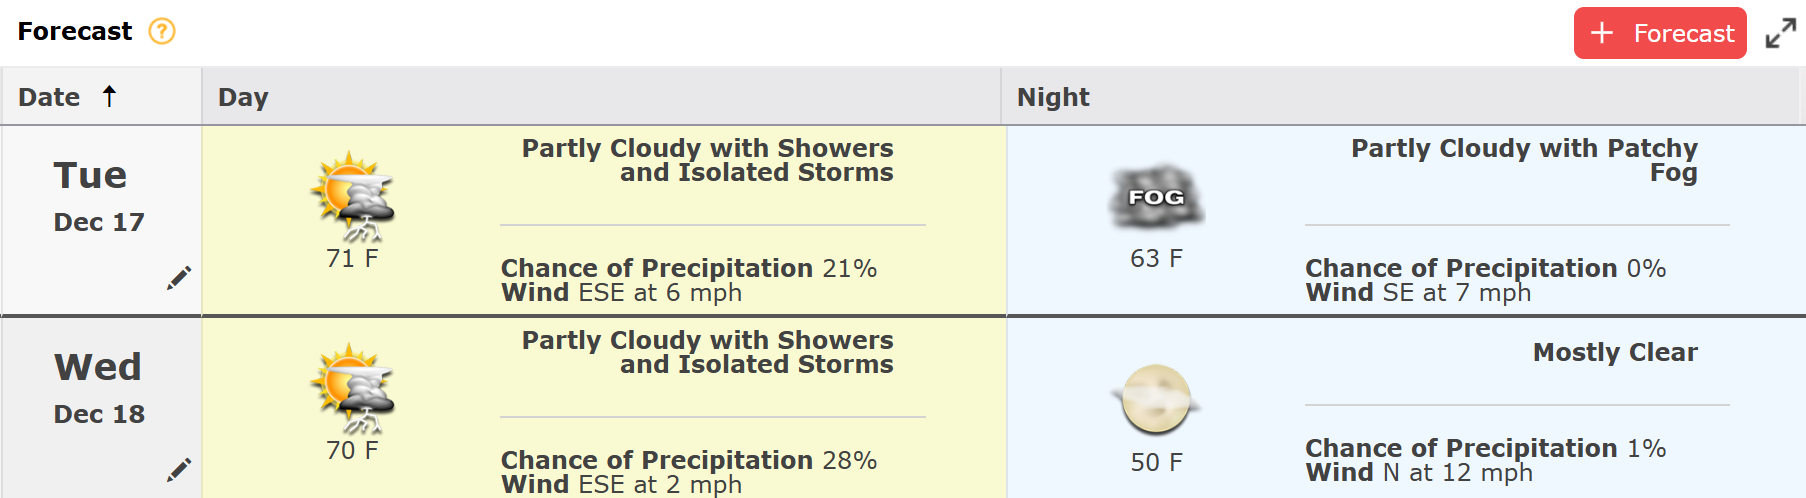
A user can enter forecasted weather conditions manually by completing all of the fields that apply within the Forecast section of the form or use the Get Weather Data function outlined above.
To add a line item manually and click the Add button  .
.
To delete a line item, hover over the desired line item for a moment and the delete button will appear, then click on the Delete button  to remove the line item. If you remain hovering over the line item, the delete button will disappear after a couple of seconds.
Users can click the Maximize/Minimize button  to have the field cover the entire area under the header.
Users can bring the screen back to the original view by selecting the Maximize/Minimize button  .
.
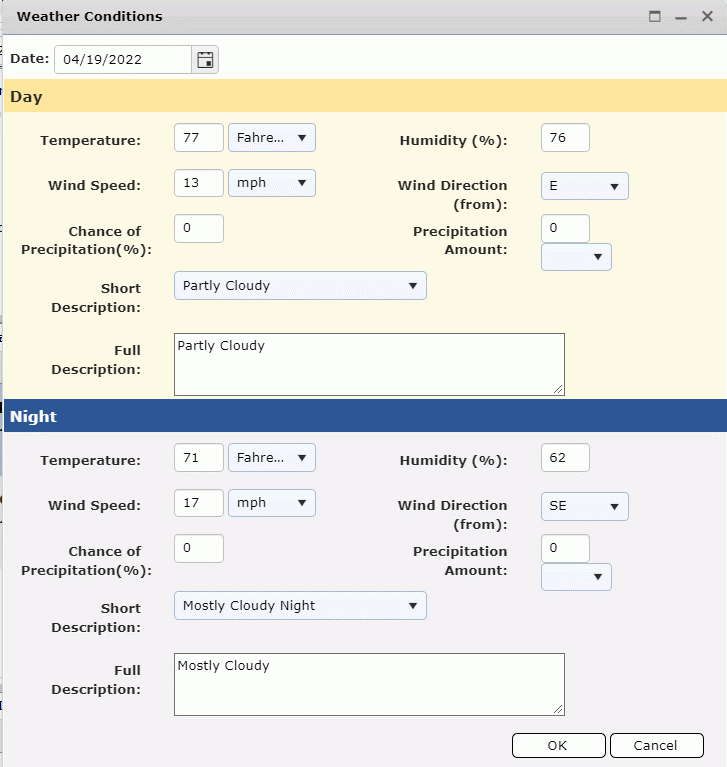
To edit the contents of a line item already present in this area, users can select the Pencil button  and manually change the information in the pop-up.
A user can enter tidal data information manually by completing all of the fields that apply within the Tidal Data section of the form or use the Get Weather Data function outlined above.

To add a line item manually, click the Add button  .
.
To delete a line item, hover over the desired line item for a moment and the delete button will appear, then click on the Delete button  to remove the line item. If you remain hovering over the line item, the delete button will disappear after a couple of seconds.
NOTE: Line items already present can be edited in the grid of the Tidal Data Section by selecting on each component. Some will offer drop-down choices, and others will be manual type in.

The Weather Report can be viewed in Display Mode which minimizes text and utilizes weather icons to represent weather conditions, making the form more presentable for meetings or situation status boards.
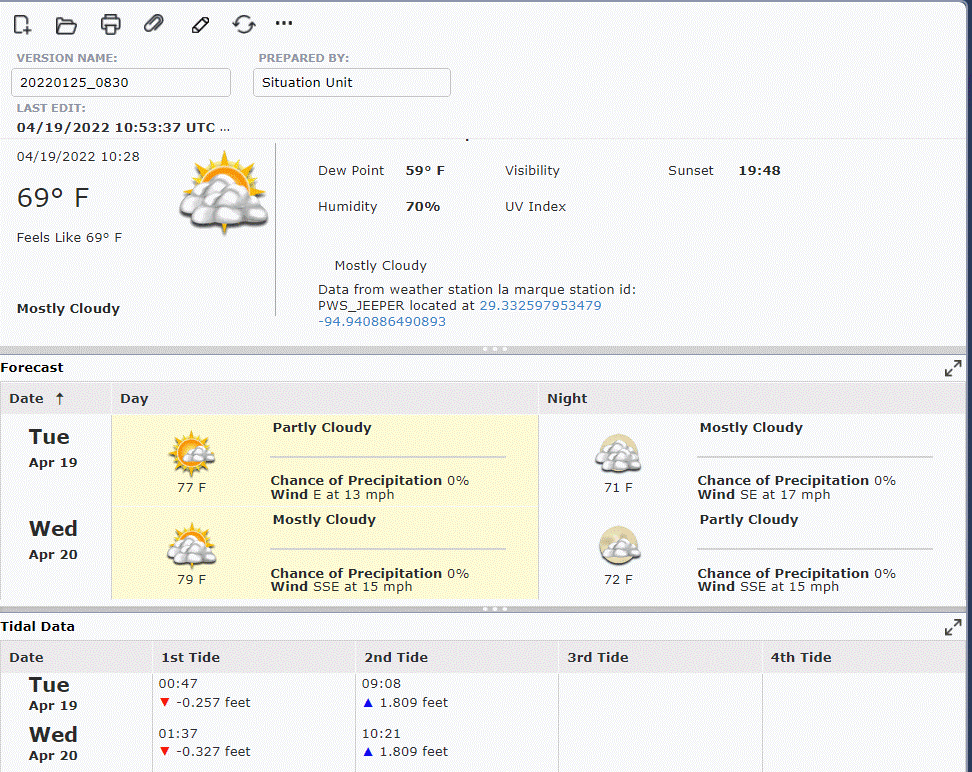
To switch the view to Display Mode, click the Switch to Display Mode button  at the top of the form.
To switch the view back, click the Switch to Details Mode button  at the top of the form.
© 2024, TRG The Response Group LLC., All rights are reserved.
No part of this web site, and the information which it contains, may be reproduced, stored in a retrieval system or transmitted in any form or by any means, electronic, mechanical, photocopying, recording or otherwise, without prior written permission of TRG.