| IAP Software ™ |  |
| IAP Software ™ | |
Activate GRP
Geographic Response Plans (GRP) can be prepopulated with information necessary to protect pre-determined areas. Users can activate those areas and bring the related information into an incident. GRPs can be activated from several locations in WebIAP Software. They can be activated from the Activate GRP form or anywhere the Areas button  is available (Areas of Operation, ICS 204, ICS 213RR, ICS 215). GRPs are often activated from the Areas of Operation screen. For more information, see the Areas of Operation page. For help on using general form functions (e.g. Create/Open Version, Save, etc.) and accessing preloaded versions, see the General Form Functions page.
Contents
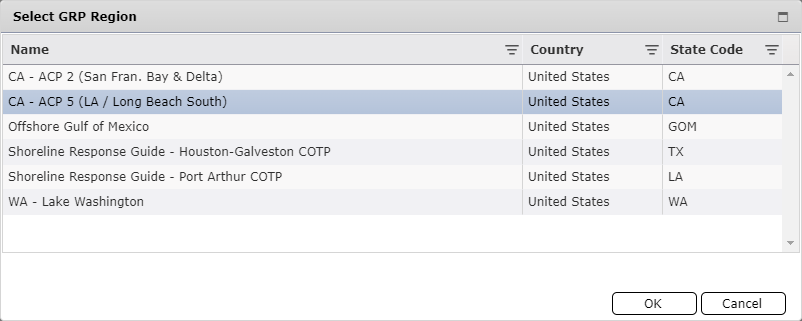
There are two different viewing options available to assist users with selecting GRPs which may be affected by the event. Users can choose to view either by List View or Map View and can then filter the search results further. Upon opening the Activate GRP screen the user must select a GRP Region to be viewed. Select the GRP Region and click OK to open the GRP window.
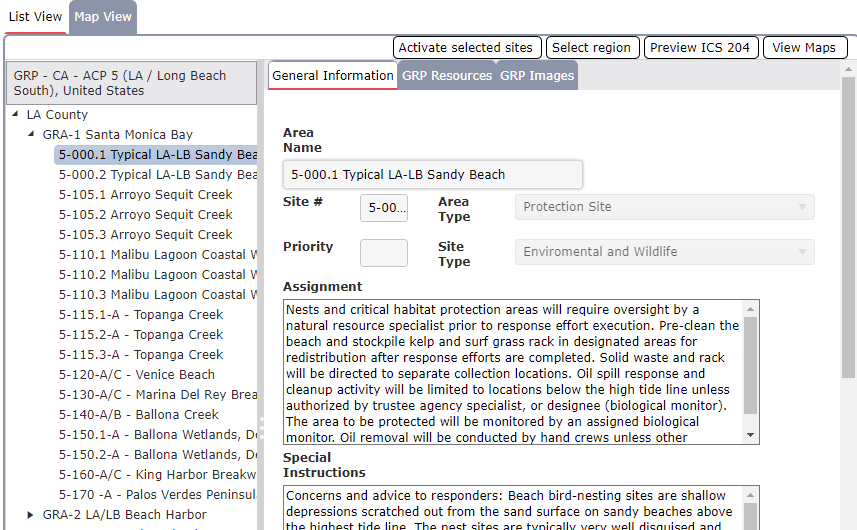
The default view when users open the Activate GRP screen is the List View. The List View can be used to easily select sites that are already known or identified.

NOTE: Clicking the Select Region button  will open the Select GRP Region window so users can select another/additional regions.
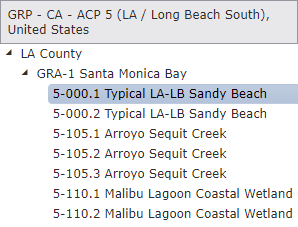
Use the expand  and collapse
  buttons to view the sub-regions and their associated GRP sites.
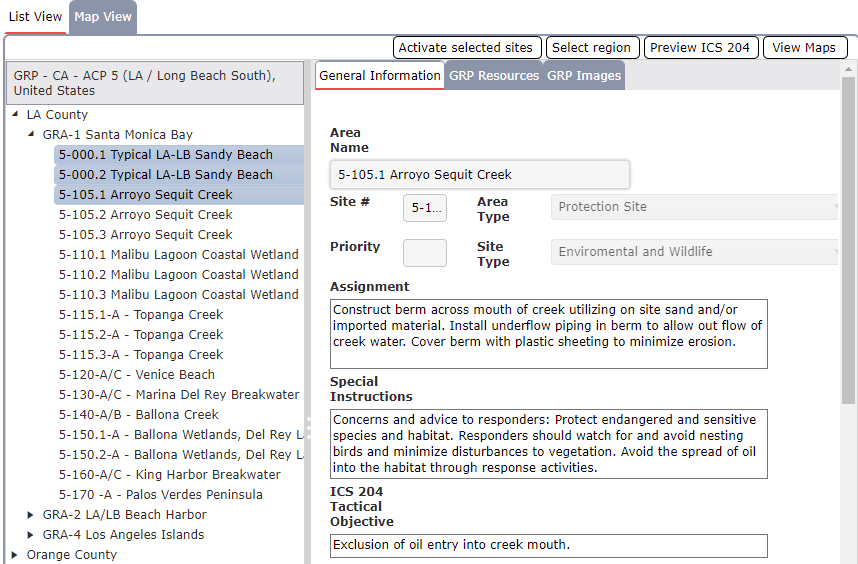
Click to select an individual site. The site will be highlighted on the list and detailed site information will be displayed within the GRP information pane on the right-hand side of the screen. Use the General Information, GRP Resources and GRP Images tabs to review the site information.
Before activating a GRP site users can preview associated ICS 204 information and maps.
Click to select a site to view detailed information.
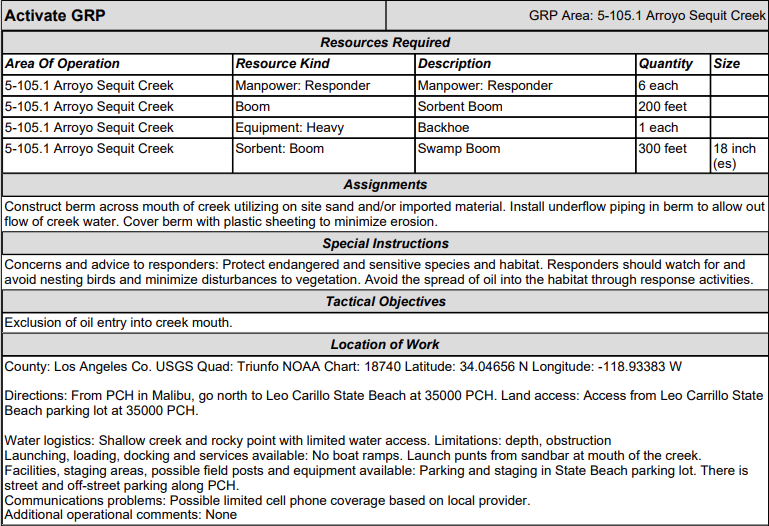
Click the Preview ICS 204 button  to view assignment data which has been preloaded for the selected site.
Click the View Maps button  to see a listing of thumbnail images associated with the selected site.
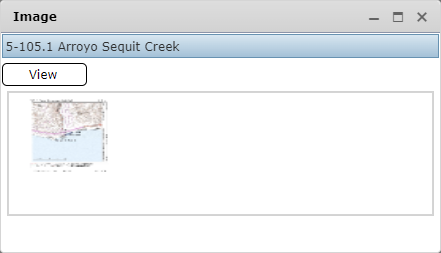
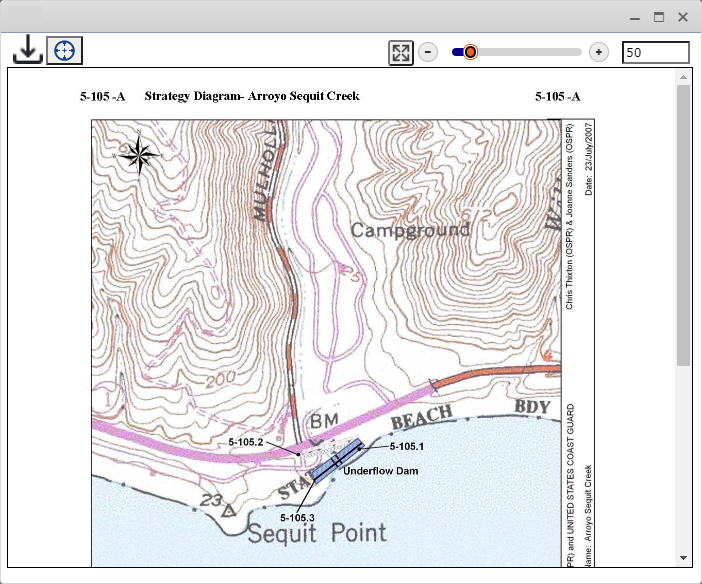
Then select one of the thumbnails and click the View button  to preview the map.
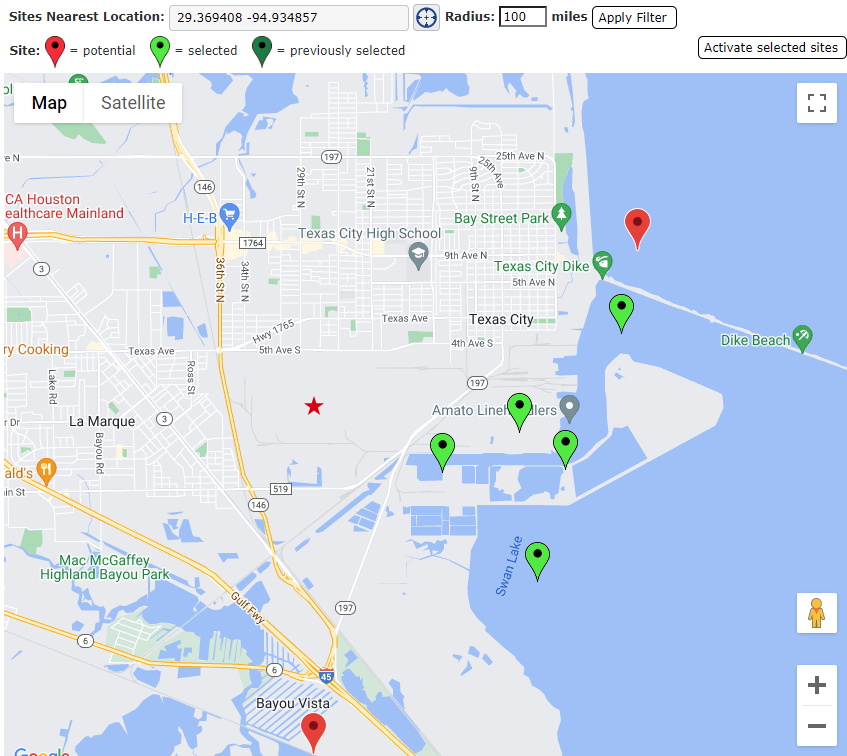
The Map View option displays designated GRP sites within the selected GRP Region. The default view of the map shows sites within a designated radius around the incident location.
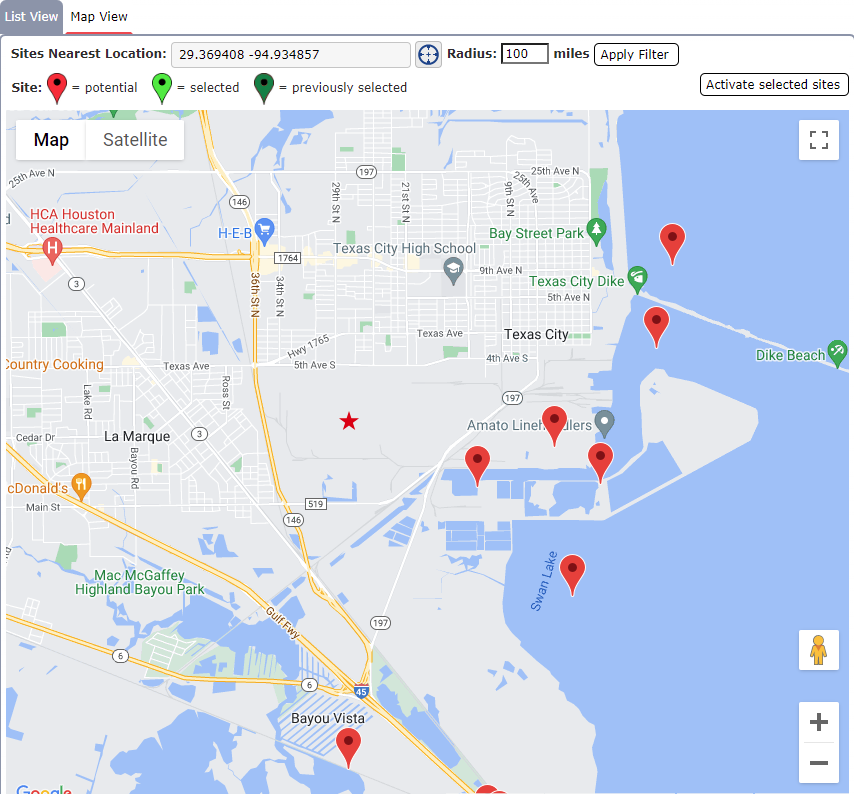
Sites Nearest Location  will populate with the incident location by default but can be adjusted to another set of coordinates using the Edit Location button
  . For more information see the Edit Location page. Radius
  allows users to select a distance within which to perform a search for GRP sites. After updating the location and radius click the Apply Filter button
  to view sites within the established parameters.
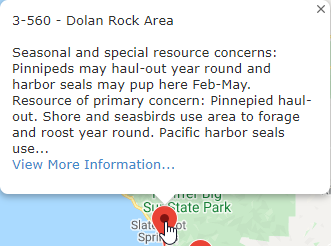
To view a summary of site information, hover the mouse point over the map point  . A popup will be displayed.
When users select a site on the map point the site will be highlighted in green  . Click the map point to select an individual site.
Before activating a GRP site users can preview associated ICS 204 information and maps. Hover over the map point  to display the summary popup. Within the popup click on the View More Information link
  . In a new tab a preview of the ICS 204 will be opened.

Once the user has decided which sites will be affected by the response they can activate these sites to bring them into the incident and begin planning response strategies.
Select the site(s) using one of the methods detailed in the sections above.
Click the Activate selected sites button  .
.
Then select the Area of Operation where the sites should be assigned and if the sites should be assigned at the same or sub-level.
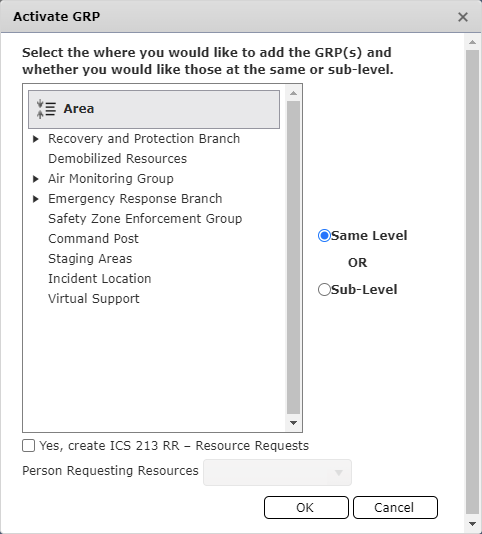
Same Level option will add the record at the same level as the selected area when the OK button is selected.
Sub-Level option will add the record as a “child” record to the selected area when the OK button is selected.
Cancel option will not activate the GRP Site.
Use the checkbox to create associated ICS 23 RR – Resource Requests and assign the Person Requesting Resources. When the checkbox to create ICS 213RR is selected the software will automatically create an ICS 213RR - Resource Request with a status of Creating.
Then click OK to activate the sites.
© 2024, TRG The Response Group LLC., All rights are reserved.
No part of this web site, and the information which it contains, may be reproduced, stored in a retrieval system or transmitted in any form or by any means, electronic, mechanical, photocopying, recording or otherwise, without prior written permission of TRG.