| IAP Software ™ |  |
| IAP Software ™ | |

Getting Started in IAP Software™
Incident Action Plan (IAP) Software™ is a fully NIMS compliant software package that has been developed over the years to become an all-encompassing tool for incident management. By using the Incident Command System (ICS) process, IAP Software™ manages and conveniently organizes the entirety of an incident response from the necessary resources (personnel & equipment) to the finances and logistics. IAP is a user-friendly system of forms that ensures command officials have valid, up to the minute data through the duration of an incident. For drills and any kind of incident, there is no better management software than IAP Software™.
Contents
To access the IAP Software™, users must first navigate to the webpage.
Open the Internet browser (except Internet Explorer) and type www.iapsoftware.com into the address bar.
When the IAP Software™ Client Login page loads, click IAP Launch  to launch the application.

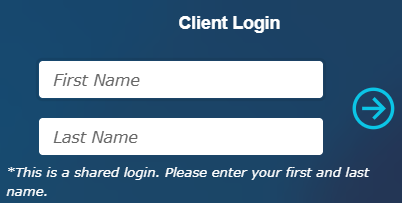
Once the software is launched, users can log in using their username and client code. When a user logs in using a shared login, they will be prompted to enter their first name and last name after the initial log in. This allows the end user’s name to be used when filling out forms, such as automatically generating an ICS 214a Individual Log and adding their name in the Prepared By and Version Name fields.
Type the Username and Client Code information into the fields provided. Click the Arrow  to proceed.

NOTE: When Single Sign-On (SSO) is setup, the login procedure may look differently depending on the active directory service the user’s organization has established. Please refer to the system administrator for more information.
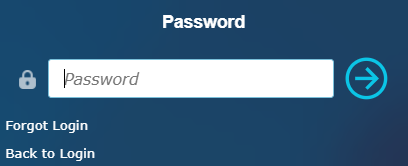
Type the Password into the field provided. Click the Arrow  to proceed.
If using a shared login, the user will be prompted to enter their First and Last Name. Click the Arrow  to proceed.
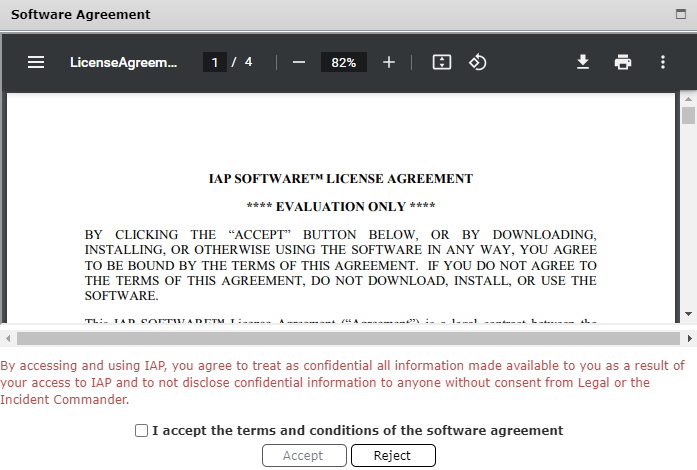
After reviewing the license agreement, select the checkbox to acknowledge acceptance of the terms and conditions within the Software Agreement, then click Accept  to continue using the software or Reject
  to log out.
If a user can’t remember their login information or the information isn’t working, the password can be reset in a few simple steps.
NOTE: For shared logins, the user should contact their company’s IAP Software™ administrator to ensure the correct login information is being used. When a shared login is reset, the information should be communicated with all users who use the login information.
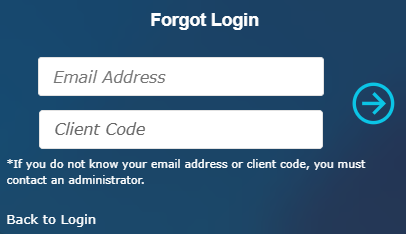
Click Forgot Login.
Type in the email address and client code.
Click the Arrow  to proceed or press ‘Enter’ on the keyboard. The software will provide a message stating that the password has been sent to the email address entered.

Clicking on the link within the email will take the user directly to resetting the user account password.
NOTE: Sometimes the emails from IAP Software™ are sent to a Spam folder. If the message isn’t in the inbox, please check there.
Enter a new password, then re-enter to verify
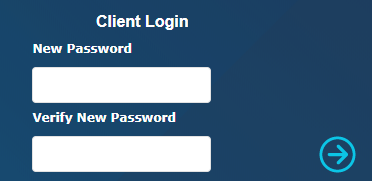
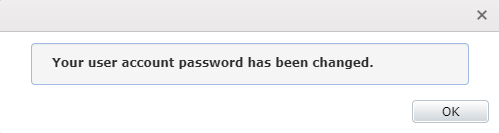
A popup will appear to confirm the successful change of password, and an email will be sent to the email address associated with that account as another form of password change confirmation.
Users can choose to have the IAP Software™ displayed in languages other than English.

Click on the language icon  .
.
Chose the desired language from the list that appears.
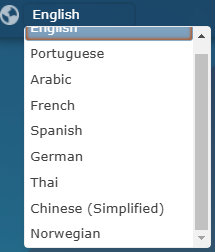
The page will refresh and will be translated.
Follow the steps above to login to the software.
Personnel without access can submit a request for access to the software from the login page.
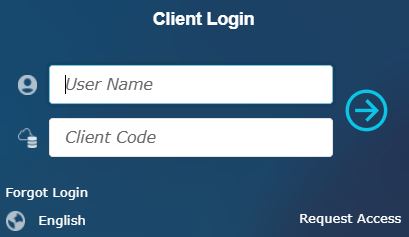
Click on the Request Access link  under the login fields.
Complete the fields on the Request Access form.
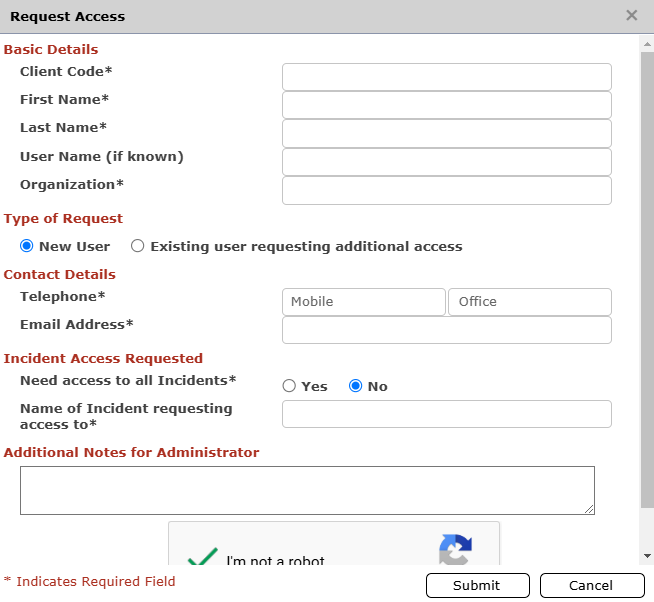
Complete the reCAPTCHA and then click Submit  .
.
The access request will be sent to the database administrator for approval.

NOTE: For information on approving access requests see the User Access Requests page.
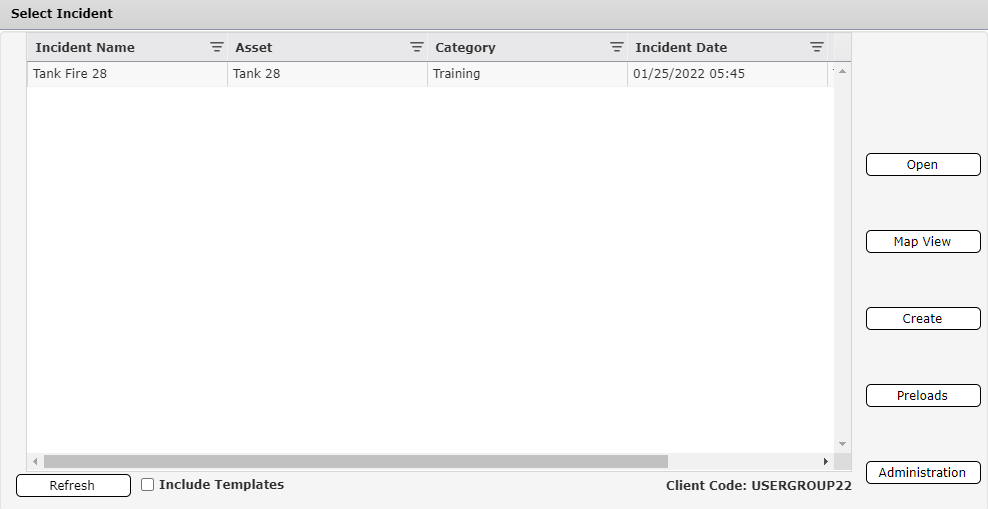
Before navigating through the IAP Software™, the user must select an Incident.

Incidents are listed by name and typically in chronological order in the database. The user can sort the Incident Names alphabetically by clicking on the column header. The user can also filter the incidents by names by clicking on the Filter  button. The user can even filter by the Asset, Category, Incident Date, and the Nearest City.
Once the user has selected the appropriate incident, it will be highlighted. Then click the Open  button to open-up the incident.
To create a new Incident, click the Create  button. For more information, see the Create New Incident page.
In Preload Mode the user can create versions of forms to use in any incident. Should an incident occur, these forms will be available to copy into any incident within the database. To enter preload mode, click the Preloads  button. For more information, see the Preload Mode page.

NOTE: User accounts must have specific administration permissions to access Preload Mode.
The Administration  button is used to get to the Administration tab without having to select an incident.
Users can change from one incident to another without having to log out of the software. To select a different incident:
Click on the Incident Name drop down in the Navigation Pane. Information about the current incident selected will appear.

Click the Select Incident  button. The Select Incident dialog box will appear.
Click on the desired incident, then click Open  , or use the Create
  button on the right to start a new incident.
© 2024, TRG The Response Group LLC., All rights are reserved.
No part of this web site, and the information which it contains, may be reproduced, stored in a retrieval system or transmitted in any form or by any means, electronic, mechanical, photocopying, recording or otherwise, without prior written permission of TRG.