| IAP Software ™ |  |
| IAP Software ™ | |
Create a New Incident
Whether a user is planning for an event or responding to an incident, creating an environment in the software to capture and manage information is accomplished simply through the IAP Software™ Create New Incident feature. Responders can manually create an incident in the software or use a guided Wizard to help them.
Contents
Create Incident (without Wizard)
Create Incident Using an Incident Template
After logging into WebIAP, a pop-up window will appear with available Trainings, Drills, and Real Events to select from. Follow the steps identified below to create a new incident:
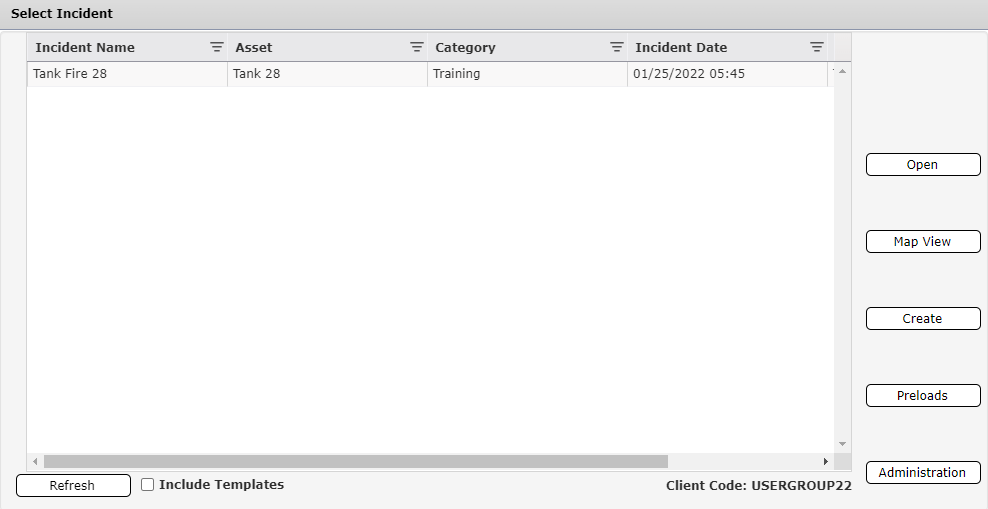
Click the Create button  on the startup screen.
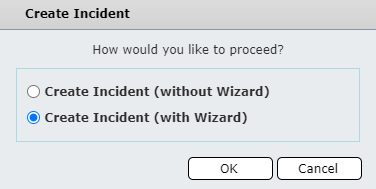
This pop-up offers two options, shown and described below.
Users who choose the option to create a new incident without using the Wizard are presented a short form to enter basic incident information. This helps to expedite the creation of the incident. Below is a description of each of the fields available to be completed.
NOTE: Fields with red asterisks beside them indicate that they are required. All data entered in the fields may be modified after incident creation.

Create From Template: Choose the incident template to begin with, if desired.
Incident/Event Name: Name of the incident. If the official name is not known enter a temporary name.
NOTE: The Incident Name must be unique in comparison to other incidents within the database.
Incident/Event Date: Enter the date and time of the incident in 24hr format, time zone should be local to the incident location.
Category: Select the category of the incident from the available drop-down choices.
NOTE: Real Event category does not produce a watermark for printed reports by default.
Description: Capture the initial description and/or the current situation of the incident.
Incident Type: Enter the Incident Type from the available drop-down options.
Asset Type: Use the drop-down list to select the affected asset type and specific asset, if applicable.
NOTE: If an asset has been preloaded with certain coordinates, those will automatically be populated in the Incident Location option upon selection.
Location: Click on the crosshairs to pull up a map to enter the latitude/longitude for the incident location.
More Options: Click to reveal additional settings:
Time Zone: Specify the time zone in which the incident occurred.
Incident Level: Select the severity level of the incident.
Create Incident Wizard: Switches to the Incident Wizard to finish creating the incident.
Report Format: Select between the usual form format (TRG) and the ones that follow the California regulations (OSPR)
NOTE: If the Create Incident Wizard option is selected while in the create an incident window is open, fields manually filled in by the user will be cleared out and must be completed again.
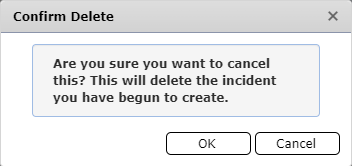
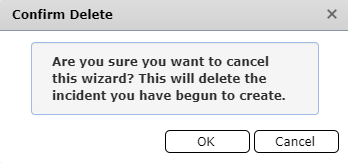
If the user no longer wishes to create the incident, then they can click the Cancel button. A pop-up will then occur, requesting the user confirm they are wanting to delete the incident.
To continue the cancelling of the new incident creation, the user will press the OK button, or cancel to go back to creating the new incident.
Users who choose the option to create a new incident with the Wizard are provided steps to enter all information known at the time of creating the incident. Each step links to a corresponding form within the IAP Software™ and information entered is automatically transferred to the associated initial response forms.
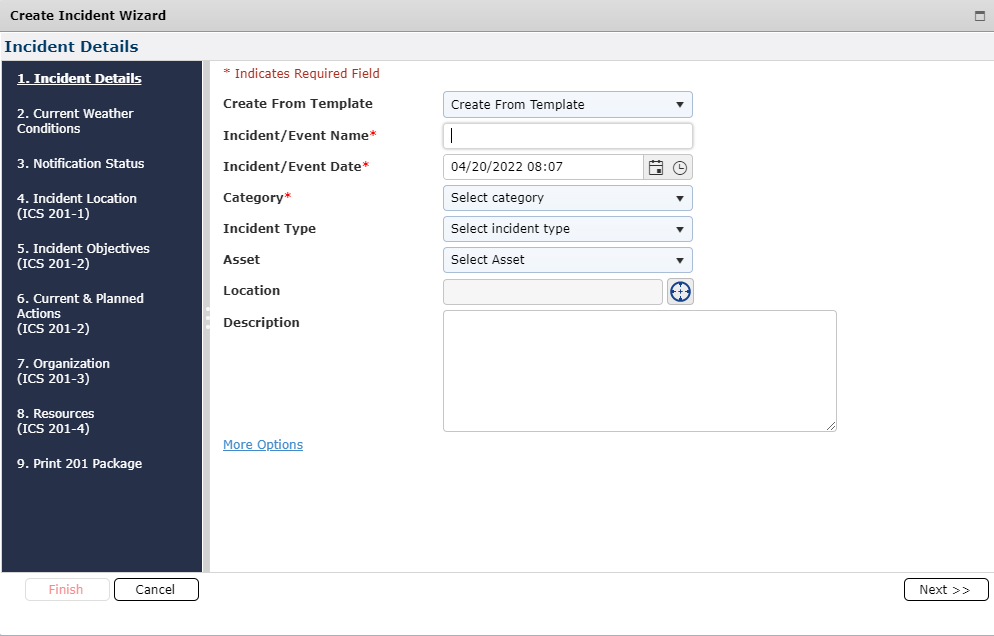
Incident Details – enter the Incident Name, Incident Type, Asset/Asset Type, including Incident Description and Coordinates. For more information, see the Incident Details page.
Current Weather Conditions – enter weather data such as Wind, Temperature, Nautical Data, etc. For more information, see the Weather Report page.
Notification Status – List any notifications made, both internally & externally. For more information, see the Notification Status page.
Incident Location (ICS 201-1) – Allows the user to create an initial map of the incident location. Location can be entered by either the Latitude and Longitude or physical address.
Incident Objectives (ICS 201-2) – Identify the primary objectives. For more information, see the ICS 201-2 or ICS 202 page.
Current & Planned Actions (ICS 201-2) – List any known significant events from the start of the incident. For more information, see the ICS 201-2 or the Incident Event Log page.
NOTE: Items added to the ICS 201-2 will be linked to the Incident Event Log as well.
Organization (ICS 201-3) – List key personnel assigned to the response. For more information, see the ICS 201-3 page.
Resources (ICS 201-4) – List the current resources ordered and/or on scene. For more information, see the ICS 201-4 or Resources Summary page.
Print 201 Package – Refer to the Printing page for detailed print options based on browser.
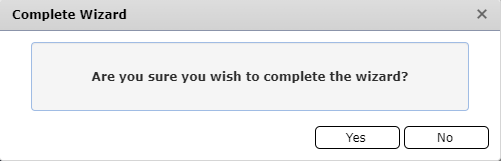
Click the Finish button  when complete, then confirm the wizard is complete by clicking Yes to create the incident.
NOTE: Not all steps have to be completed in the wizard. It is primarily used to fill out multiple forms in one place at the time of incident creation.
If the user no longer wishes to create the incident, then they can click the Cancel button. A pop-up will then occur, requesting the user confirm they are wanting to delete the incident.
To continue the cancelling of the new incident creation, the user will press the OK button, or cancel to go back to creating the new incident.
Administrators can create a template incident to be used when creating a new incident. A template incident includes pre-populated versions of specific forms. When an incident is created from a template these pre-populated forms will be brought into the new incident where they can be updated.
Select either of the options described in the above sections to begin creating an incident.
Use the Create From Template drop-down list  to choose the applicable incident template.
Pre-populated Incident Details will appear. Edit the Incident Details as necessary for the new incident. Be sure to update the Incident name, as well as date/time.
NOTE: All other forms may be edited in addition to the Incident Details screen if within the Wizard before completing out the incident creation.
Click the Create button  (or the Finish button
  if using the wizard), to create the incident, which includes all pre-populated forms.
After creating the incident, and if an Administrator within the specified database, you are presented with the option to review user security access (if User/Incident Security is enabled).

Click Yes to open the User/Incident Security Page for review. For more information on user security see the User/Incident Security Page.
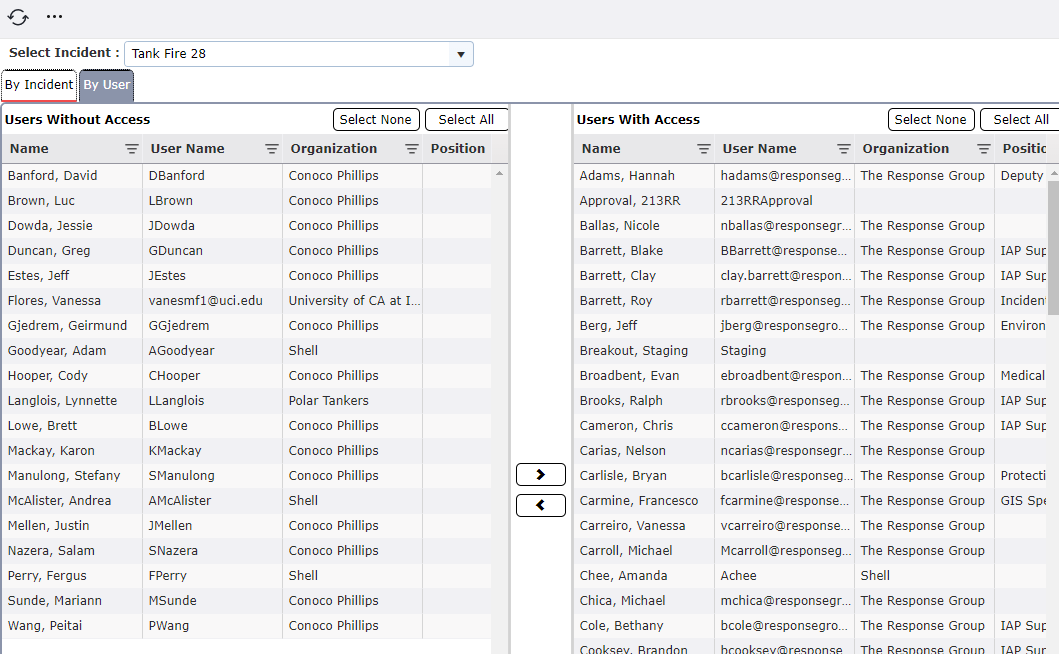
NOTE: Clicking No will take the user to the Incident Action Plan Software™ landing page.
© 2024, TRG The Response Group LLC., All rights are reserved.
No part of this web site, and the information which it contains, may be reproduced, stored in a retrieval system or transmitted in any form or by any means, electronic, mechanical, photocopying, recording or otherwise, without prior written permission of TRG.