| IAP Software ™ |  |
| IAP Software ™ | |
ICS 202 – Incident Objectives
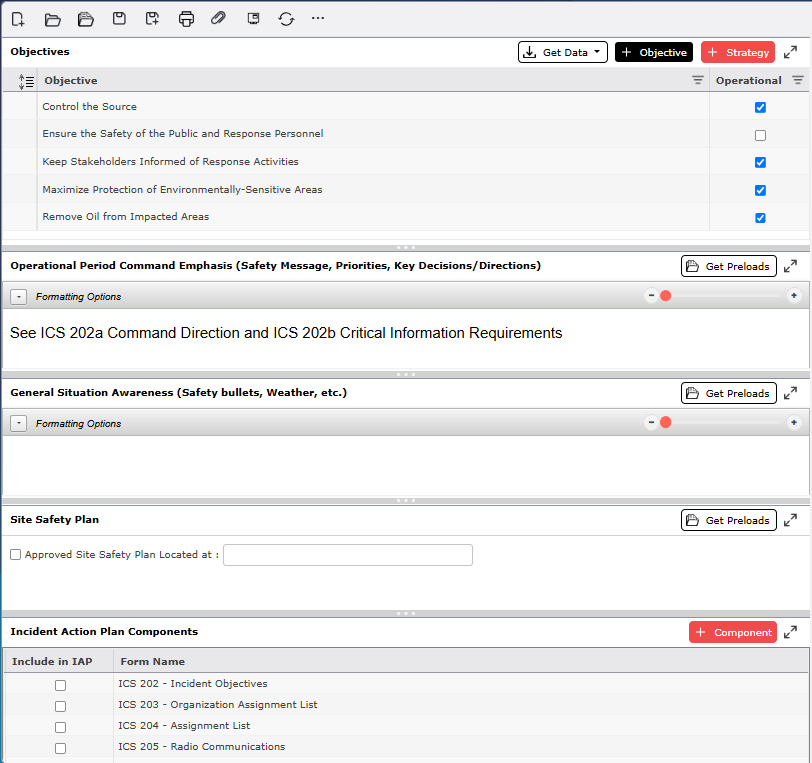
The ICS 202 Incident Objectives is used to formulate the general response objectives for the Incident Action Plan. It consists of three sections: Overall and Strategic Objectives; Operational Period Command Emphasis (Safety Message, Priorities, Key Decisions/Directions); and Incident Action Plan Components. For help using general form functions (e.g., Create/Open Version, Save, etc.) and accessing preloaded versions, see the General Form Functions page.
Contents
Delete Objectives or Strategies
Select Preloaded Objectives and Strategies
Operational Period Command Emphasis (Safety Message, Priorities, Key Decisions/Directions)
Add Operational Period Command Emphasis
General Situational Awareness (Safety bullets, Weather, etc.)
Add General Situational Awareness
Incident Action Plan Components
By default, the ICS 202 will open in a Classic view, separating the different sections on one page. The form can also be displayed in Tabbed view, separating the different sections into individual tabs. To switch between the views, click the Display Mode button  .
.
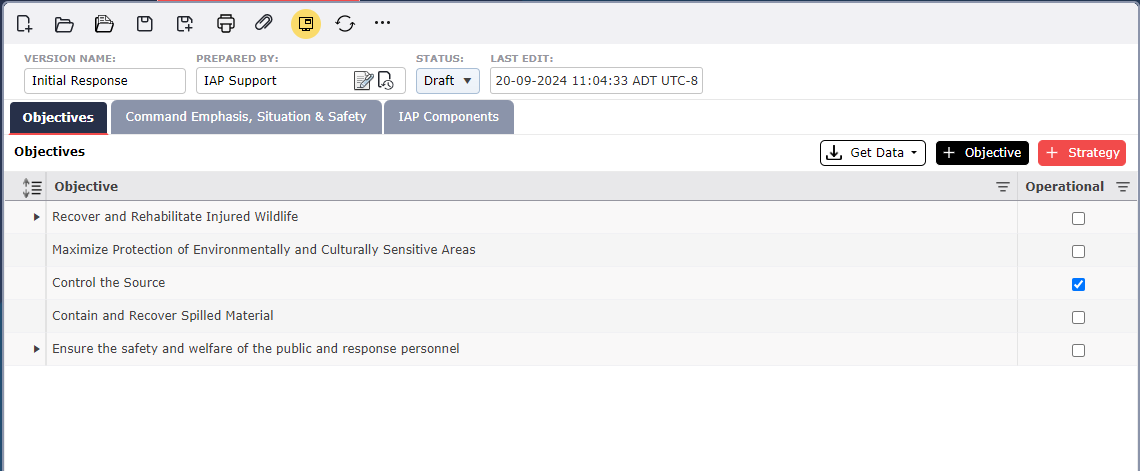

This section lists the Overall and Strategic Objectives of an incident for the current or next Operational Period. An Incident Commander (or Unified Command) generally arranges Objectives in order of importance.
To add an Overall Objective, click the Add button  . Click the dropdown icon
  to view a list of available preloaded objectives. Select an objective from the dropdown or type an objective which is not available on the list.
NOTE: The list of objectives will filter search results as the user types text into the objective field.
After adding an Objective click the checkbox  in the Operational column to indicate that the objective is operational, if applicable.
To add a Strategic Objective associated with an Overall Objective, first click to select the Objective. Next click the Add button  . A blank Strategic Objective line will appear. Type to add the Strategic Objective.
NOTE: To expand an Objective, click  and to collapse an Objective, click
  . Objectives can be rearranged (i.e., Objectives in order of priority) by dragging and dropping into the desired order.
To delete an Overall or Strategic Objective, click to select the objective or strategy then hover over the line for a second. The Delete button  should appear from the left, then click the Delete button
  .
.
NOTE: Deleting an Overall Objective will delete all corresponding Strategic Objectives.
Objectives can be copied from a populated version of either the ICS 201-2 – Summary of Current Actions or another version of the ICS 202 Incident Objectives form.
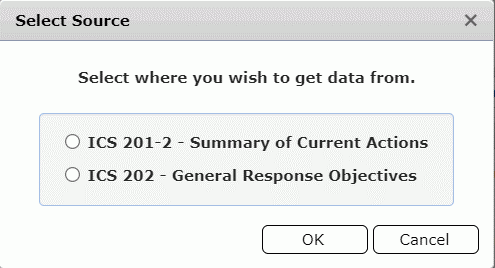
Click the Get Data button  and select From Form. The Select Source dialog box will appear. Use the radio buttons to select the form from which data will be pulled.
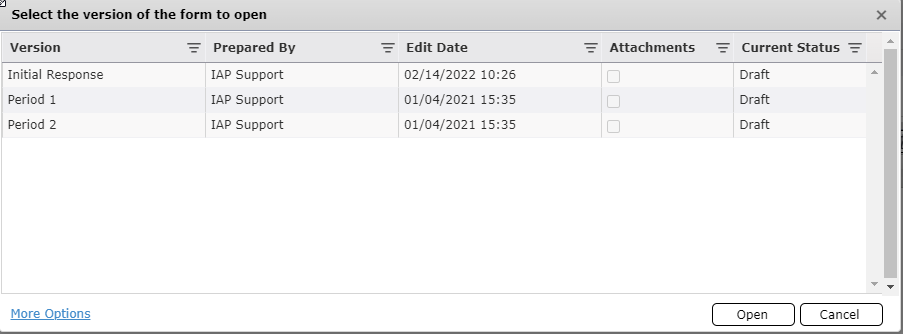
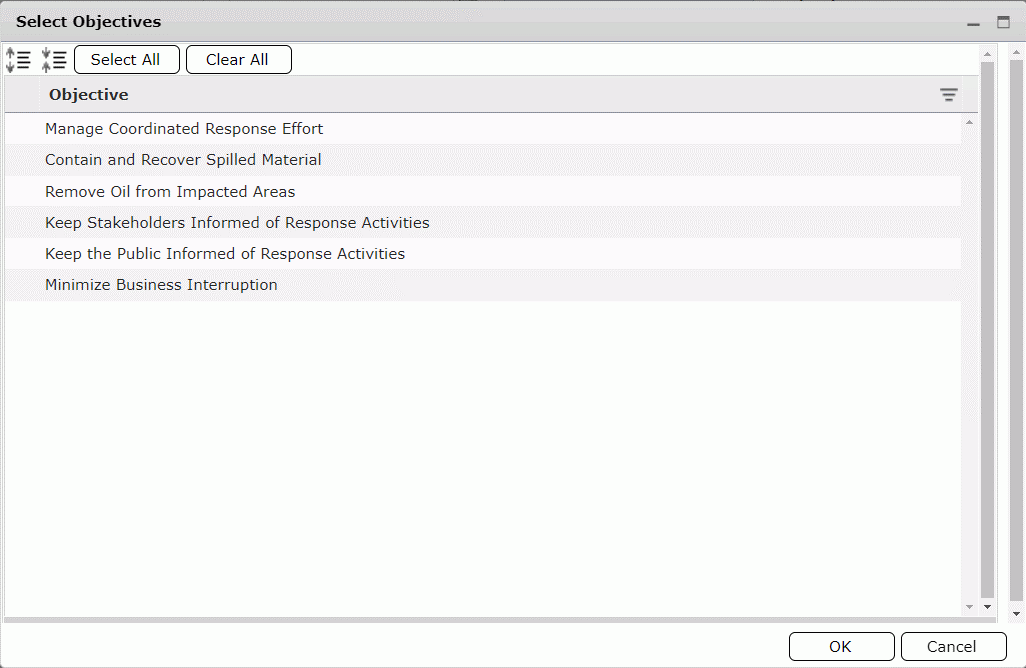
Use the radio buttons to select a version of the ICS 201-2 from which to get data. The Select Version dialog box will appear. Select the desired version then click the Open button  .
.
On the Select Preloaded Objectives window click to select the desired objectives. Then click OK. The Overall and Strategic Objectives will populate on the ICS 202.
Standard objectives and strategies included in the Incident Management Handbook have been loaded into the software and can be selected and applied to incidents.
Click the Get Data button  , then select the From Preloads button
  . The Select Preloaded Objectives dialog box below will appear with Overall Objectives and corresponding Strategic Objectives. Expand an Objective category to see a list of objectives and strategies.
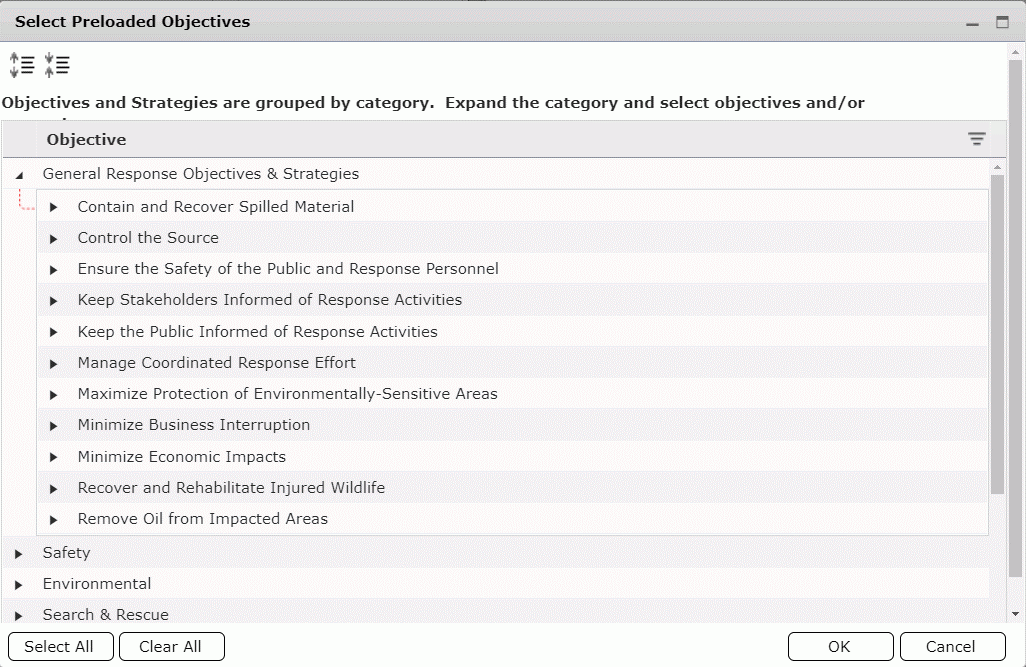
Select individual Objectives or click the Select All button  . Selected Objectives will be highlighted in blue. To clear the selection(s) click on individual objectives or strategies or click the Clear All button
  .
.
Click OK to copy selected Objectives.
This section documents the Incident Commander’s (or Unified Command’s) emphasis for the current operational period.

Type to add a safety message, priorities, and any key decisions and/or directions. The Formatting Toolbar provides the user with an effective way to format text. For more information, see the Formatting Toolbar page.
This section documents the Incident Commander’s (or Unified Command’s) emphasis for the current operational period.

Type to add safety bullets, weather information and other general notes here. The Formatting Toolbar provides the user with an effective way to format text. For more information, see the Formatting Toolbar page.
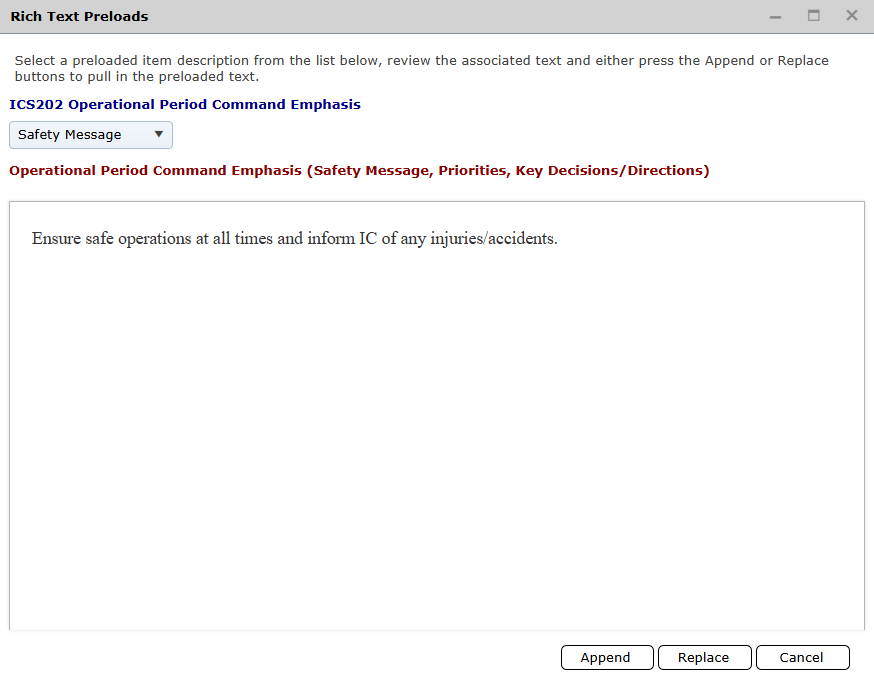
Commonly used safety messages or priorities can be loaded into the system and pulled into this section of the form.
Click the Get Preloads button  to view and select preloaded data. The Rich Text Preloads dialog box will appear. Select the desired information and click either the Append or Replace button
  . The message will populate.
Check this box if there is an approved site safety plan and note where it is located.

This section serves as a checklist of components to be included in the Operational Period’s Incident Action Plan.

Use the checkboxes to select the appropriate Incident Action Plan components to be included.
To list additional components, click the Add button  . Select the component from the drop-down menu or type to add items not contained in the list.
To remove a component, select the item, hover over the line until the Delete button  appears, then click the Delete button
  .
.
© 2024, TRG The Response Group LLC., All rights are reserved.
No part of this web site, and the information which it contains, may be reproduced, stored in a retrieval system or transmitted in any form or by any means, electronic, mechanical, photocopying, recording or otherwise, without prior written permission of TRG.