| IAP Software ™ |  |
| IAP Software ™ | |
Incident Event Log
The Incident Event Log serves as an overall record of significant activities and tasks performed during the incident response. In addition to manually added activities, events marked as significant on a 214a Individual Log or 214 Unit Log are automatically added to the Incident Event Log. For help using general form functions (e.g. Create/Open Version, Save, etc.) see the General Form Functions page.
Contents
Get Activities from other Logs
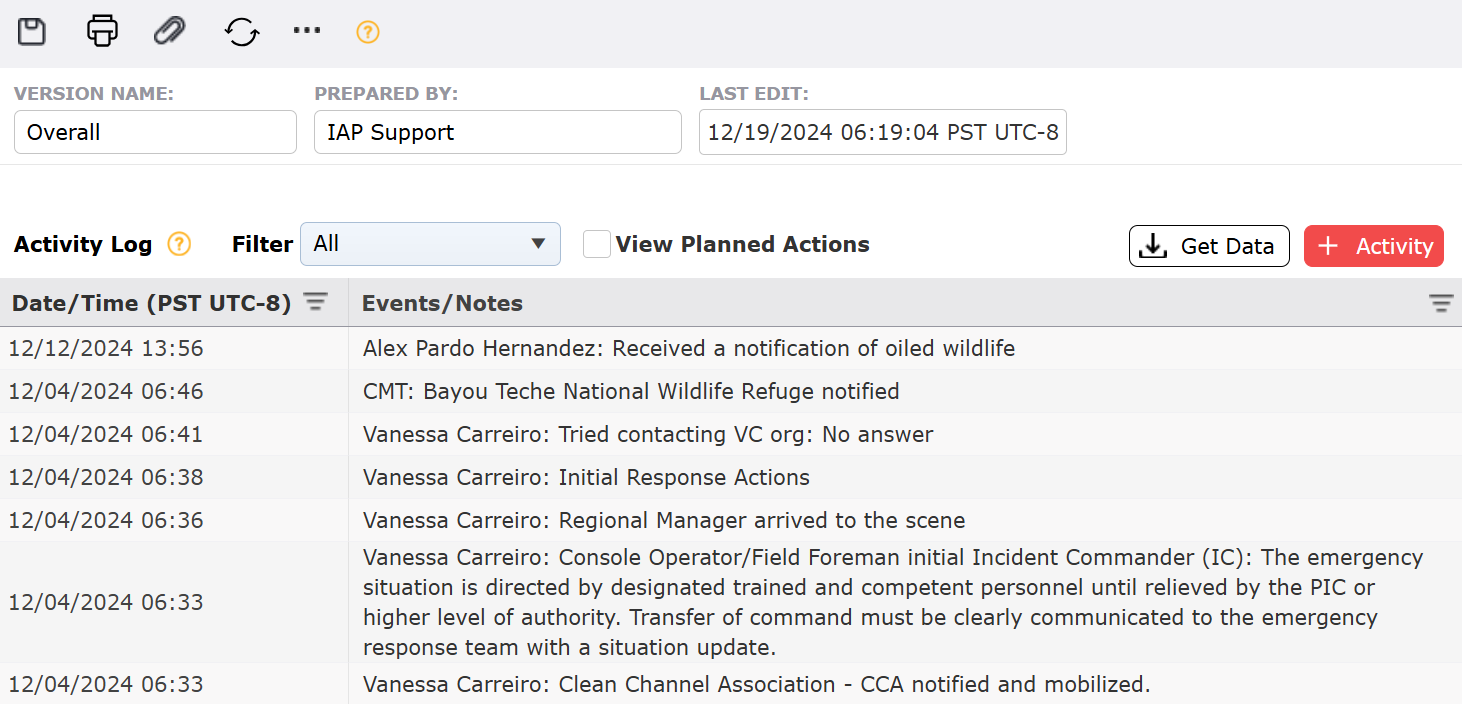
The Activity Log is the primary content contained in the Incident Event Log. It consists of a date/time field for each event, as well as a free-text field for a description of the event.
NOTE: There is a database setting that, when turned on, will automatically copy significant items from the ICS 214a Individual Log and ICS 214 Unit Log to the Incident Event Log.
To get activities from other Activity Logs, click the Get Data button  . Select the events to be included on the Incident Event Log.
Click the Get Data button  . A dialog box will appear.
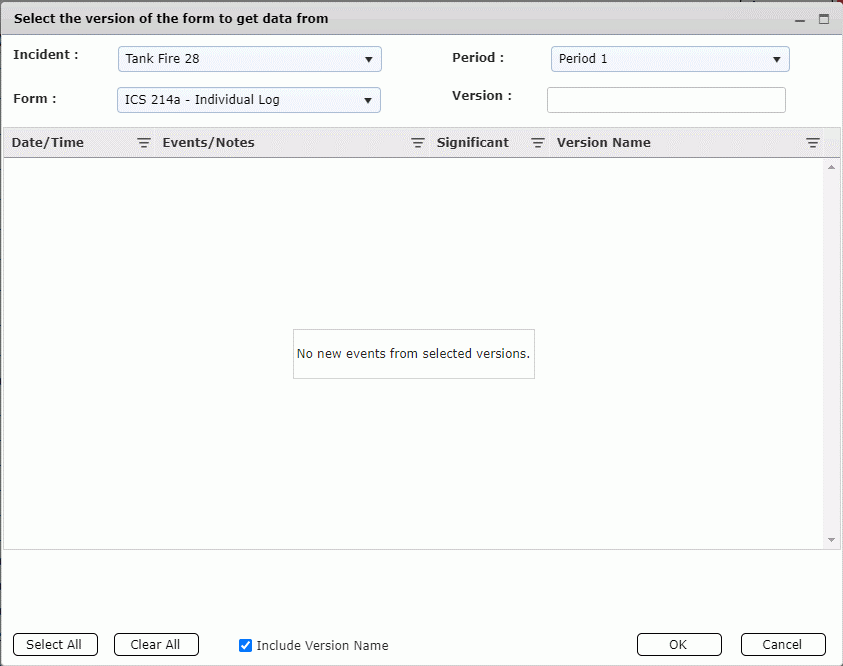
Select the form and version to pull data from. Available Events/Notes will populate within the window. Click to select the desired items. Then click OK.
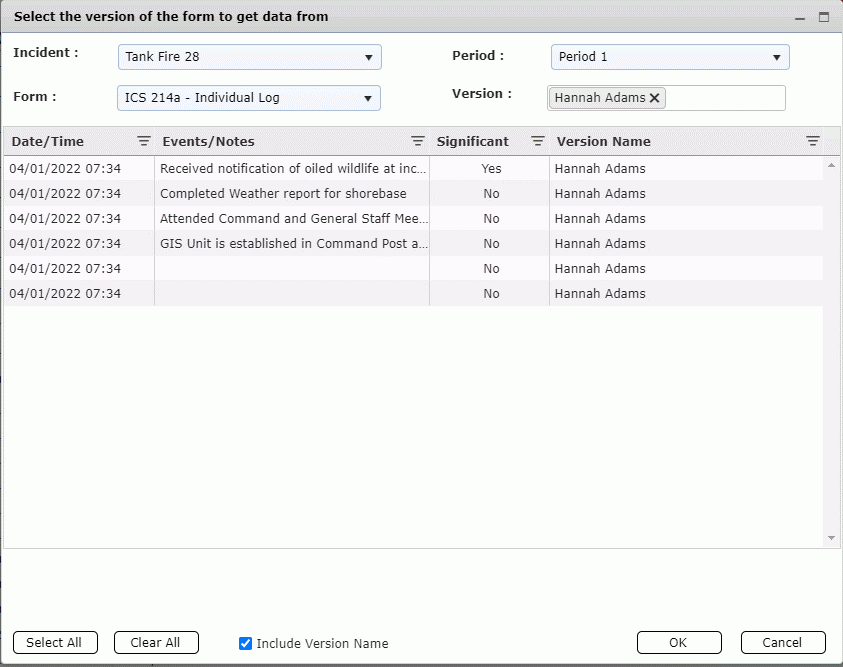
NOTE: Users can uncheck the Include Version Name checkbox if they do not want the version name included in the data that is pulled in for each action.
Click the Add button  to add a line to the Activity Log.
The Date/Time field will auto-populate with the current date/time information. To change the date/time use the Calendar Control button  . To learn more, see the Calendar Control page.
Add text describing the activity, event, or notes to be documented.
To delete an activity/event, hover over the desired line item for a moment and the delete button will appear, then click on the Delete button  to remove the line item. If you remain hovering over the line item, the delete button will disappear after a couple of seconds.
Use the dropdown  to get a filtered list of your activities according to the options (All, Certain Period, last 6, 12, or 24 hours).
The View Planned Action checkbox  is used to get/filter the completed and planned actions in the event log list.
© 2024, TRG The Response Group LLC., All rights are reserved.
No part of this web site, and the information which it contains, may be reproduced, stored in a retrieval system or transmitted in any form or by any means, electronic, mechanical, photocopying, recording or otherwise, without prior written permission of TRG.