| IAP Software ™ |  |
| IAP Software ™ | |
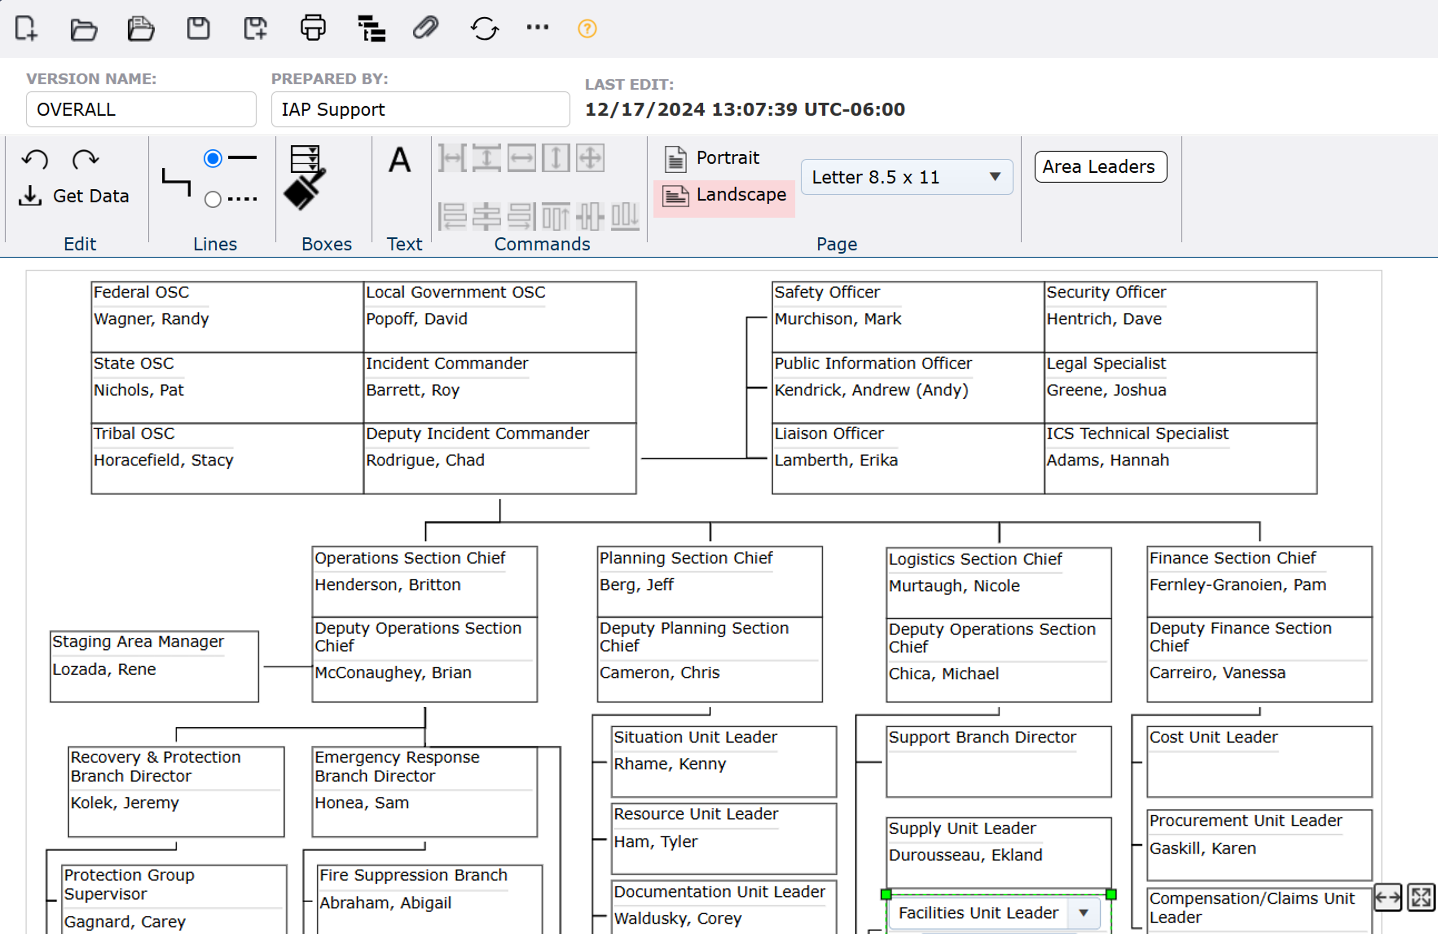
ICS 207 Organization Chart
The Organization Chart indicates what ICS organizational structure is currently activated and the names of personnel staffing each position. Personnel responsible for managing each position are listed in each box as appropriate. This organization chart allows much greater detail, depth, and flexibility than the other organization forms.
Contents
Build the Organization Chart Structure
Open and Save Preloaded Organization Charts
Access & Modify Blank Organization charts
Manage Org Chart Orientation & Size
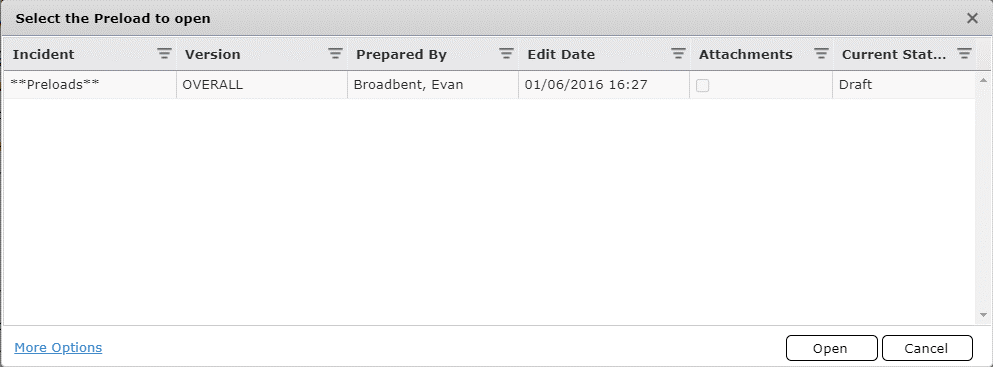
Select an existing organization chart from the list to use as a baseline for a new organization chart or to which updates need to be made. Click to select the version then click Open.
If version is not available, click on the More Options link  .
.
New options will appear  .
.
Click the box in front of Show all Incidents.
A new window will open with more options.
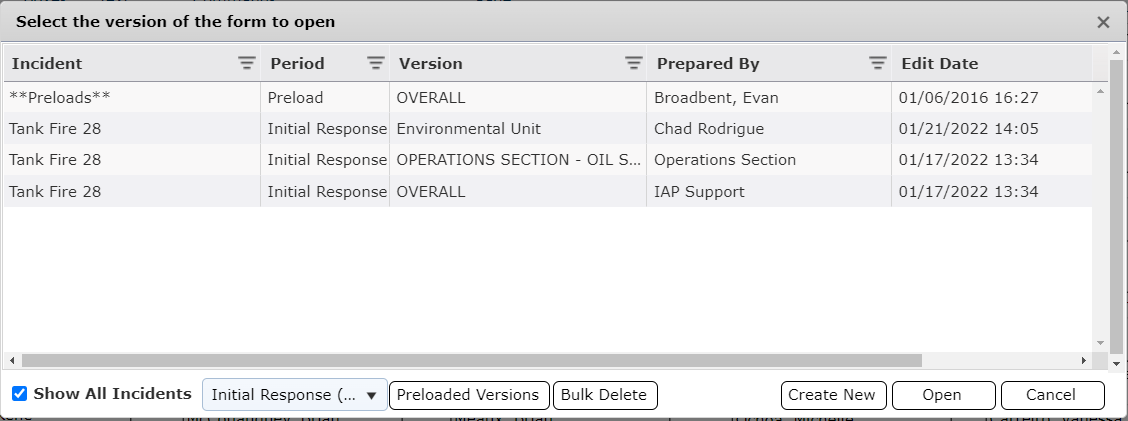
While working in an organization chart and have to start a new 207 or update an existing to work with click Open a different version button  .
.
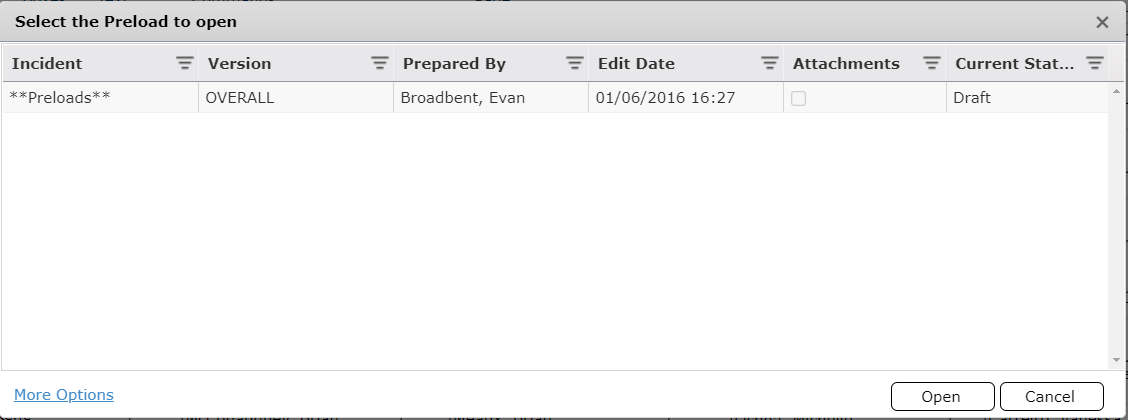
To open/modify a preloaded version for the current incident, click on the Open a Preload button  and select a version.
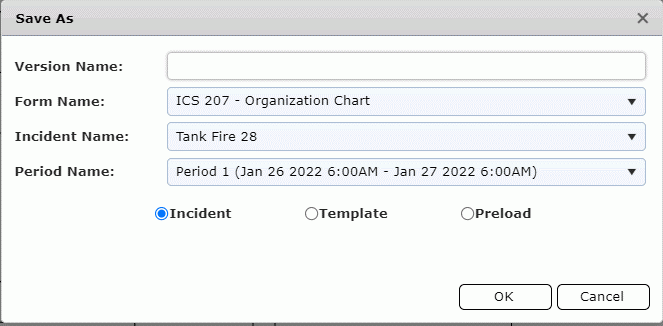
Click the Save the current form as a new version (Save As) button  . The Save As dialog box will appear. Give the organization chart a unique version name. Then click OK.
To start with a blank organization chart, select the Create a new version of this form button  or from the beginning menu select the Create Blank button
 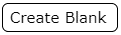 . Name the Organization chart by free typing a name into the Version Name field
  . The Incident Type field will remain blank and will auto populate with the 207 form.

To move a box, click on the box and drag it to the position it should be placed at.
To edit the contents of the box, either type into the field or use the dropdown tab next to it to see a list of preloaded entries.
The icons above Edit allow the user to use the Undo  and Redo
  when selecting a position box.
To add lines, click on  the lines with appear
  . Hover over one a the green “x” turns into a box
  and then click on one and drag to another node to create a line. Choose a solid line or dashed line depending on the line selected to its right
  .
.
To add boxes, click on the Add button  ; then click where the box is to appear within the organization chart and click.
Click on the Change Outline Color button  to change the outline color of the position box or line.
Click on a box or line to highlight it (green edit nodes will appear on selected item).

Click and drag the end of a line to move and connect to another box.
Click and drag the corner of a box to resize it or click inside the box and drag to move it.
Click and drag the edge of a box and drag in/out to resize it.
Above Commands gives the user ability to make multiple adjustments at one time for every position box that’s selected. The user can Space Across  , Space Down
  , Same Width
  , Same Height
 , Same Size
  , Align Left
  , Align Center
  , Align Right
  , Align Top
  , Align Middle
  , and Align Bottom
  .
.
Note: Multiple boxes must be selected before these tools become available.

Above Page the shows how to choose from different page layouts and sizes.
Choose Portrait or Landscape depending on the orientation and size of the organization chart to fit.
Click on the down arrow  for the dropdown list
  of paper sizes: Letter, Legal, Tabloid, ANSI-D, A0, A2, A3, or A4 depending on the size of the organization chart created.
The Edit Contents button above Edit Mode allows the user to add positions and names to the organization.
Click on the dropdown arrow to the right of the top section of the box  to select a position or select Create New to add one. For more information on adding new positions see the Create New Position Drop Down page.
Click inside the bottom section of the box, then on the dropdown arrow to the right of the bottom section of the box  to select the person’s name assigned to that position or select Create New to add one. For more information on adding new personnel see the Create New Personnel Drop Down page.
NOTE: If more than one person is assigned to a position, select the box with that position and click Add button 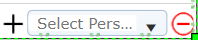 to add a new line under that position. Click Delete button
  to remove the selected line.
A user can add personnel from other sources by clicking the Get Data button  to select other forms that include personnel data which can be pulled into the current version. For more information, see the Get Personnel Data page. Select the Area Leaders button
  to view the leaders designated under the Area Personnel section. This allows the user a quick look at who may be assigned and then update the organization chart accordingly.
NOTE: The position titles from the source must match in in the current version for the “Get Personnel Data” to pull the correct name.
© 2024, TRG The Response Group LLC., All rights are reserved.
No part of this web site, and the information which it contains, may be reproduced, stored in a retrieval system or transmitted in any form or by any means, electronic, mechanical, photocopying, recording or otherwise, without prior written permission of TRG.