| IAP Software ™ |  |
| IAP Software ™ | |
ICS 213 – General Message
The ICS 213 - General Message form is used to send any message or notification to incident personnel. For help on using general form functions (e.g., Create/Open Version, Save, etc.) and accessing preloaded versions, see the General Form Functions page.
Contents
Remove Me From Distribution List
From the ICS 213 General Message landing page, users can view a list of existing messages, create new messages, and view individual messages.

Filter the list of messages to a specific date range using the Calendar Control button  to select the data range and the clicking Apply button
  . For more information see the Calendar Control page.
Click the New button  to create a new message. See the Compose Message section below for more information.
Columns in the window can be added and removed from the column dropdown. 
Clear Filter will clear any filtered columns in the window. 
To view an existing message, click the hyperlink in the ID column, or select the message from the list then click the Open button  .
.
To refresh the list of existing messages, click the Refresh button  .
.
To copy an existing message, select the message from the list, then click the Copy button  .
.
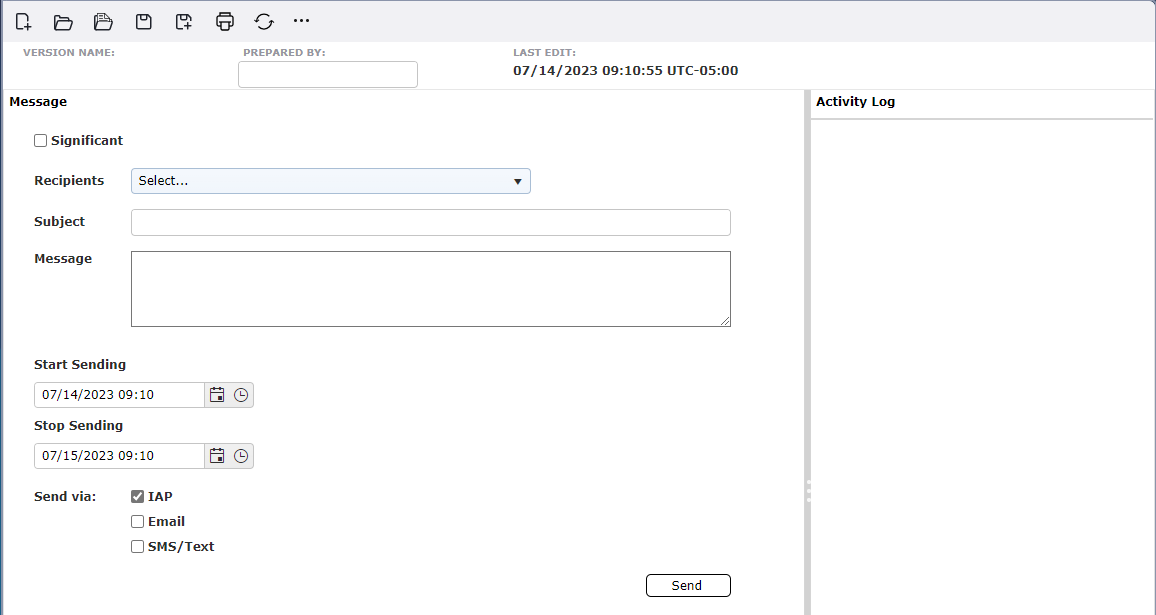
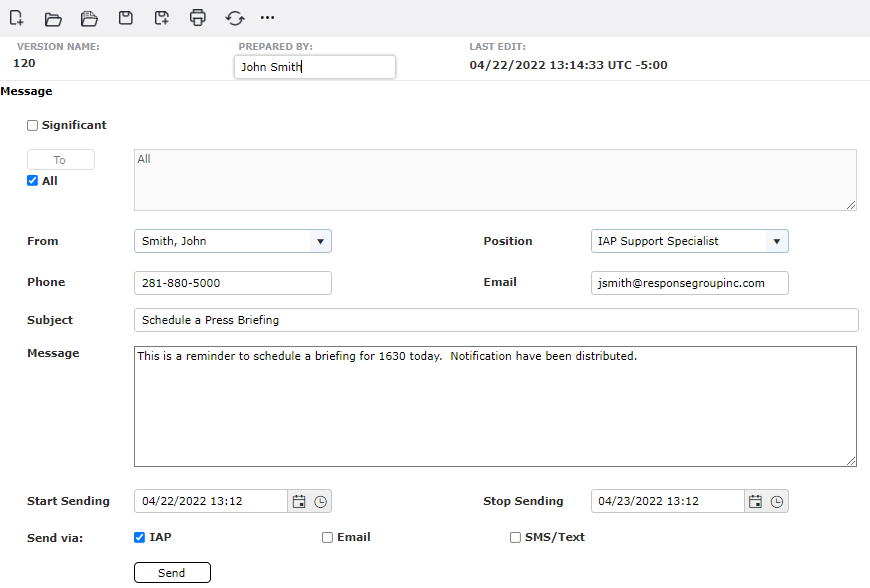
Messages can be sent to all users logged into the IAP Software or to individual users. This is a quick form of communicating with others participating in the response.
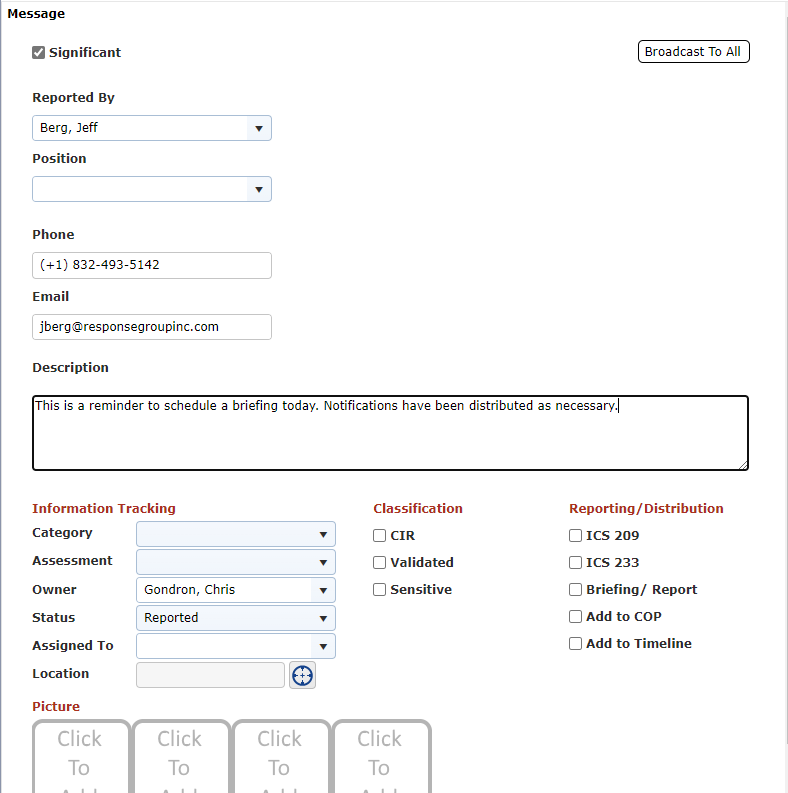
NOTE: If the Significant checkbox is selected the form will activate the Significant Event form and fields. This option will only be available if the Information Management - Use Process option is enabled. For more information on utilizing these features see the Information Manager page.
Select the message recipients.
Using the Recipients dropdown, select the option that fits your requirements.
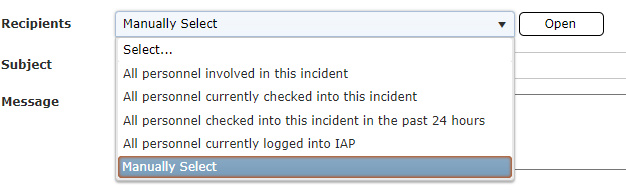
Use the Manually Select option to bring up the Recipients window.
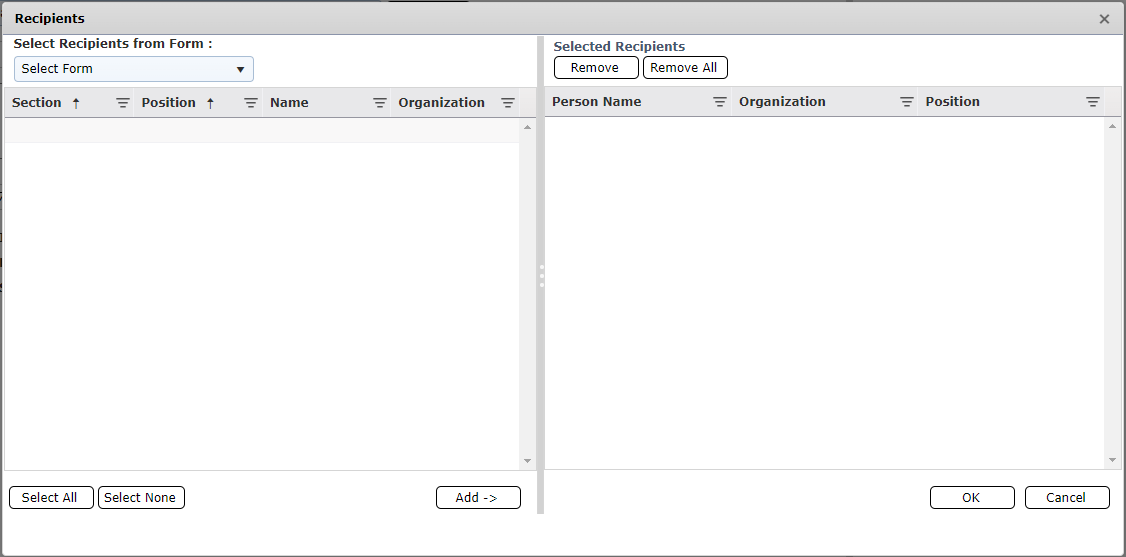
You can select a form to filter through the Recipients from Form dropdown to populate a list of individuals to send your message to.
Select the recipients and use the Add button to add them to your list. The Remove and Remove All buttons allow you to clear your list of recipients. Clicking OK will add the selected recipients to your message.
Type the Subject of the message.
Freely type the content of the Message.
Select the start and end time during which the message will be sent, using the Calendar Controls  . For more information see the Calendar Control page.
Select which delivery methods should be utilized to send the message to the recipient(s) using the checkboxes  in the Send via section.

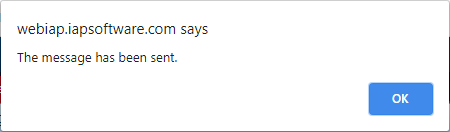
To send the message press the Send button  . A confirmation will appear, click OK.
The Activity Log will update once you have sent the message. Any replies or actions taken towards the message will show in this column. You can Reply directly from this column as well.
NOTE: Messages can be auto generated from other forms such as the ICS 233 Open Action Tracker, as well as forms with Default or Incident Statuses enabled.
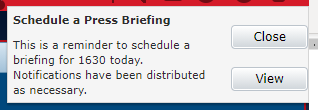
When users receive a message a summary notification will appear at the top right-hand side of the screen.
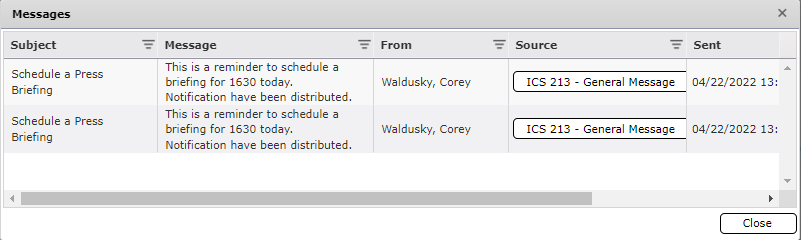
From the summary window, select a message and click on the button 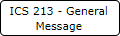 under Source column to view source of message (213 GM, 213RR). Click the Close button to close the summary window.
To view the message, click the View button  and the complete message will open in a new tab allowing users to view and respond, as necessary.
Note: Messages which have been auto generated from another form will have the source form name listed in the Created From column on the overview screen.
Messages which are sent via email include details on the database and incident the message was sent from, a link to the database, and the message content.
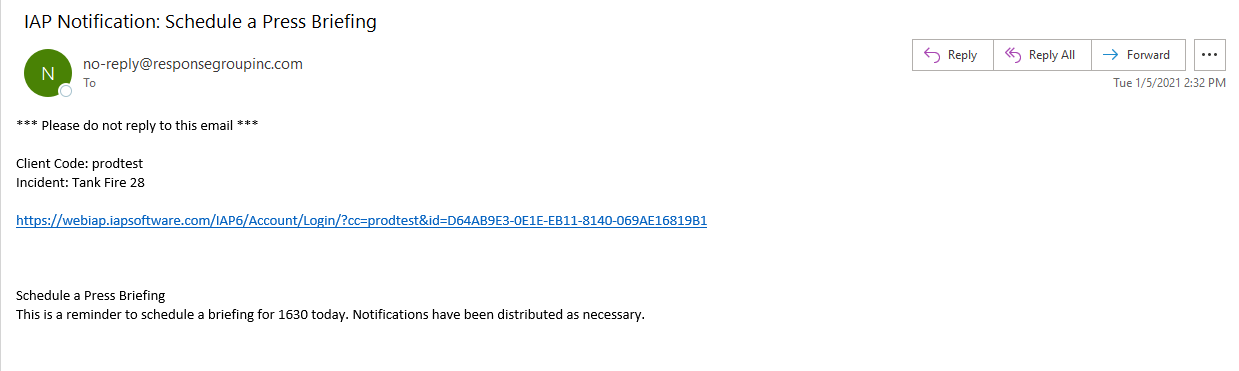
Message sent via SMS text will indicate that they have been sent from the IAP Software and will include the message content.

NOTE: To stop or start receiving SMS message from the IAP Software users can text one of the following options to the phone number that is used to send the messages from IAP Software. Texting STOP, STOPALL, UNSUBSCRIBE, CANCEL, END, or QUIT will stop the user from receiving additional messages via text. Texting START or YES will turn texting back on and allow the users to receive messages from the IAP Software again.
Freely type the content of the reply.
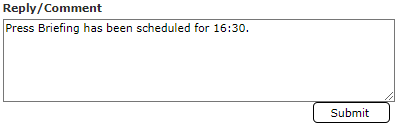
Click the Submit button  to save the content entered. If the Send Replies checkbox is checked the reply will be sent to all message recipients.
The reply will be saved and will be added to Activity Log of the message for future viewing capability.

© 2024, TRG The Response Group LLC., All rights are reserved.
No part of this web site, and the information which it contains, may be reproduced, stored in a retrieval system or transmitted in any form or by any means, electronic, mechanical, photocopying, recording or otherwise, without prior written permission of TRG.