| IAP Software ™ |  |
| IAP Software ™ | |
ICS 234 – Work Analysis Matrix
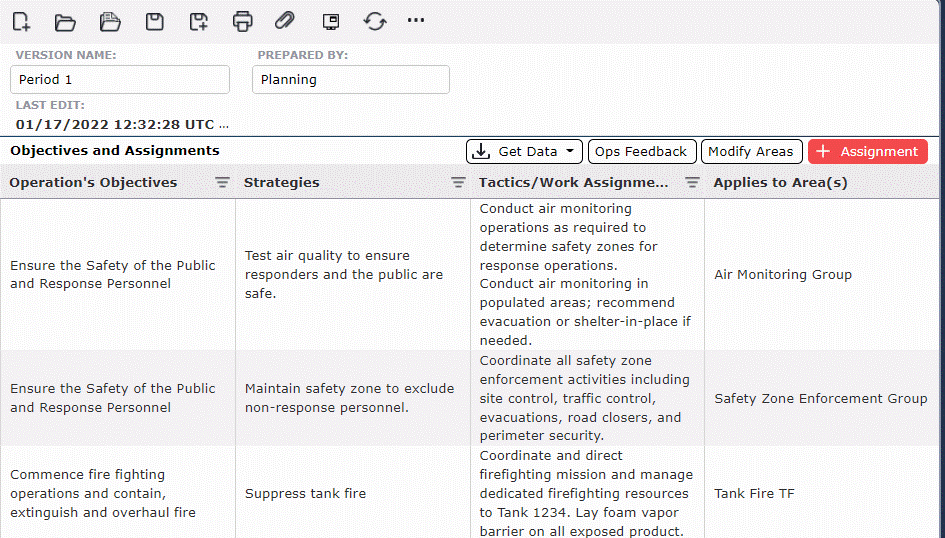
The ICS 234 – Work Analysis Matrix is designed to help Planning & Operations select the best strategies and tactics to achieve operational objectives. The Work Analysis Matrix assists staff in carrying out incident objectives by outlining who, what, where, when, and how of the response. The tactics/work assignments chosen can easily be carried forward to the assignment section on the ICS 215 – Operational Planning Worksheet and the ICS 204 – Assignment List.
Contents
Manage Objectives and Assignments
Adding Operation’s Objectives and Strategies
Manage Tactics/Work Assignments
Each objective and assignment entered corresponds to different forms within the IAP.
Each Operation’s Objective and Strategy in the ICS 234 – Work Analysis Matrix corresponds with an Overall and Strategic Objective identified by the Incident Commander (or Unified Command) in the ICS 202 – General Response Objectives.
To add a line, click the Add button  .
.
Free type to add Operation’s Objectives and Strategies to the new line item.
To delete a row, hover over the desired row for a moment and the Delete button  will appear, then click on the Delete button
  to remove the item. If you remain hovering over the row without clicking the delete button, it will disappear after a couple of seconds.
This section describes how to import Overall and Strategic Objectives from the ICS 202 – General Response Objectives and the ICS 201-2 – Summary of Current Actions.
Click the Get Data button  . The Select Source dialog box will appear.
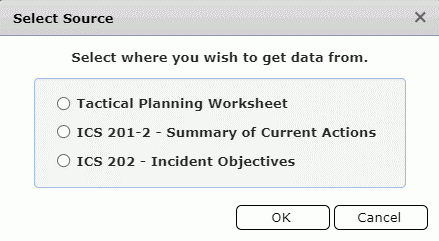
Select the form from which to pull Objectives and Strategies. The Import Objectives dialog box shown below will appear.
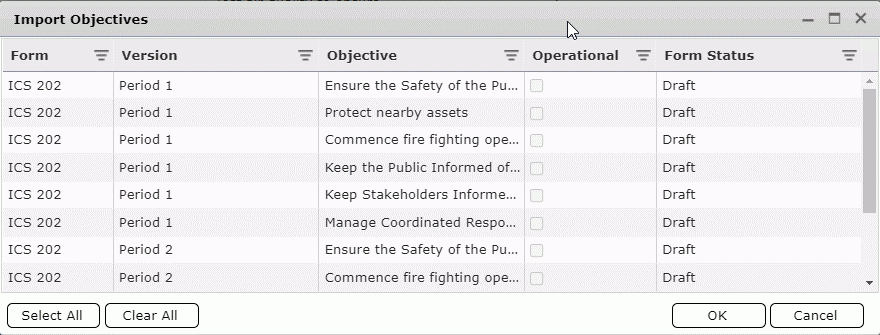
Select the Objective(s) to be imported then click OK. The Overall Objectives and any associated Strategic Objectives will be imported.
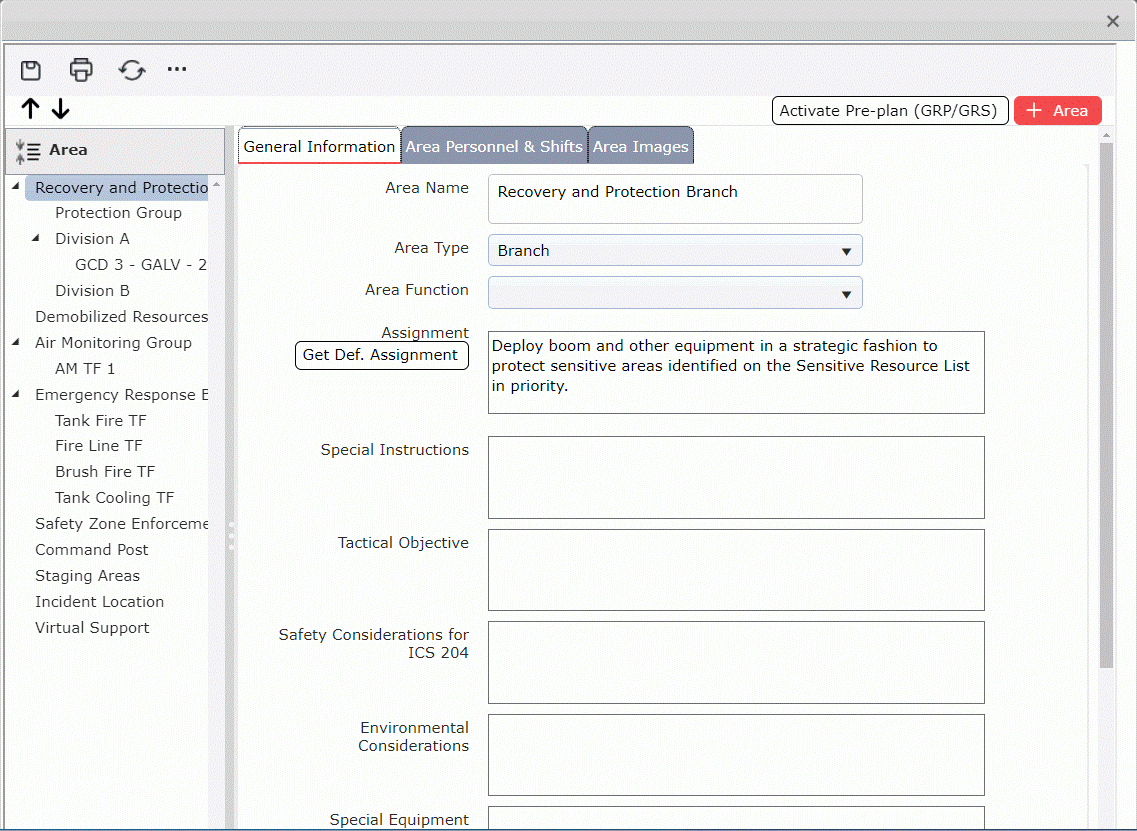
It may be necessary to edit an Area of Operation. To edit, click The Modify Areas button  . The Areas of Operation dialog box will appear, as illustrated below. Make changes as necessary then click the Save button
  to save all changes made.
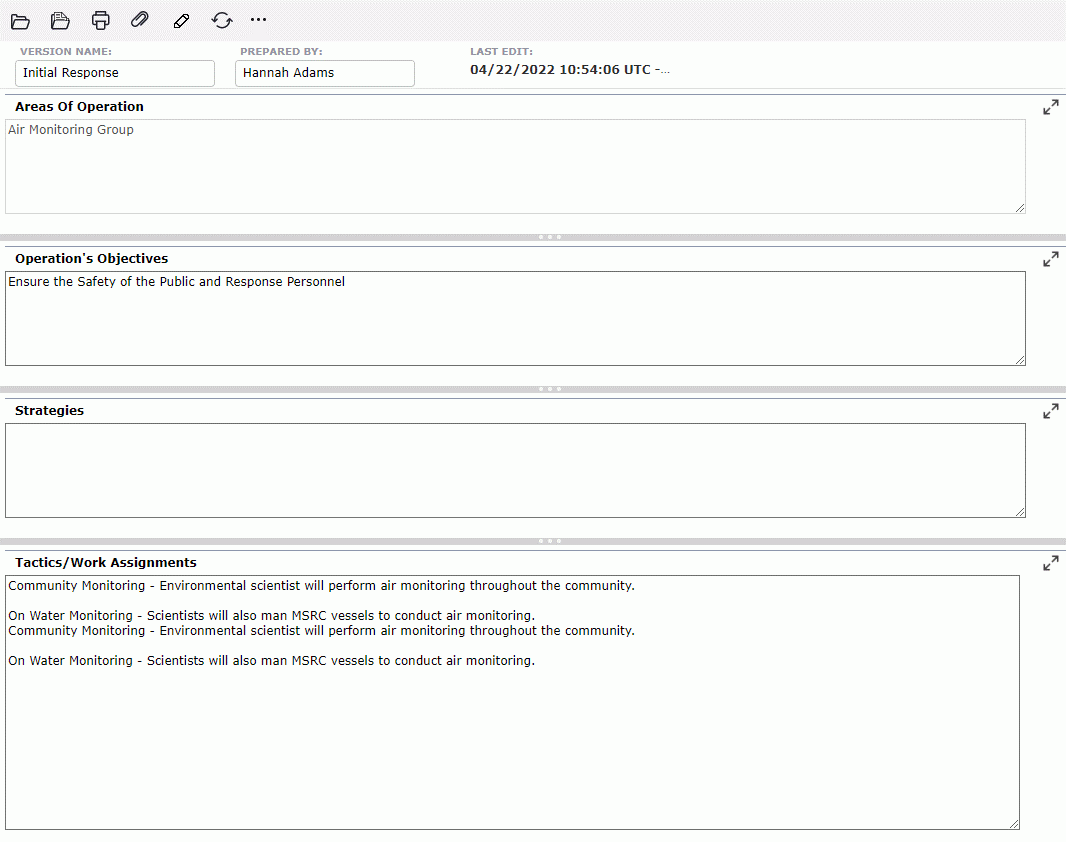
The information in the Tactics/Work Assignments column will transfer to the Assignments column of the ICS 215 – Operational Planning Worksheet for the selected Area of Operation identified in the Applies to Area(s) column.
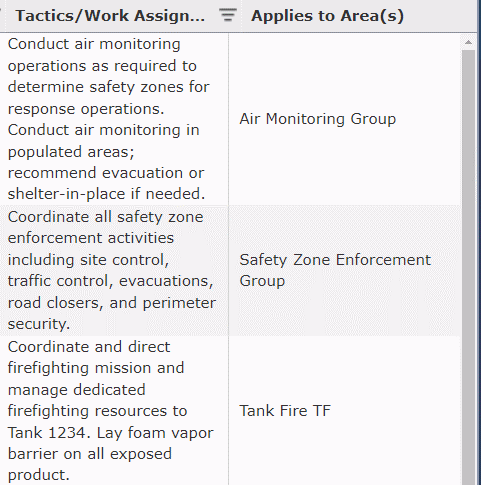
In the Tactics/Work Assignments column, enter details that include who, what, where, and when of work assignments to carry out and meet the corresponding Optional Strategy and Operation’s Objective.
Commonly utilized work assignments can be preloaded into the IAP Software for quick access. Users can access and pull in these preloaded assignments.
Select an Operational Objective and then click the Get Def. Assignment button  .
.
A list of available preloaded assignments will appear for the user to choose an applicable assignment.
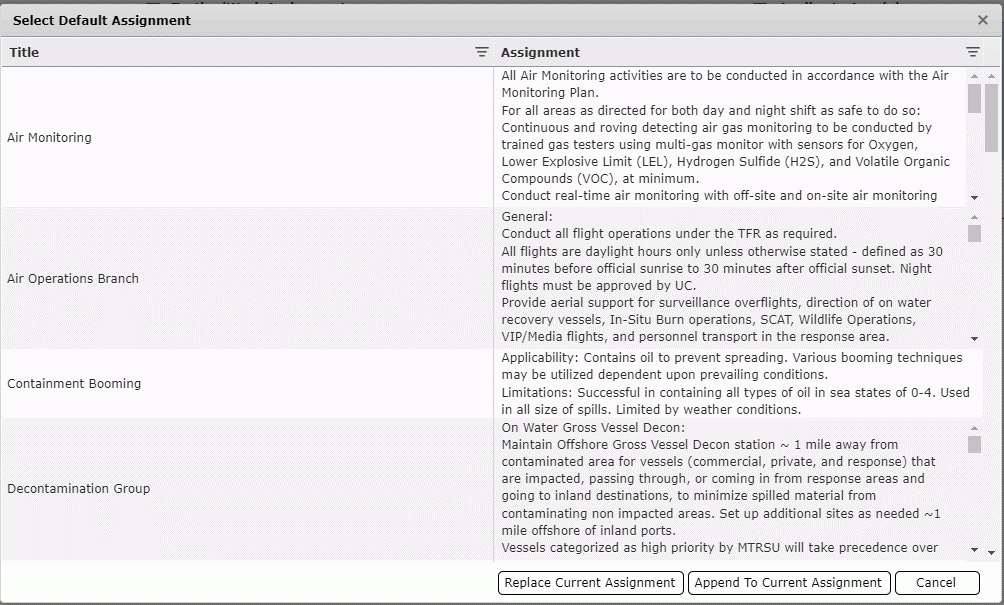
Select the desired assignment and then click either the Replace or Append Current Assignment button  to bring the selected information into the form.
Work Assignments created or entered on the ICS 215 Operational Planning Worksheet can be pulled over to the ICS 234 Work Analysis Matrix using the Get 215 Assignments button  .
.
Click the Get 215 Assignments button  .
.
The Get Data dialog box will appear. Choose whether to Append or Overwrite existing assignment data.
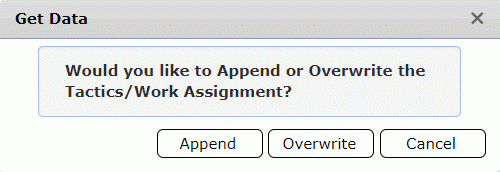
Next select the version from which assignment data should be pulled.

The assignment information selected will be added.
This sub section provides detail to link Tactics/Work Assignments to an Area of Operation in the Applies to Area(s) column as illustrated below.

Click in Applies to Area(s) box. Click the Selected Areas button  when it appears. The Select Area dialog box will appear as illustrated below.
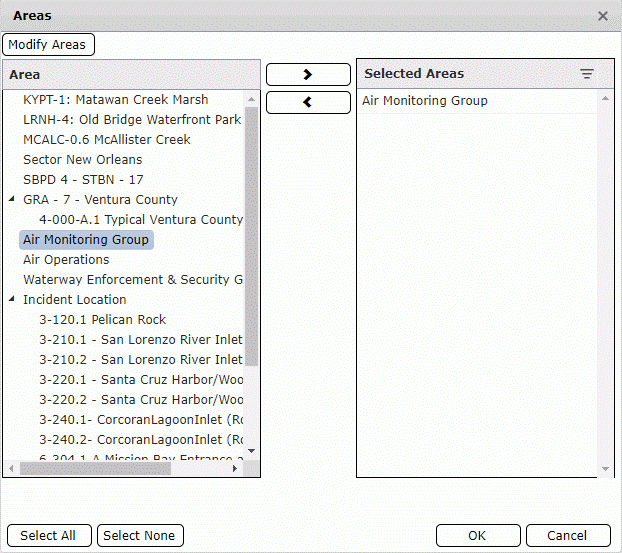
From the Area column, select the applicable Area of Operation(s) and click the Add button  . The highlighted Area(s) of Operation will be added to the Selected Areas column on the right. To remove an Area of Operation from the Selected Areas column, select the area and click the Delete
  . When complete, click the OK button. The Selected Areas will populate the Applies to Area(s) cell. Also the user can select all the current areas by clicking the Select All button
  .
.
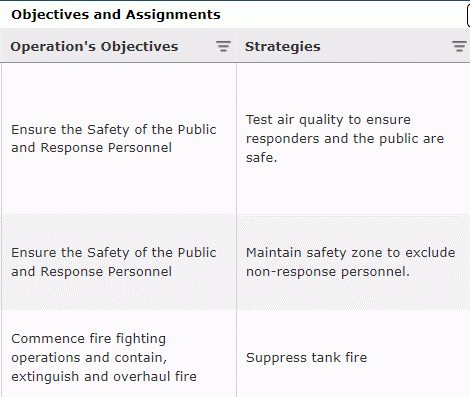
The user can switch to Display Mode which will then list out the objectives and strategies in a larger organized format to project.
Click the Switch to Display Mode button  to access screen above.
Control the font size by selecting through the Font buttons  on the bottom left-hand corner.
To exit the display screen, click the Edit button  to switch back to Edit Mode.
© 2024, TRG The Response Group LLC., All rights are reserved.
No part of this web site, and the information which it contains, may be reproduced, stored in a retrieval system or transmitted in any form or by any means, electronic, mechanical, photocopying, recording or otherwise, without prior written permission of TRG.