| IAP Software ™ |  |
| IAP Software ™ | |
ICS 204 – Assignment List
The ICS 204 - Assignment List(s) provides the Division and Group supervisors the incident assignments. Once the Unified Command and General Staff agree to the assignments, the assignment information is given to the appropriate Divisions and Groups. The Operations & Planning Staff will prepare the Assignment List(s) using guidance from the Response Objectives (ICS Form 202), the Operational Planning Worksheet (ICS Form 215) and Resource Unit Leader. The Planning Section Chief will approve the Assignments List. When approved, it is included in the Incident Action Plan.
Contents
Personnel, Resources, & Communications
Click either the Create a New Version button  or the Open a different version button
  from the menu toolbar. The Select Area dialog box will appear, as illustrated below. Areas with an existing 204 will be shown in bold on the Select Area popup window. Select the Area and click OK. The ICS 204 for the selected area will open.
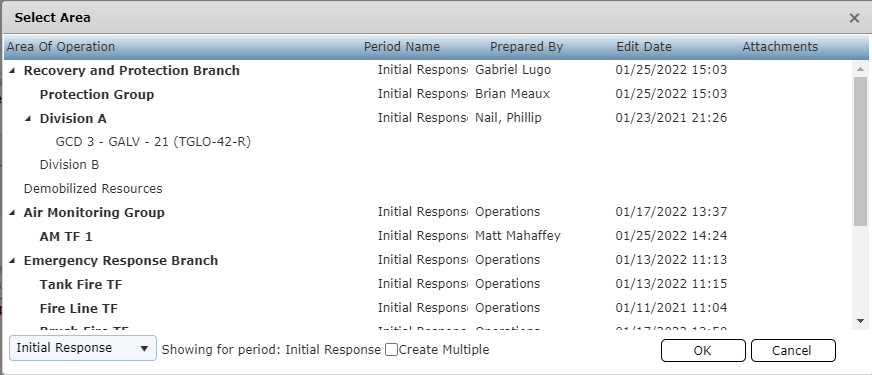
NOTE: Multiple 204s can be created simultaneously by clicking the Create Multiple checkbox  at the bottom and selecting different Areas of Operation. This will create a blank version of the form for each area. These versions can then be opened individually for editing.
NOTE: By default, the window displays ICS 204 versions for the current operational period. To open a version from a different operational use the drop-down  to select the preferred period and show available versions.
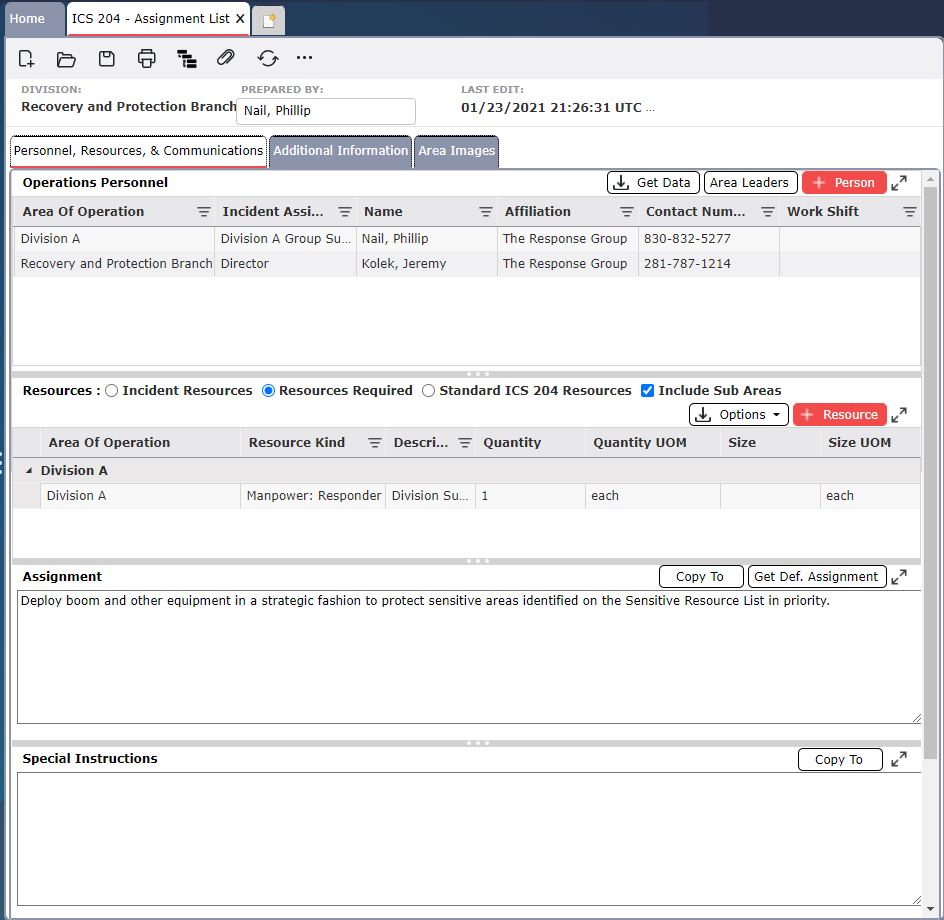
The Operations Personnel section is used to document the manpower assigned to the area or site, as well as supervisory personnel.

The ICS 204 – Assignment List can retrieve personnel data from many other following forms that include personnel details. Get Data allows users to obtain information from another form or data source which can be used in this form. For more information, see the Get Personnel Data page.
To add Personnel, click the Add button .
.
The Area of Operation will automatically populate with the selected Area of Operation for the ICS 204 form. Use the drop-down provided to update either of these fields, as necessary.
The Incident Assigned Position column will auto populate with the leadership position typically assigned to that designated Area of Operation. Use the drop-down to select a different Position, as necessary.
Type the last name of the Individual filling the Position selected. The Name field will automatically filter. If available, select the Name from the column’s drop-down, or continue to type the name of the individual.
The Affiliation and Contact Number(s) fields will populate if available, after selecting a person from the list. If the person is not available on the list free type to enter the Affiliation and Contact Number.
Select the Work Shift of the selected Position from the column’s drop-down menu.
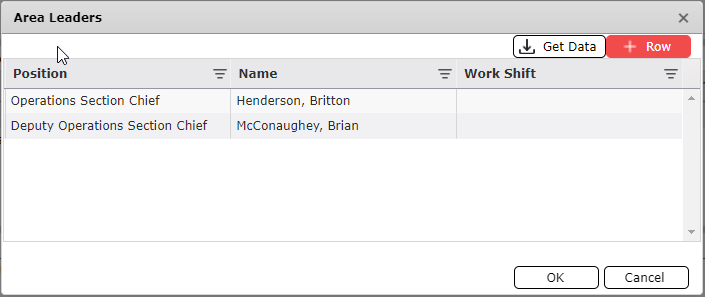
Area Leaders allows the user to assign the Operations Section Chief, Deputy, and other positions which will appear on the printed version for all versions of the ICS 204 form. Area Leaders can also be assigned from the Areas of Operation and Area Personnel screens.

NOTE: The Area Leaders assigned will only appear in the Area Personnel window and on the printed form but will not display within the Operations Personnel section within the onscreen view.
Click the Area Leaders button  . The Area Leaders dialog box will appear. The Operations Section Chief and Deputy Operations Section will be listed by default.
Use the Add button
 to add a new position item.
Free type the name of the Position or select a position from the provided drop-down list.
Free type the name of the Person or select a Person from the drop-down menu.
Select a Work Shift from the drop-down menu.
Click OK to save changes and apply to all versions of the ICS 204 form.
NOTE: The Get Data button can be used to pull existing personnel data from other forms. For more information, see the Get Personnel Data page.
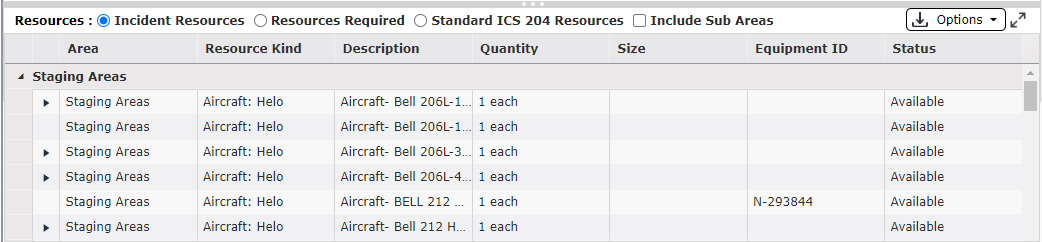
Resources required and assigned to the area are displayed on the ICS 204 – Assignment List. Users can switch between Incident Resources, Resource Required, and Standard ICS 204 Resources. Users can also request additional resources using the Activate Pre-Plan (GRP/GRS) button. Resource attribute information for each resource assigned to the area or site such as resource kind, description, quantity, and size are conveyed for each resource.

Geographic response plans can be prepopulated with information necessary to protect those areas. From the Options dropdown menu, click the Activate Pre-plan (GRP/GRS) button  to bring the related information into the incident. For more information see the Activate GRP page.
The Incident Resources option will display Resources currently assigned to the selected Area of Operation on the Resources Summary.
Select the Incident Resources button  to display resources.
Review the resources currently assigned. The display/rollup kinds option allows users to choose if resource kinds are displayed on the 204 and whether individual resources are shown or if a total quantity for that resource kind is displayed.
To display or rollup Resource Kinds, click the Display/Rollup Kinds button  . The Edit Rollup Kinds dialog box will appear. Check or uncheck Resource Kinds to either display or rollup on the ICS 204, as necessary. Click OK.

To include any Parent/Child relation Areas of Operation, click  .
.
The Resources Required option will display resources identified as Required in the ICS 215 – Operational Planning Worksheet for the selected Area of Operation or resources added directly to the ICS 204.
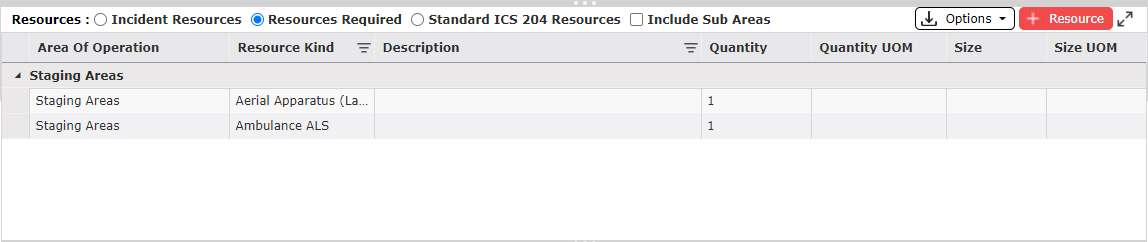
Select the Resources Required button  to display resources.
Review the resources required listed.
If additional resources are needed, they can be added using several different methods.
To manually add resources, click the Add button  and enter Resource details. Then use the Create ICS 213RR button
  from the Options dropdown menu to create a new resource request for the additional resources.
NOTE: This should be performed only if not previously performed in the ICS 215 – Operational Planning Worksheet.
To retrieve resources from current requests, click  from the Options dropdown menu. This will retrieve all requested and required resources from requisitions for the ICS 204 – Assignment List version’s Area of Operation.
The Standard ICS 204 Resources option will display Personnel leaders assigned to the ICS 204 – Assignment List version’s Area of Operation.

Select  to display standard resources.
Review the resources listed.
If additional resources are needed, they can be added using several different methods.
To manually add resources, click the Add button  and enter Resource details.
Click the Get Data button  to add resources. Select a source for the information and then select the preferred resources before clicking OK.
To add resources which have already been assigned, click the Get Data button  . The Select Source dialog box will appear.
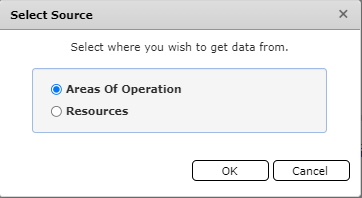
Select one of the choices from which to get data.
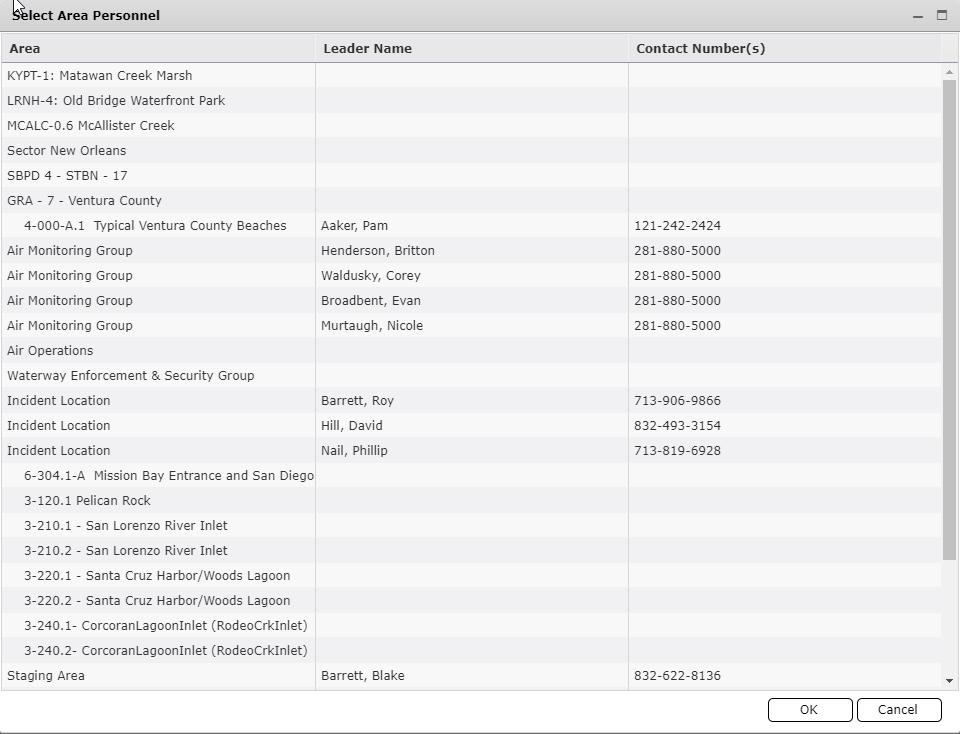
Selecting the Areas of Operation option will bring up a listing of Areas with Leader and Contact number which can be added.
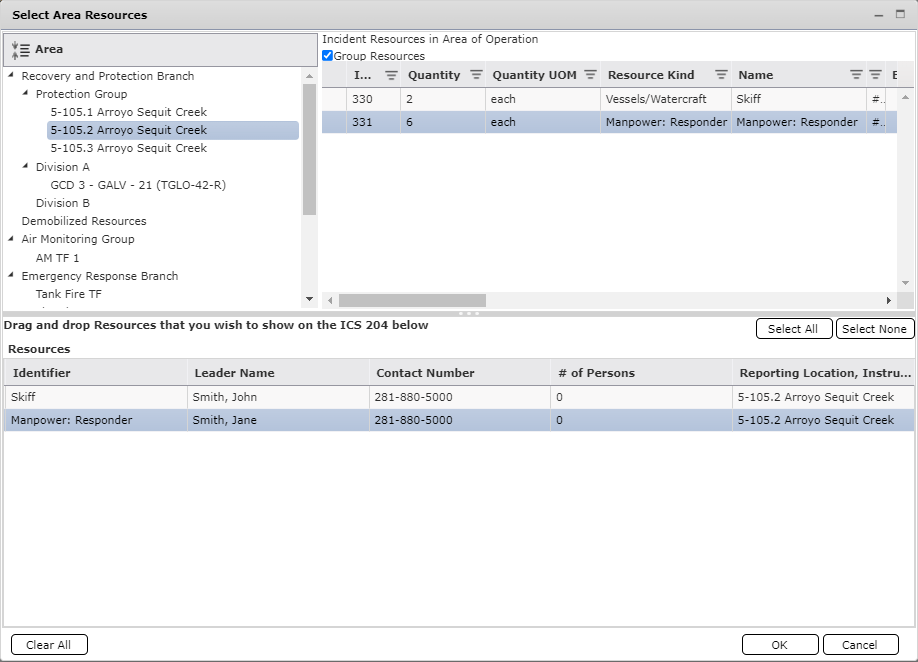
Selecting the Resources option will bring up a listing of resources which have been assigned to existing Areas of Operations. Make the desired selections, drag, and drop resources and click OK. The selections will populate on the ICS 204.
An Assignment is a statement of the tactical objectives to be achieved within the operational period by personnel assigned to the Division or Group. The Assignment can be added and updated by free typing within the provided field.

NOTE: Assignments can be updated on the ICS 215 – Operational Planning Worksheet. When the Update 204s button  on the ICS 215 is clicked, the assignment information is transferred to the associated ICS 204 form. is performed.
An Assignment can be copied to another ICS 204 version, if appropriate. To copy an Assignment to another ICS 204 version:
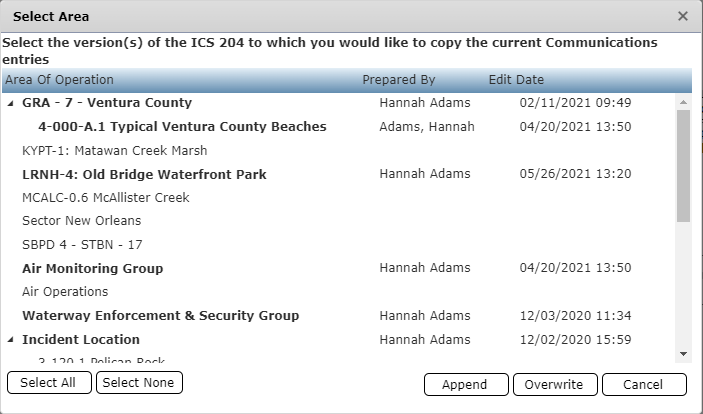
Click the Copy To button  . The Select Area dialog box will appear.
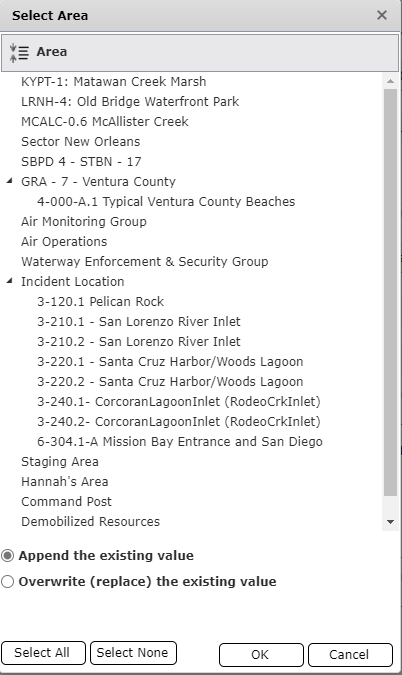
Select the destination Area to which the Assignment will be copied.
Click the Select All button  to select all Areas.
Click the Select None button  to deselect all Areas.
Choose whether any existing assignment will be Appended or Overwritten.
Append the existing value  will add the current ICS 204 version’s Assignment to the destination Area’s ICS 204 version Assignment field.
Overwrite (replace) the existing value  will overwrite the destination Area’s ICS 204 version Assignment field with the current ICS 204 version’s Assignment.
Click OK to complete the copy.
Predefined Default Assignments can be pulled into the Assignment field. To utilize a predefined assignment:
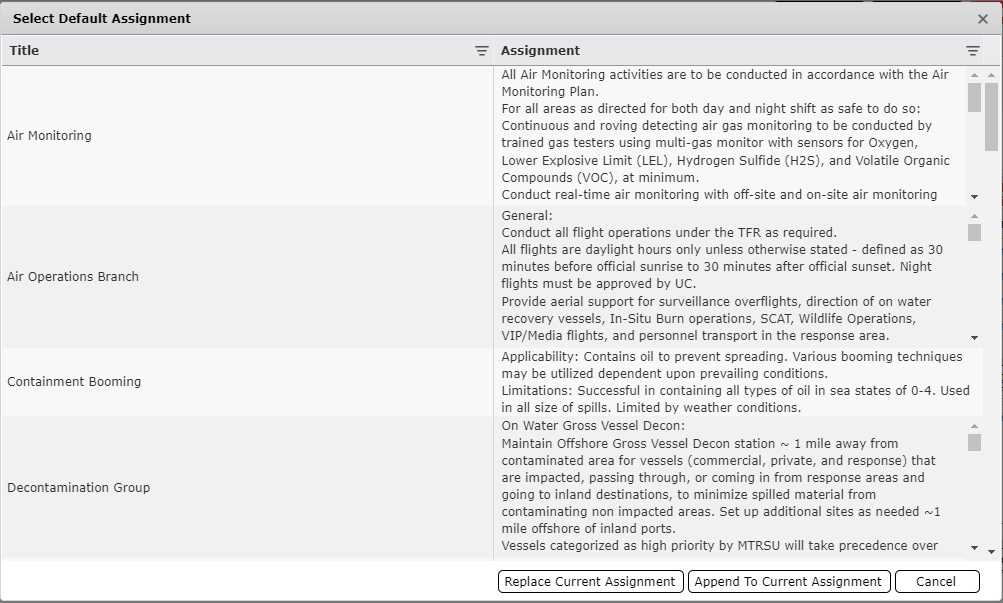
Click the Get Default Assignment button  . The Select Default Assignments dialog box will appear.
 =
=
Select the relevant Assignment.
Click either the Replace Current Assignment or Append To Current Assignment button . The selected assignment will appear in the Assignment field.
Special Instructions are statements noting any safety problems, specific precautions to be exercised, or other important information. They can be added and updated by free typing within the provided field.

Special Instructions can be copied to another ICS 204 version, if appropriate. To copy a Special Instructions to another ICS 204 version, follow the instructions listed under the Copy To subsection of the Assignments section.
This section includes specific communications information including emergency numbers for the Division or Group. To add a Name/Function, click the Add button  and free type the Name/Function information and Contact Details.

Communications information can be retrieved from the ICS 205 – Radio Communications and the ICS 205a – Communications List.
Click the Get Data button  . The Select Radios and Contact People dialog box will appear.
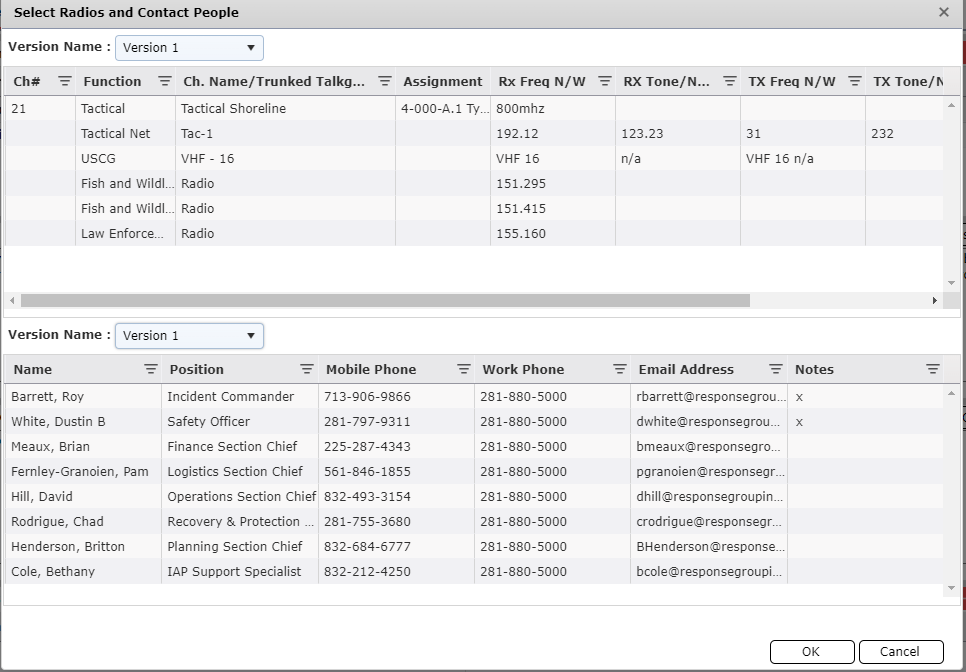
Use the Version Name drop-down lists to select the version of the ICS 205 – Radio Communications and the ICS 205a – Communications List frow which data will be pulled.
Select the appropriate radios and/or personnel to copy to the Communications section.
Click OK.
Communications information entered on the current version can be copied to other versions of the ICS 204.
Click the Copy To button  . The Select Versions dialog box will appear.
Select the versions of the form to which to copy communications information.
Click ether Append or Overwrite button  to add the commutations information to the selected versions of the form.
This section discusses the following: Location of Work, Tactical Objective, Special Equipment / Supplies Needed for Assignment, Special Environmental Considerations, Special Site-Specific Safety Considerations, and Additional Information.
NOTE: These fields correspond directly with the fields on the Area of Operations form. As updates are made on either the Areas of Operations form or the ICS 204 the corresponding field on the other form will automatically be updated with the same data.
When following the tactical planning process, much of the information here will be prepared on preceding forms. The tactical objectives come from the ICS 234 Work Analysis Matrix. The Special Environmental Considerations come from the ICS 215e Environmental Analysis. The Special Site Safety Considerations come from the ICS 215a Safety Analysis.
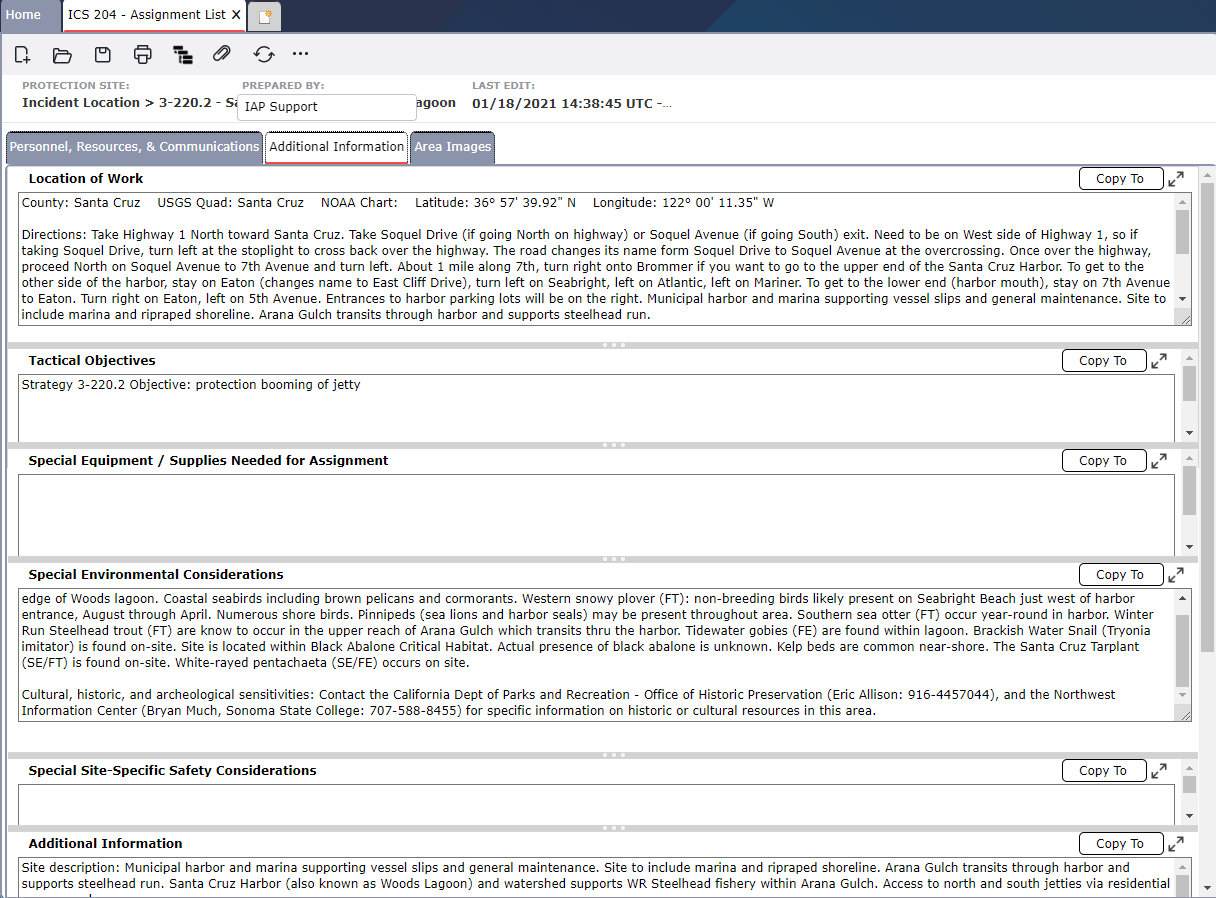
Additional Information can be copied to another ICS 204 version, if appropriate. To copy Additional Information to another ICS 204 version, follow the instructions listed under the Copy To subsection of the Assignments section.
This section provides the ability to attach images such as photos and maps related to the specified assignment location.

To add an image, click the Add button . The Add Area Image dialog box will appear.
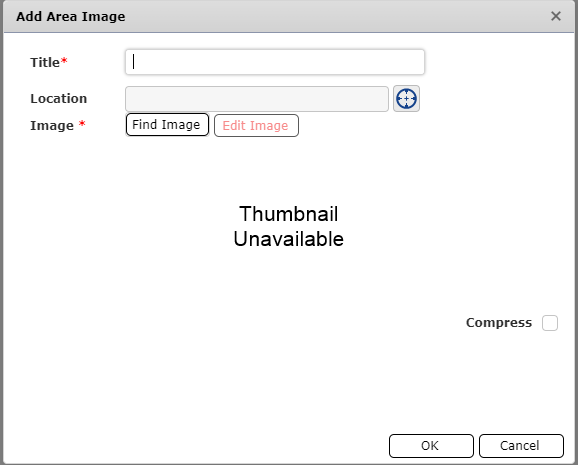
Enter a Title for the image.
Use the Edit Location button  to assign GPS coordinates to the image. For more information, see the Edit Location page.
Click the Find Image button  to search for the image on the local or network drive.
Click OK to upload the image.
To pull in an image which has already been saved within the IAP Software, click the Get Data button  l. The Select Image dialog box will appear.
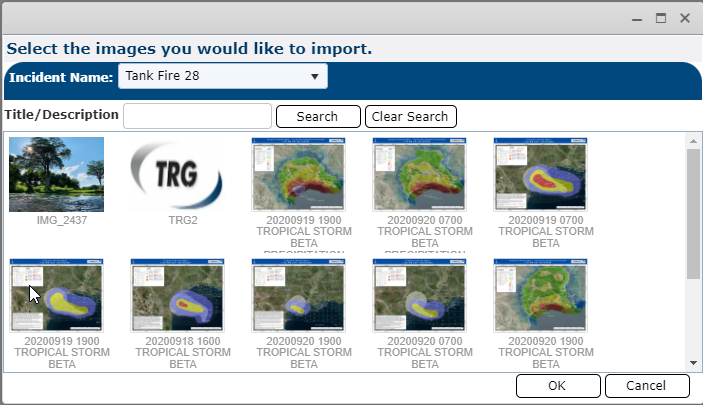
Select the desired image and click OK. The image will be pulled into the form.
NOTE: The Incident Name drop-down  can be used to select a different incident to pull images from.
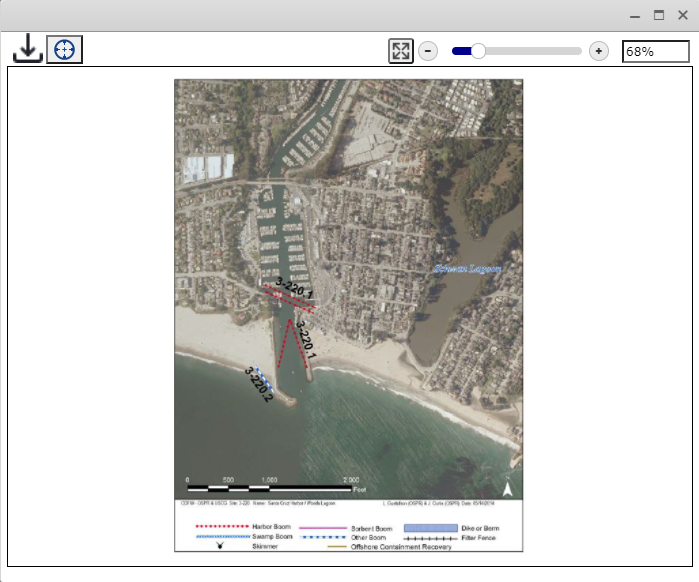
Click on the image to be viewed and then click the View button  to open the image for easy viewing. The image will open in a new window.
Select the thumbnail of the image to be edited.
Click the Edit button  . The Add Area Image dialog box will appear.
Follow the steps to add an Image or make updates to the existing image.
© 2024, TRG The Response Group LLC., All rights are reserved.
No part of this web site, and the information which it contains, may be reproduced, stored in a retrieval system or transmitted in any form or by any means, electronic, mechanical, photocopying, recording or otherwise, without prior written permission of TRG.
